Making a Special Category for Your Special Section's Events
This is an advanced topic. You will need to possess a good understanding of HTML, and have significant experience with Drupal content editing.
Permission Level
Level 2 or Higher - See permission level document for details
Overview

This page is part of a series of how-to's on creating a special section for your site, such as one used for a conference, program or other reason. The first steps detailed how to create a section to hold your pages, adding a banner image, and how to menu block with a custom title.
These next steps cover how to create a category-- a taxonomy term-- for your special section's Events, allowing them to appear in their own separate events list. It's an intermediate to advanced topic for our content editors. Note, you may need your permissions upgraded to edit blocks at the end.
If you need additional help please see our Drupal Support page.
Note, events tagged with any new terms will also show up in the main Event section of the website, including spotlights. If you don't want this to happen, put in a ticket to the web team via helpdesk.franklin.uga.edu.
Table of Contents
Steps
We can use content made with the "Events" content type and filter them out to appear in this section of the web site.
We'll do this with taxonomy. But we'll also need to work with the menu and edit the custom blocks we made previously.
Introduction
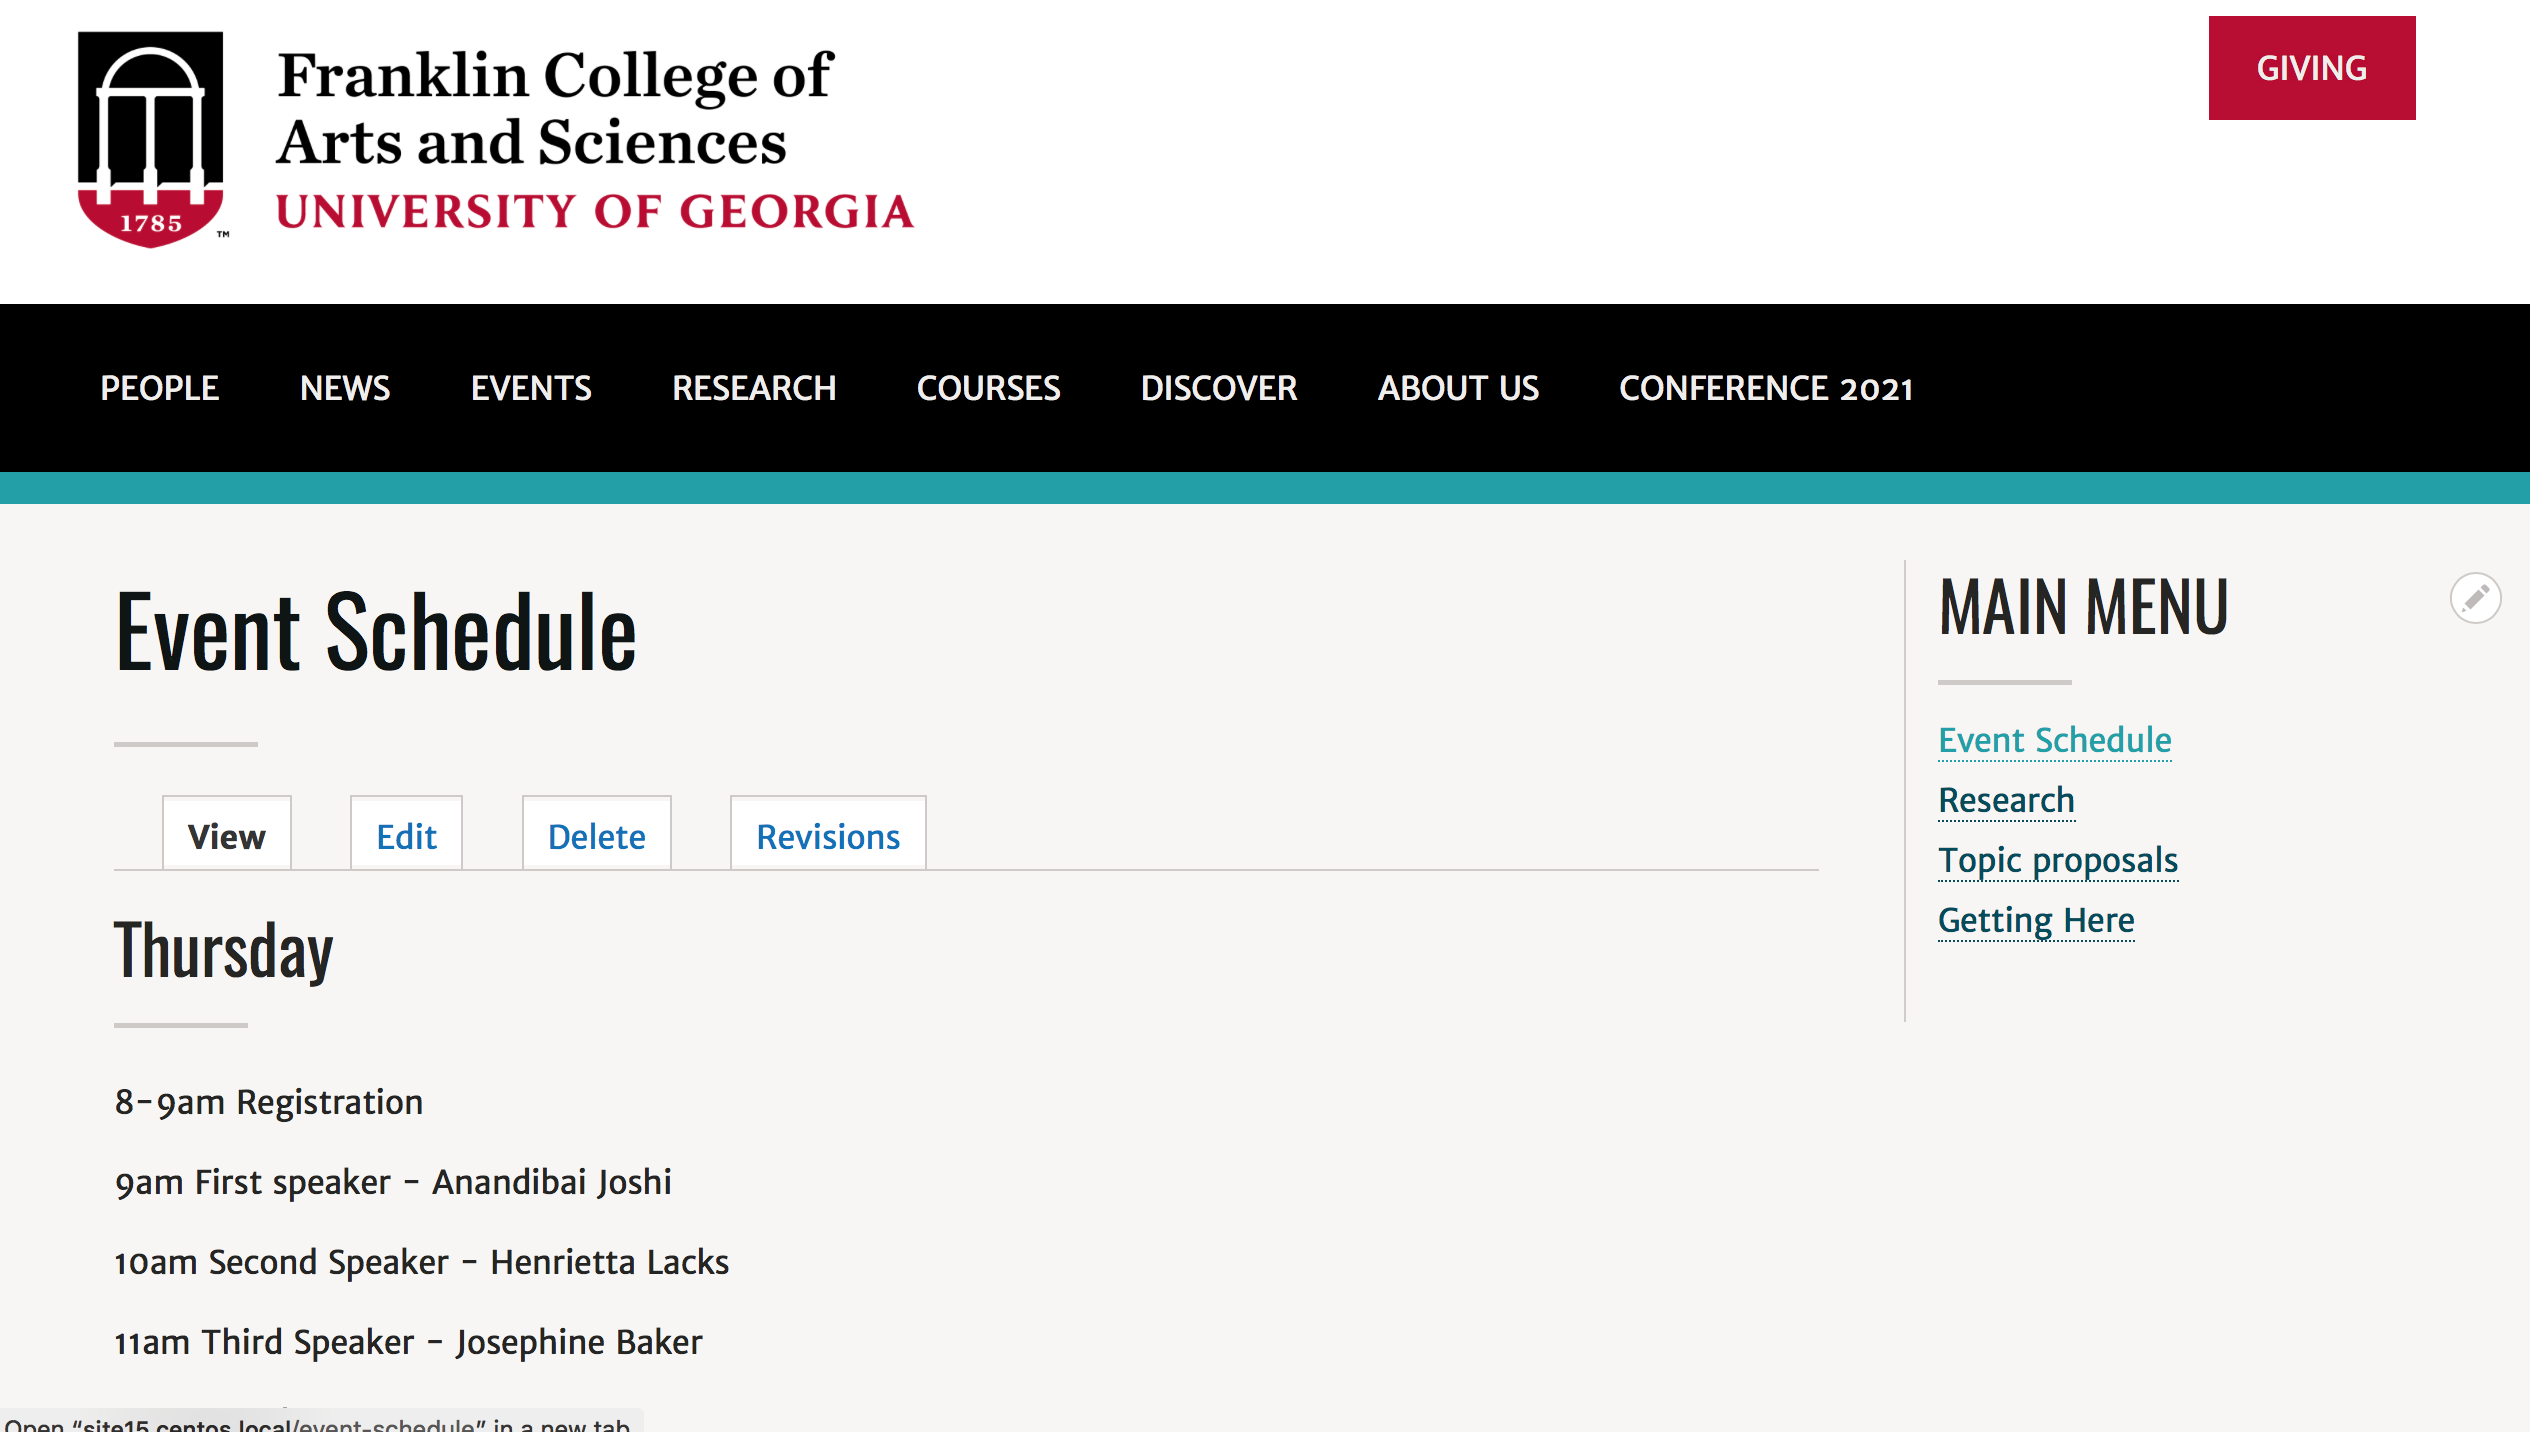
Right now we just have events listed on a static Basic Page. This is fine.
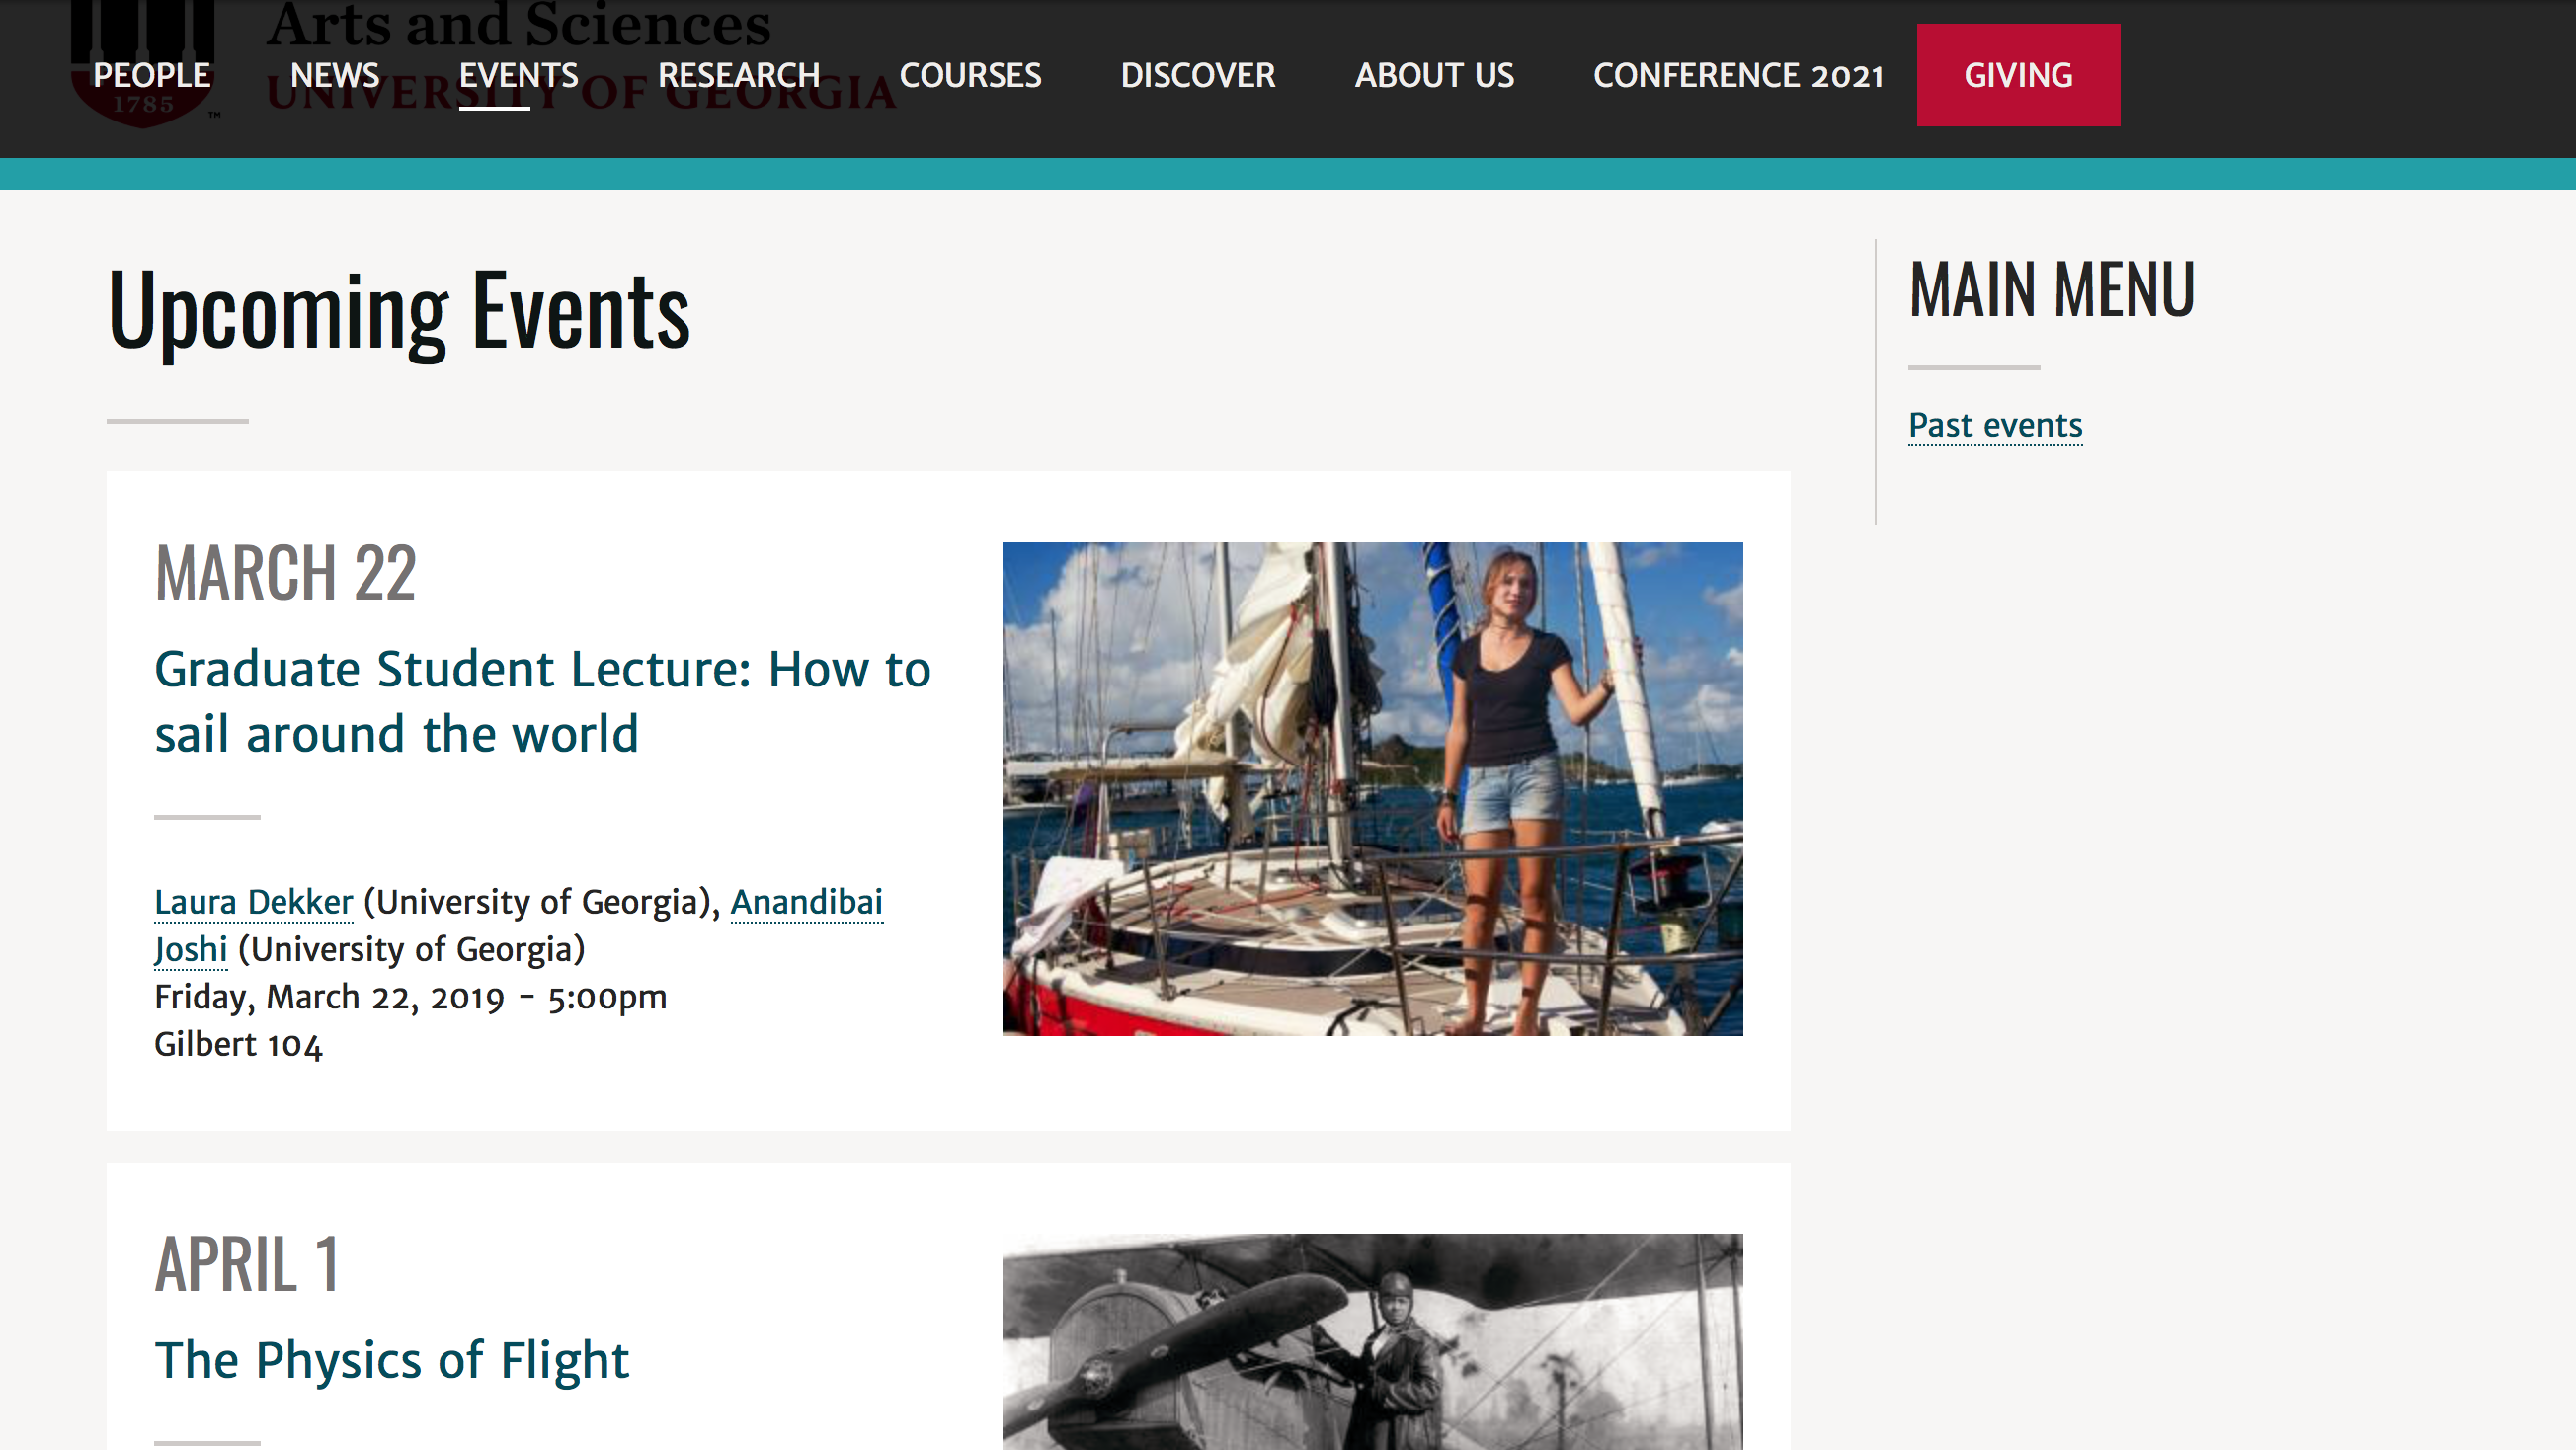
But what if I want to draw attention to events in my conference? Or what if I just want them to look a little better, like they do on my regular events page?
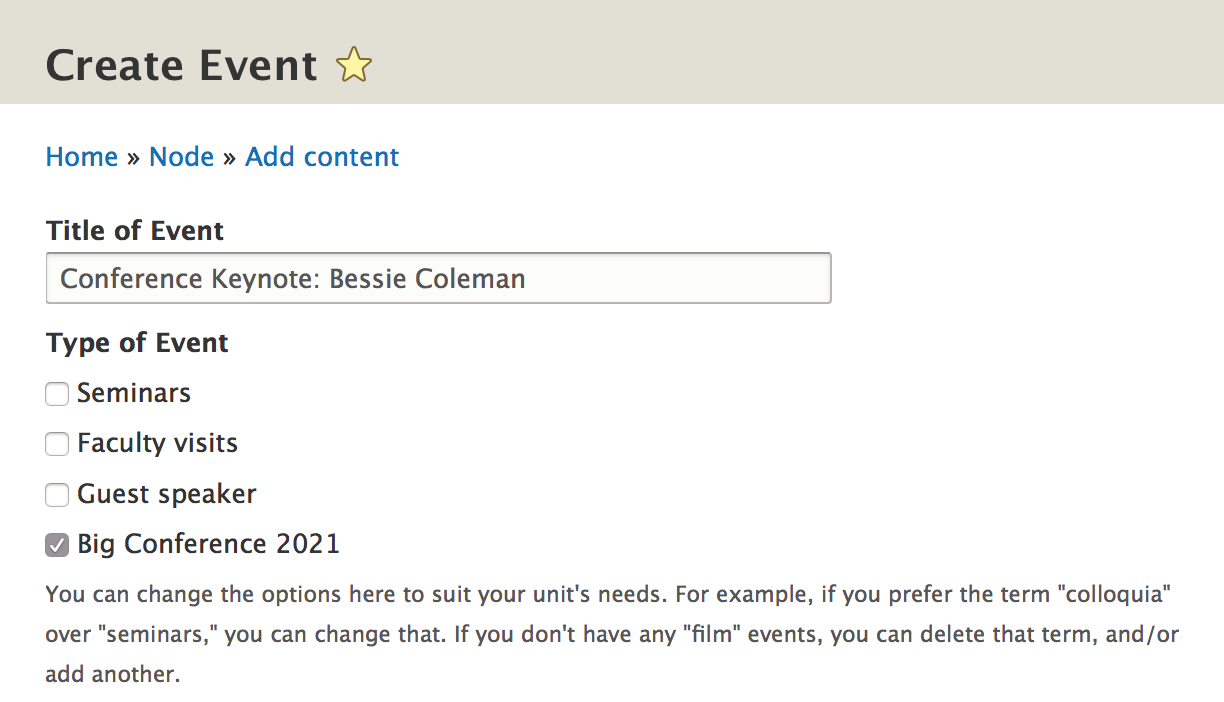
When I click on edit for an event, I see a collection of options under "Type of Event."
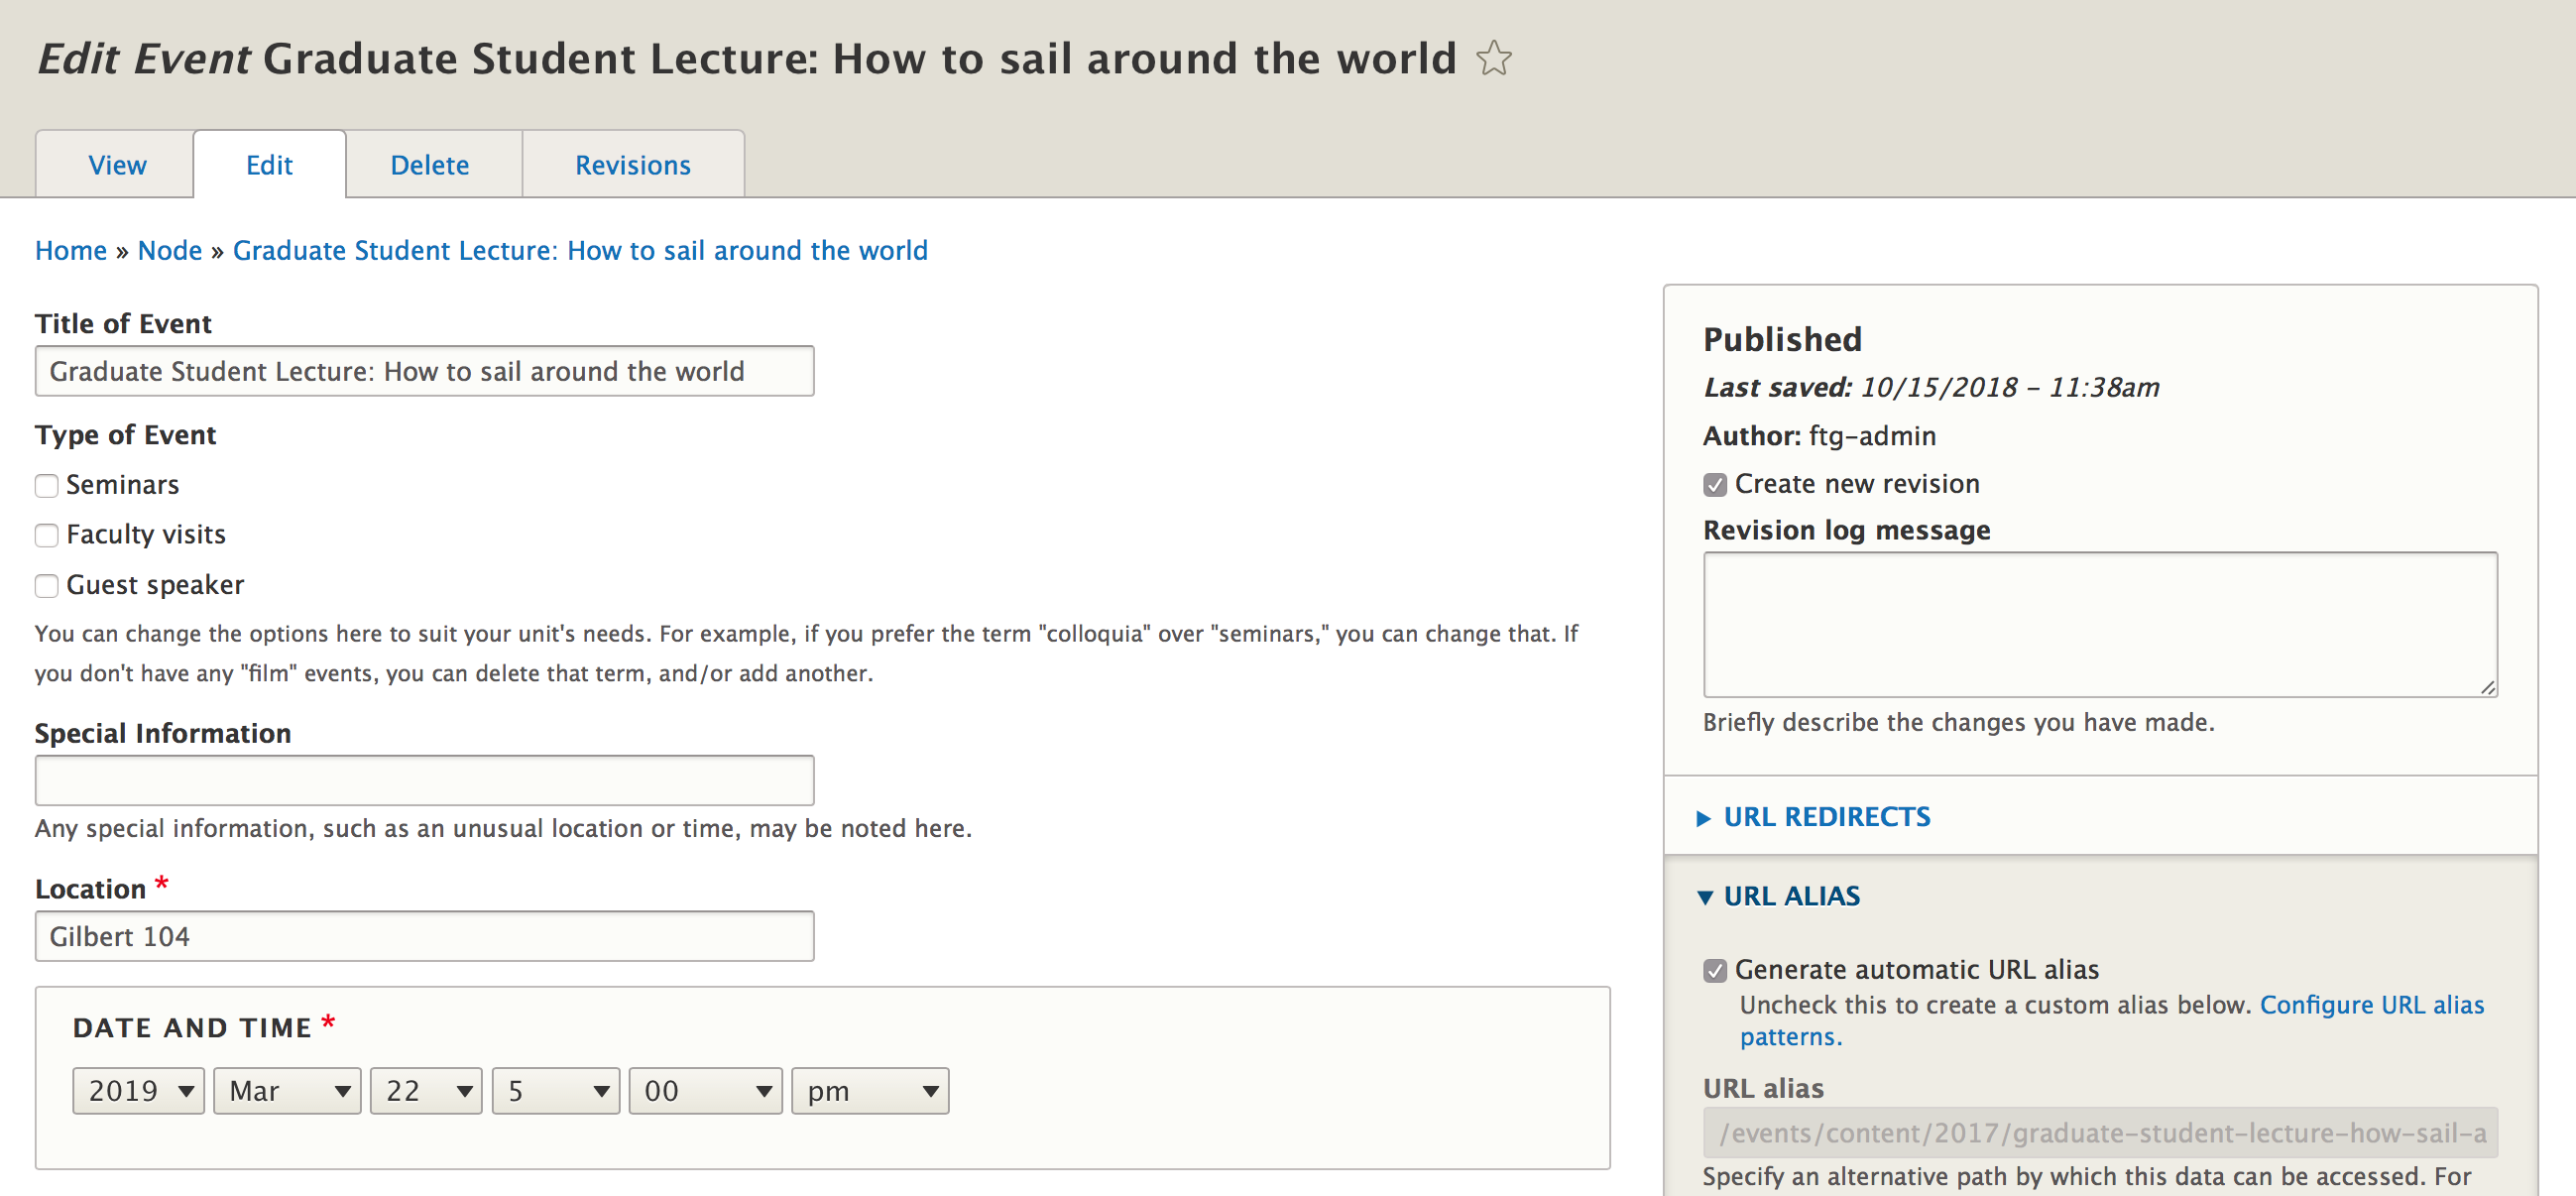
We're going to add a type of event to this list using taxonomy.

Step 1: Create a New Taxonomy Term --a New Event Category-- in "Event types."
Go to Structure. Scroll down until you see "Taxonomy" and click this.

Here you can see all the taxonomy vocabulary used throughout your site.
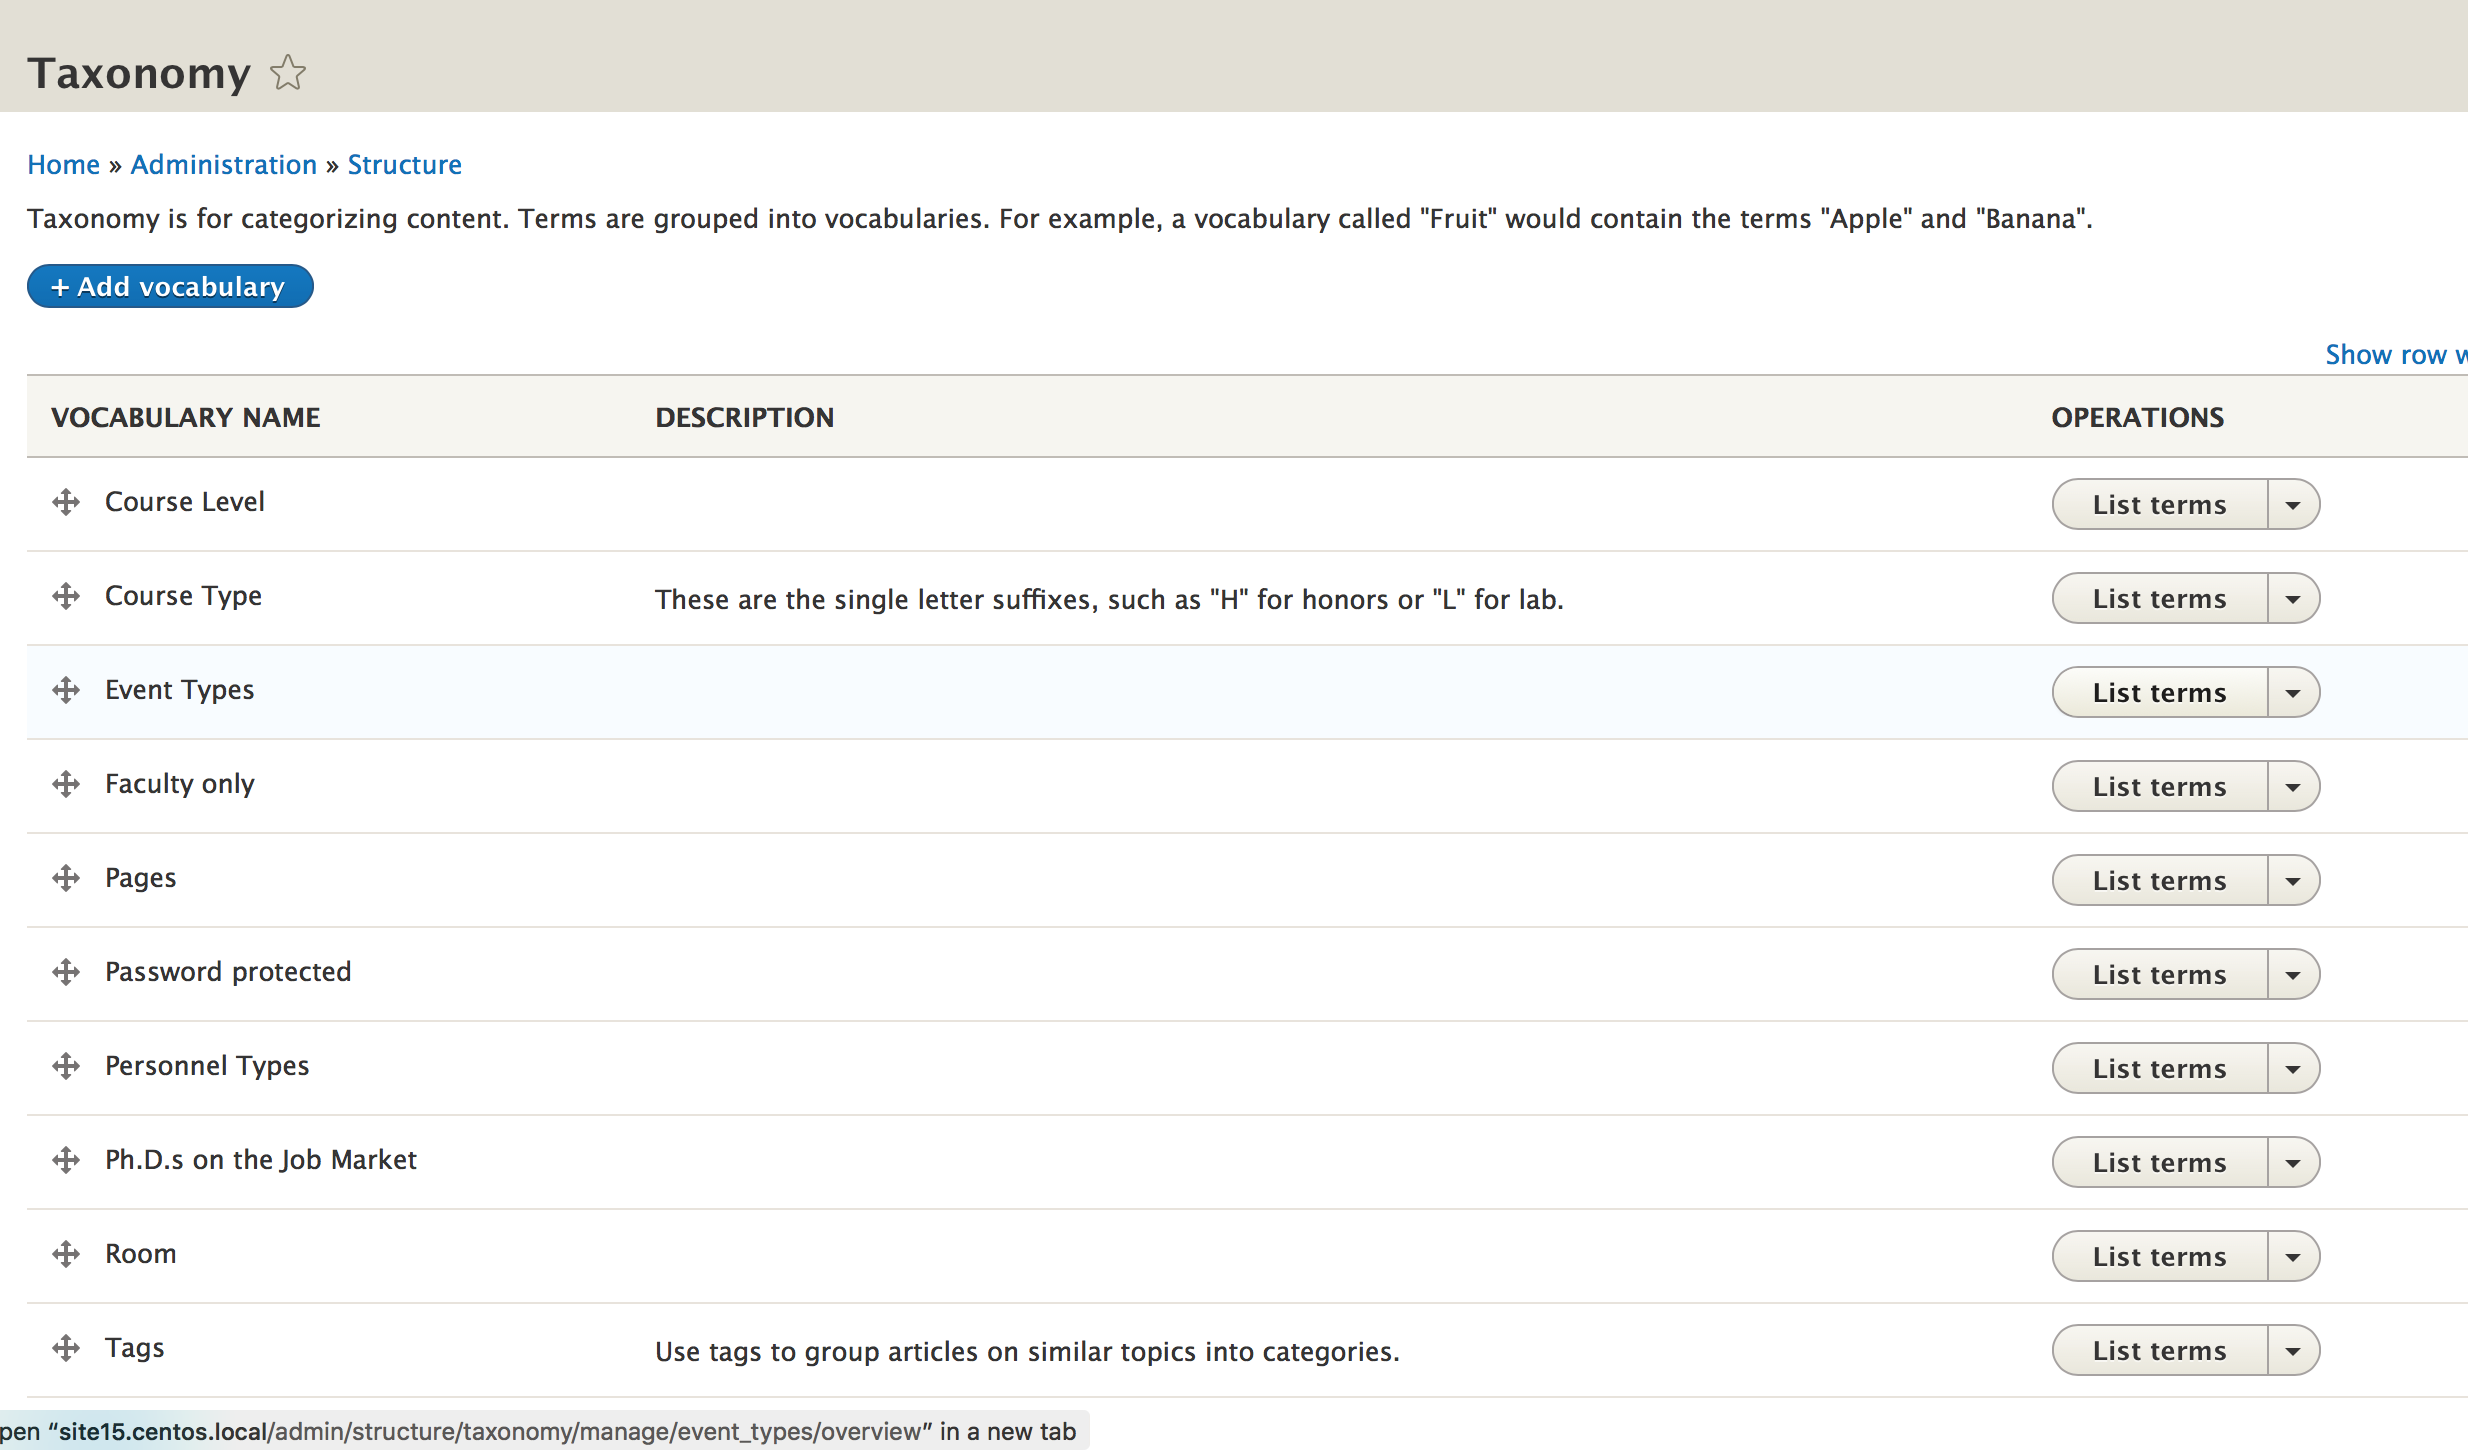
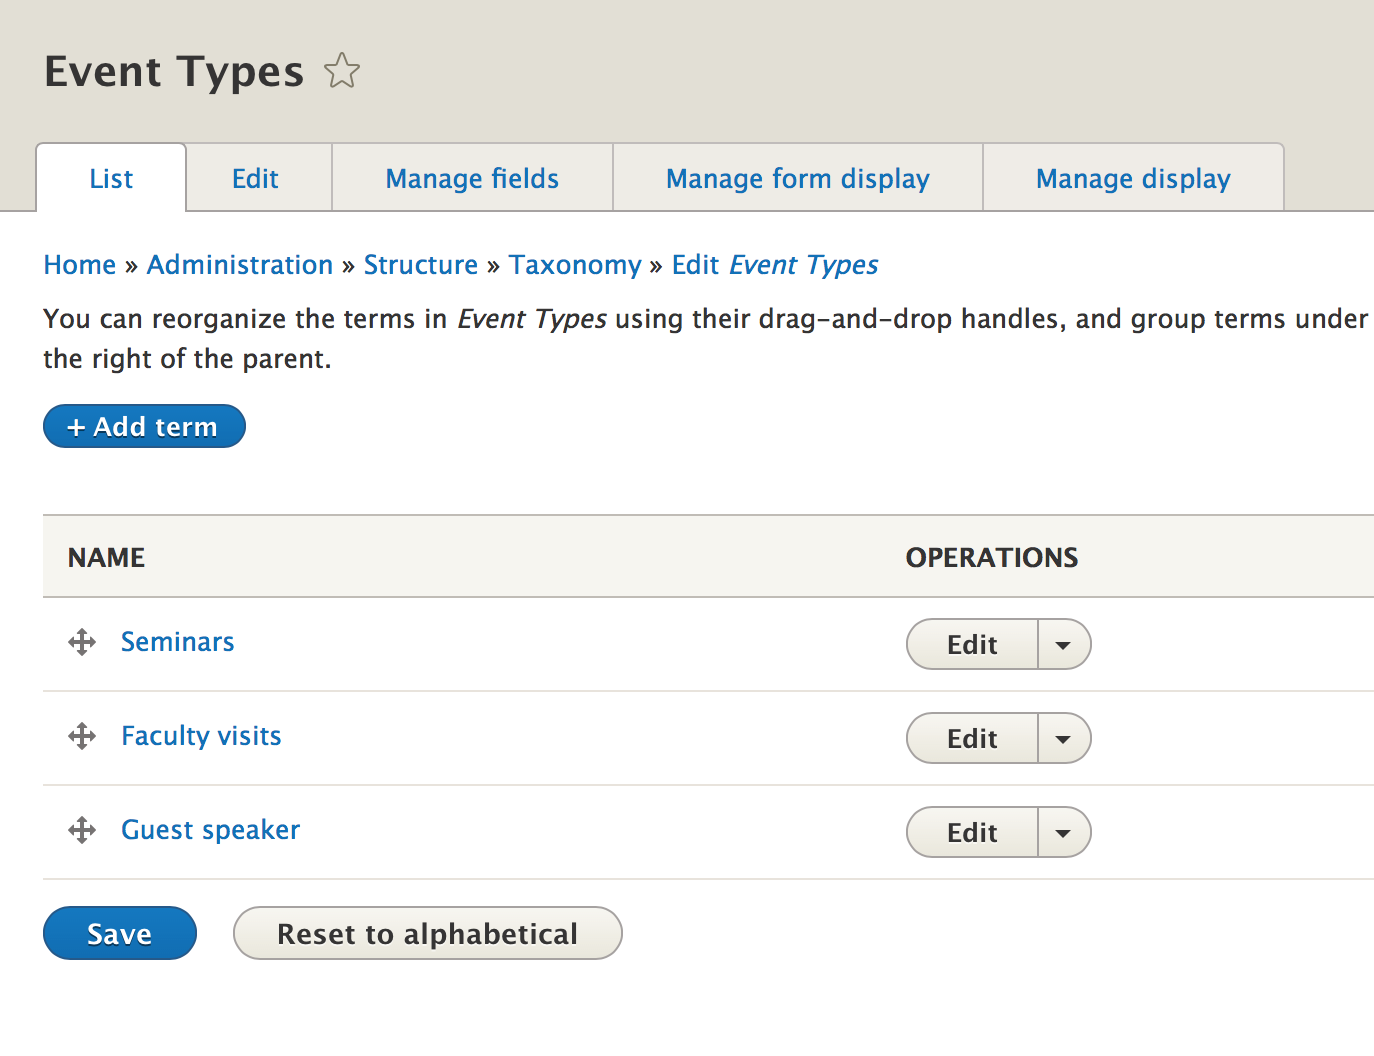
Look for "Event types" and select "List terms."

You'll see all the terms, which appear as checkboxes, for "Event types."
Notice the blue "Add term" button. Click it so we can create a new type of event for our conference.
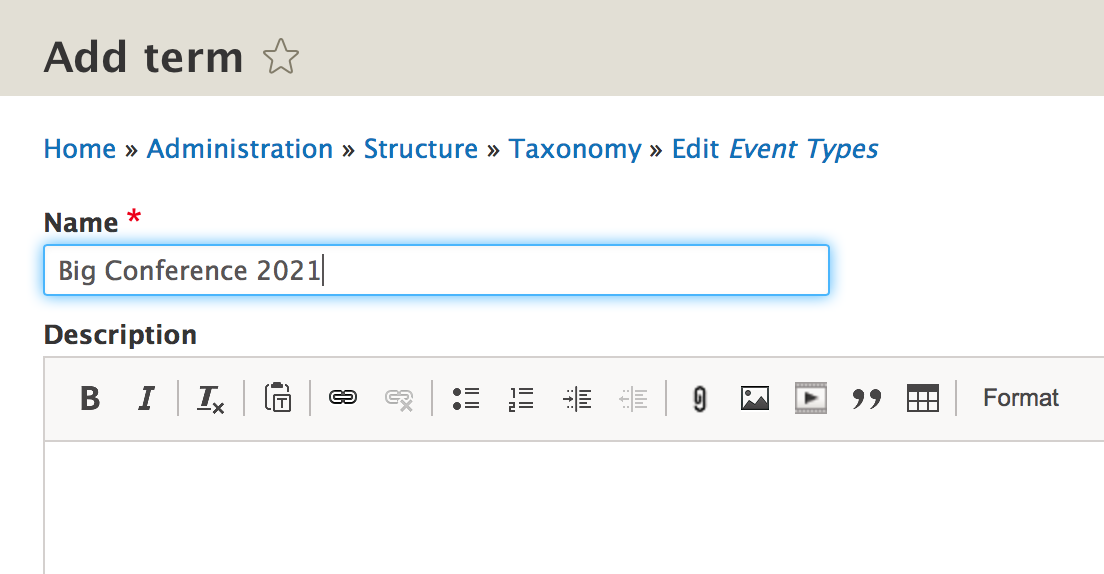
When I click add term, I see a title field and a text editor field. The only thing we really care about is the title field, called "name."
Type in whatever you want to call this kind of event related to your conference. I'm just going to call it "Big Conference 2021."
Click on 'Save'
After this you can add other terms or types of events if you want.
In this example, I'm just creating the one category for conference events.
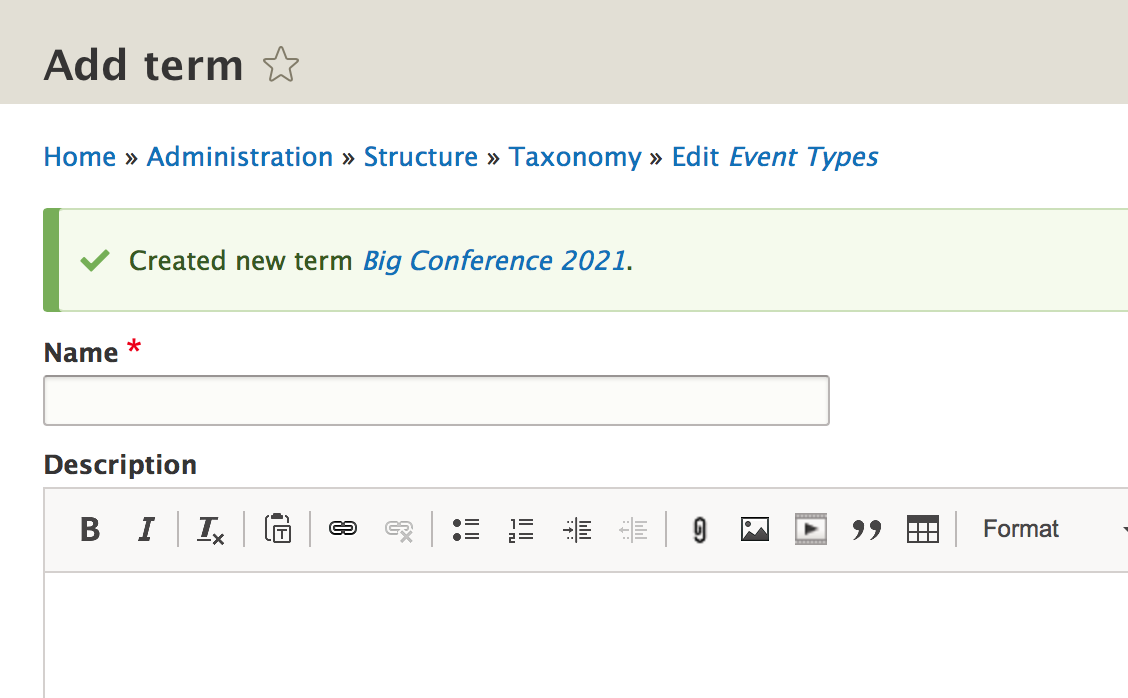
So to see the new term show up in the events taxonomy list, Click on "taxonomy" from the breadcrumb trail, then "list terms" again next to "Event Types."
And I see my new term in the list of Event Types.
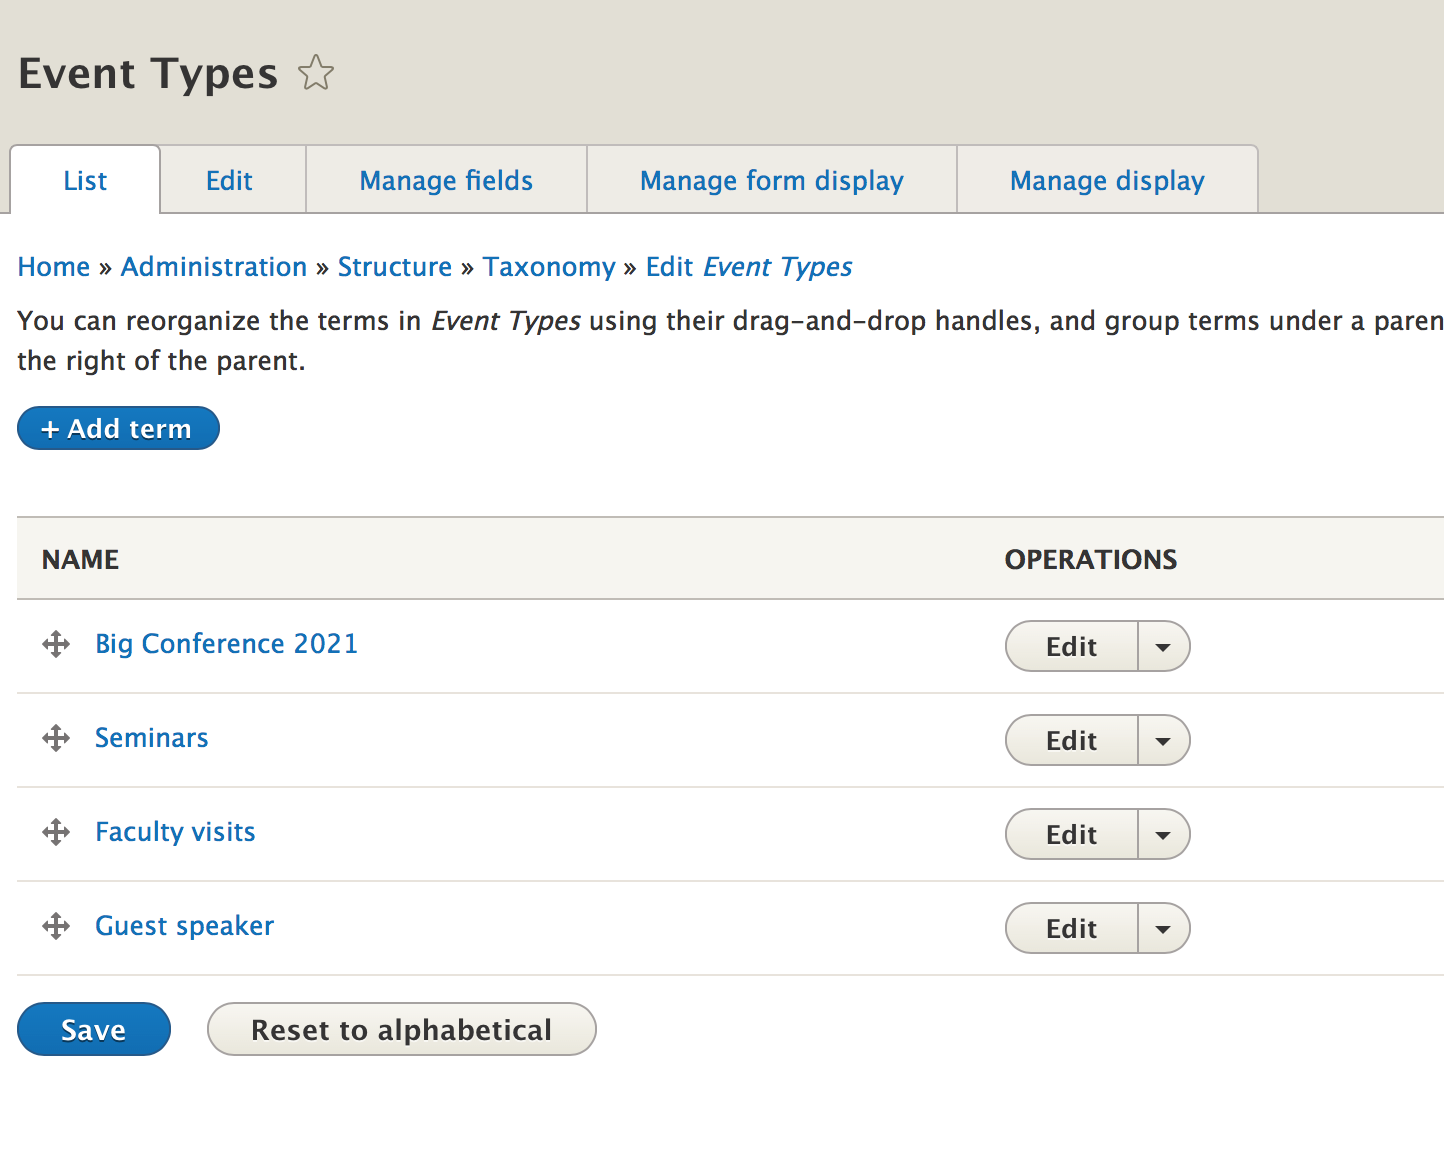
I'm going to rearrange the term so it appears at the bottom by using the plus sign and dragging.
Click on 'Save' to preserve the new order.

Now when I create a new event, I will have the option to select a type of Event called "Big Conference 2021."
Step 2: Create an Event and Tag or Check it with Your New Event Category
Before we do anything else, let's go ahead and make an example event tagged with our new term.
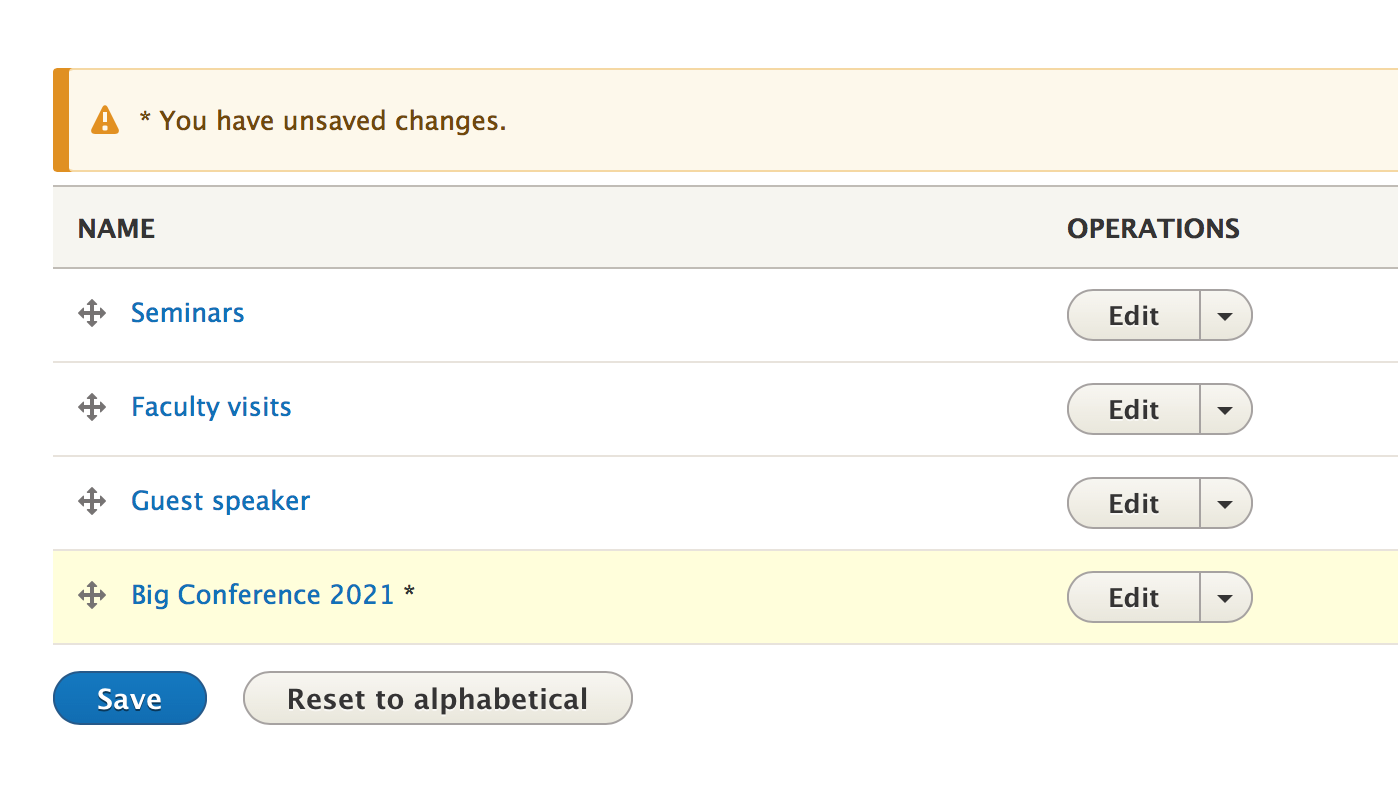
Go to Content. Select "Add Content," then "Event."
Create your conference event. Check "Big Conference 2021."
Click on 'Save'
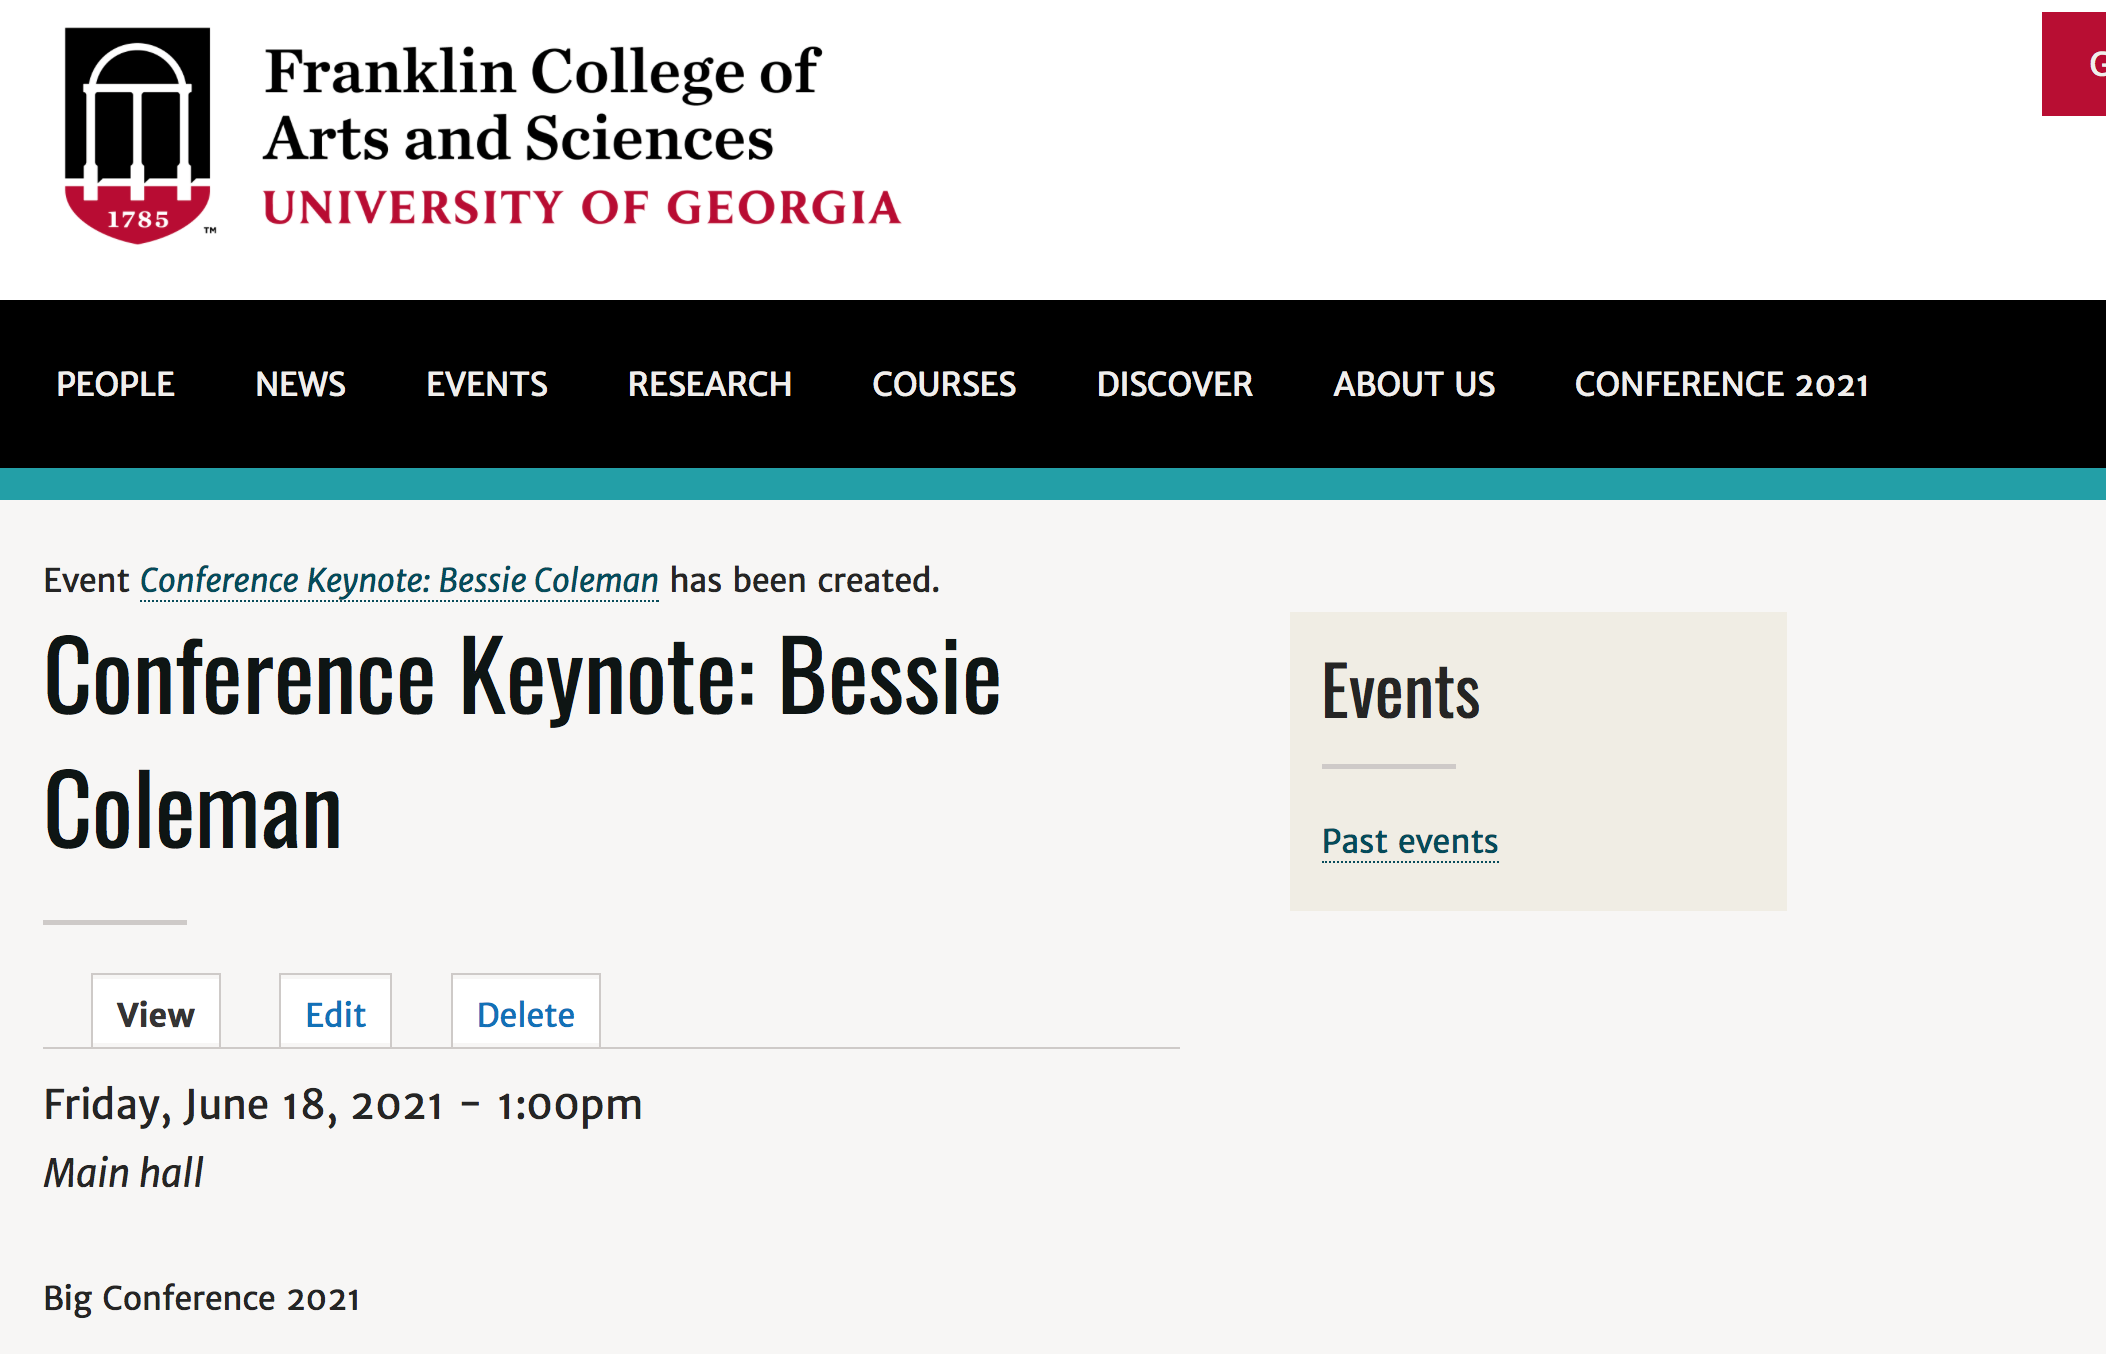
But how do I create a list of Events checked or tagged as "Big Conference 2021"?
Step 3: Put the List of Events Checked with Your New Term in the Menu
As your developer I have already made it possible for you to filter out any event tagged with any term you create.
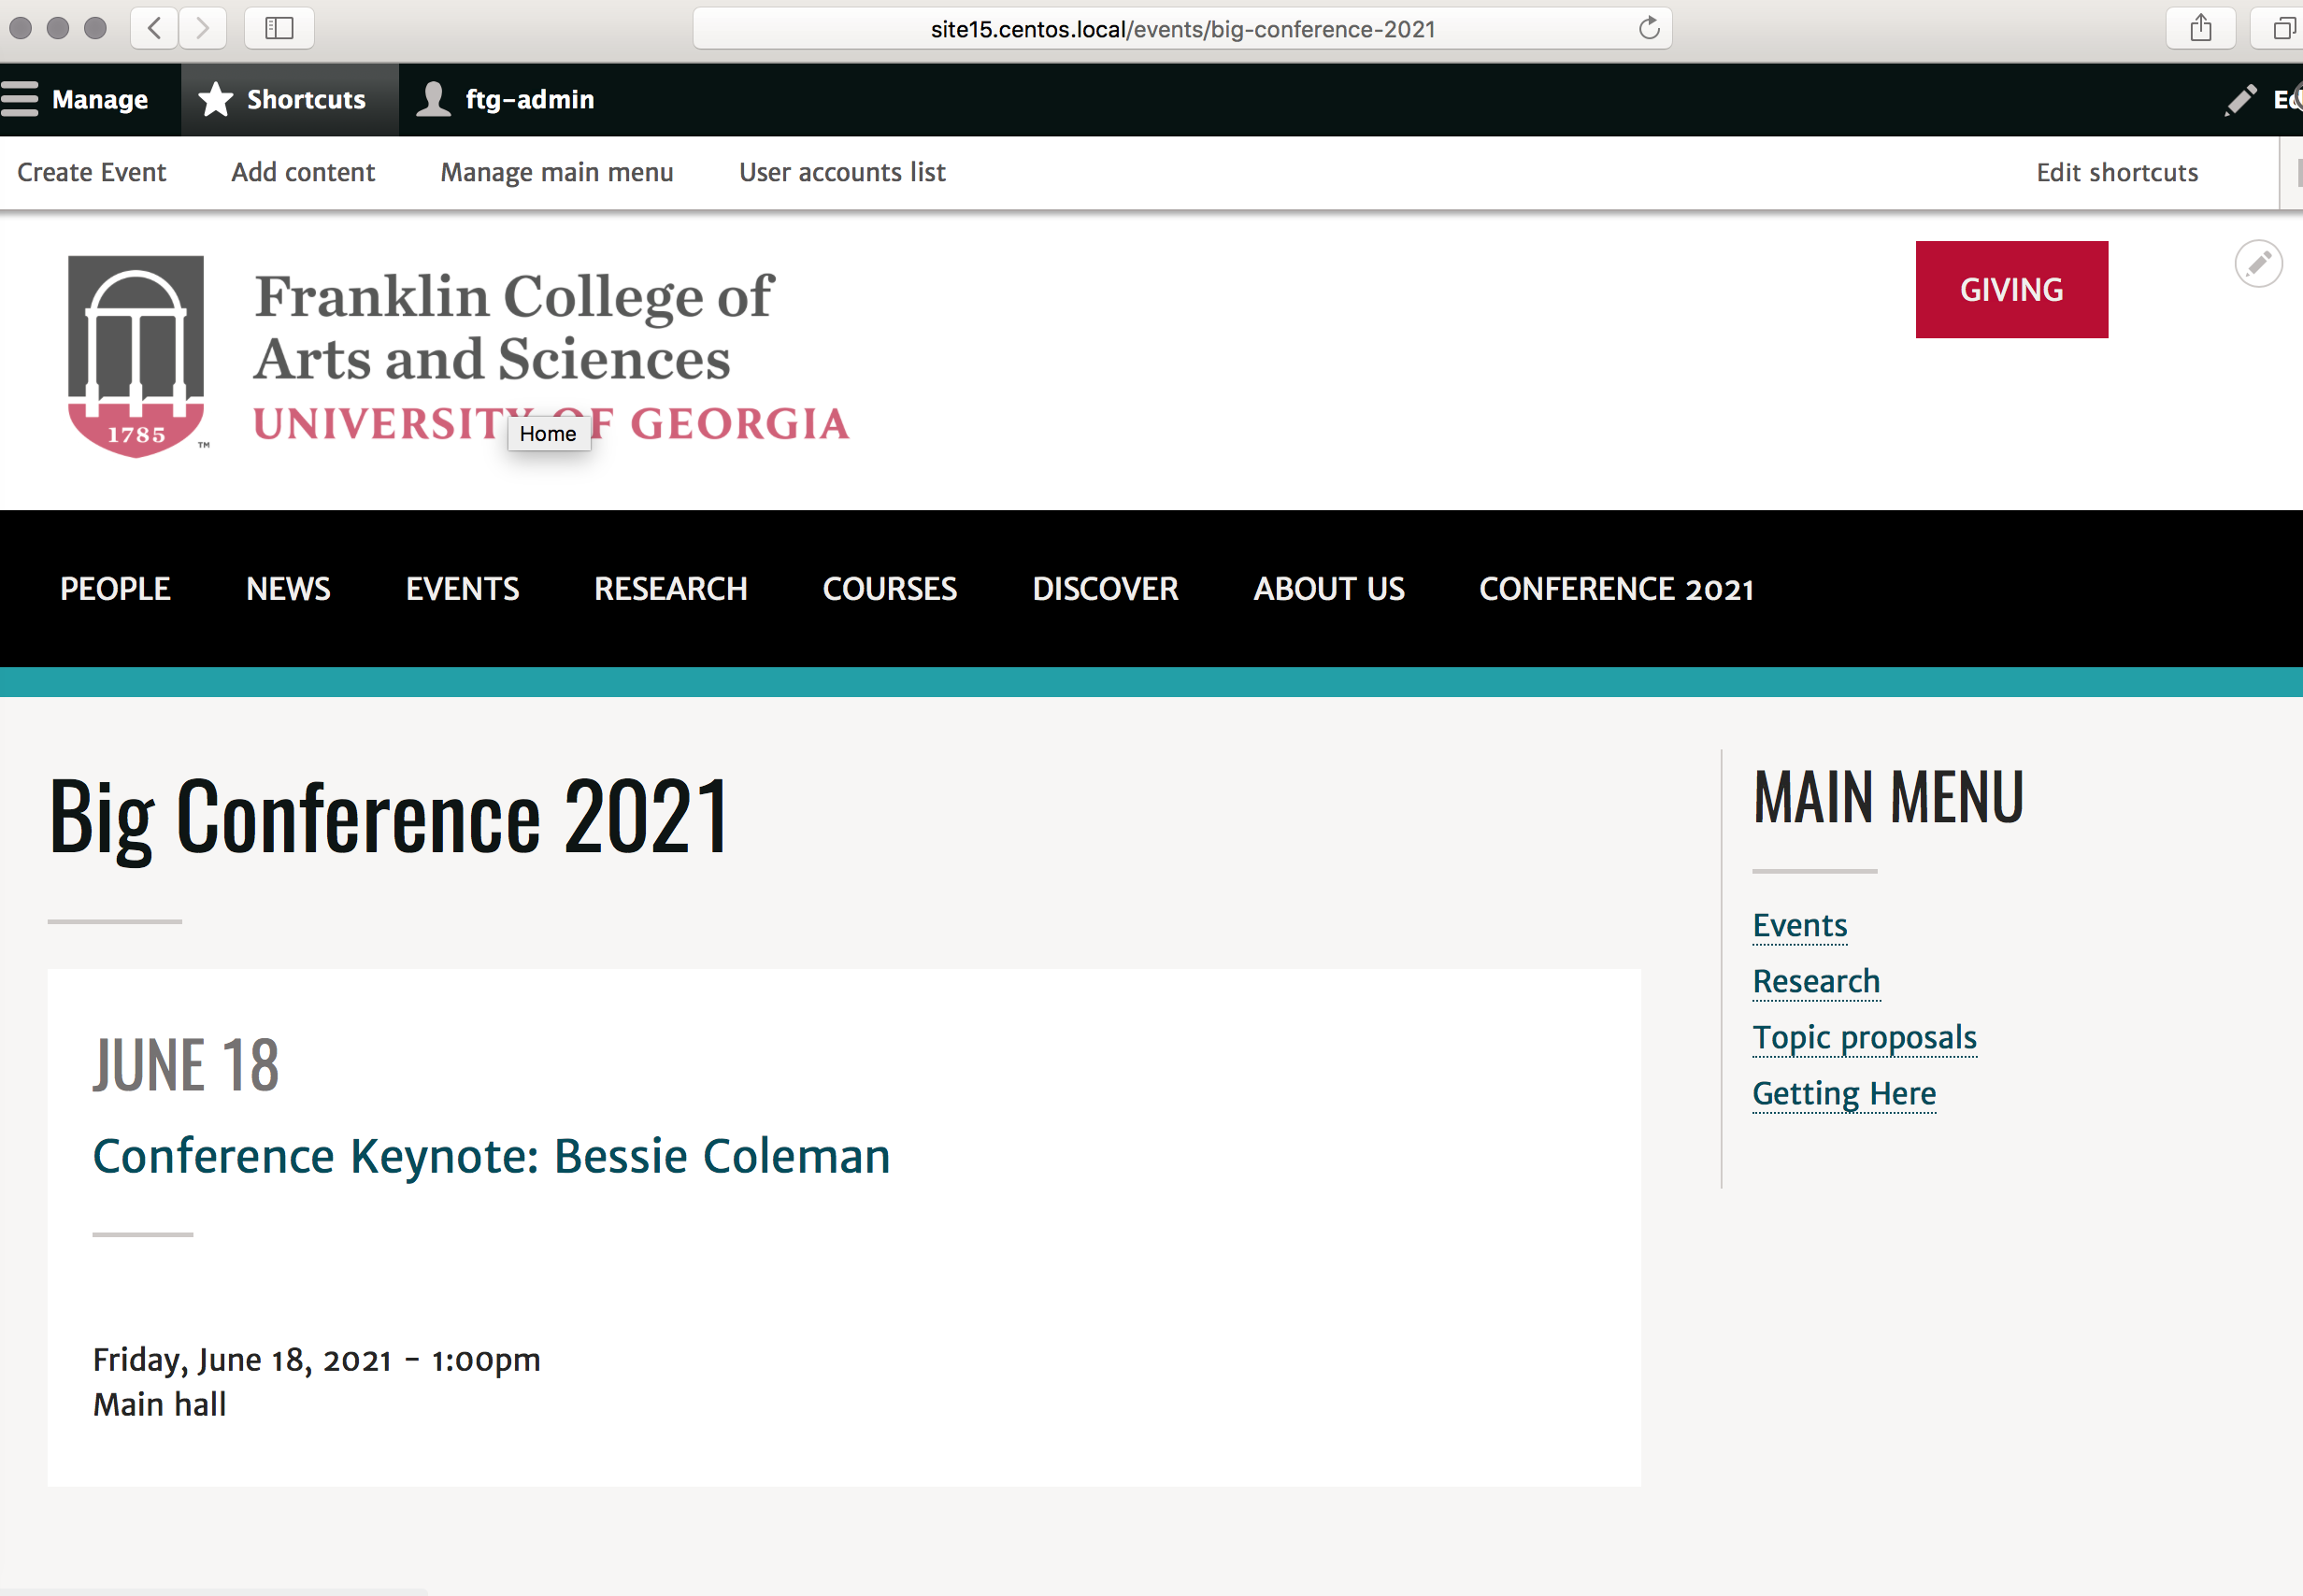
In our example, all events checked or tagged as "Big Conference 2021" will appear under /events/big-conference-2021.
See for yourself.
So we just need to add this correct url to the menu.
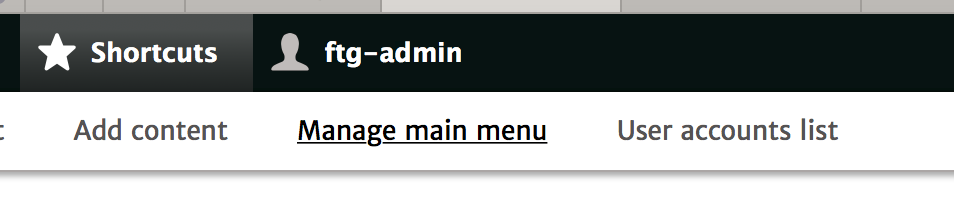
In the black admin toolbar go to "Shortcuts" and select "Manage main menu."
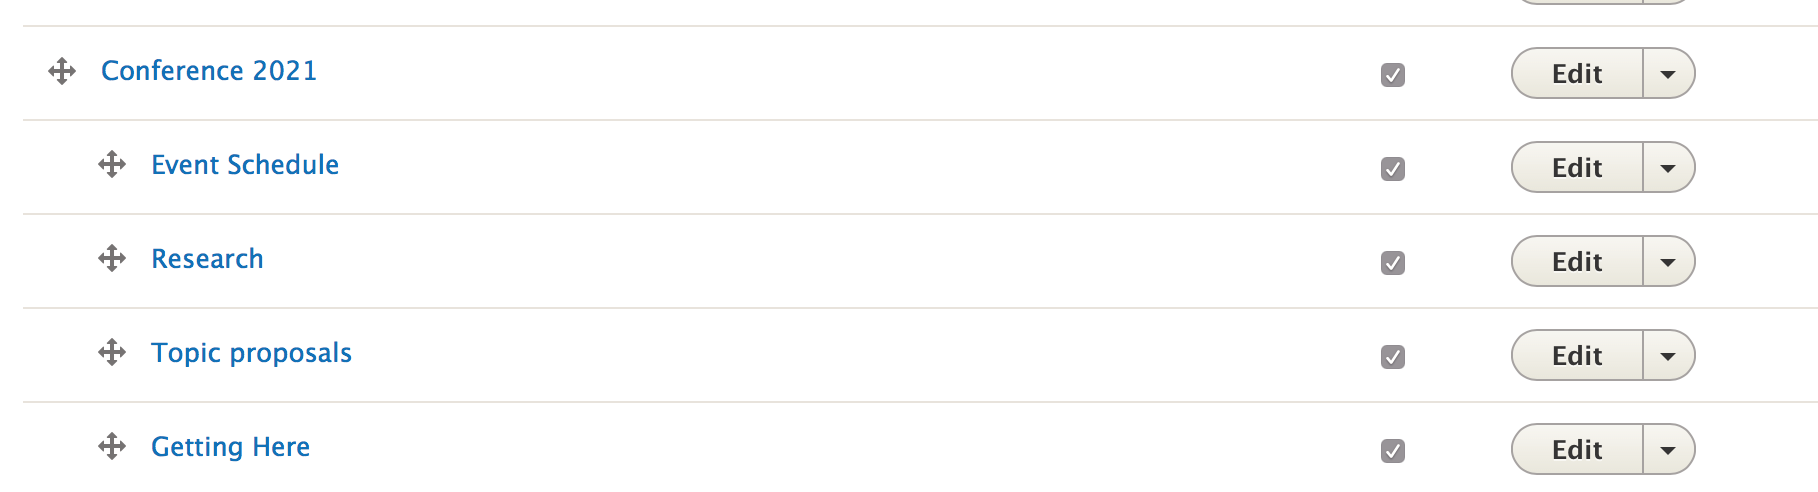
If I scroll down, I see all my Conference pages.
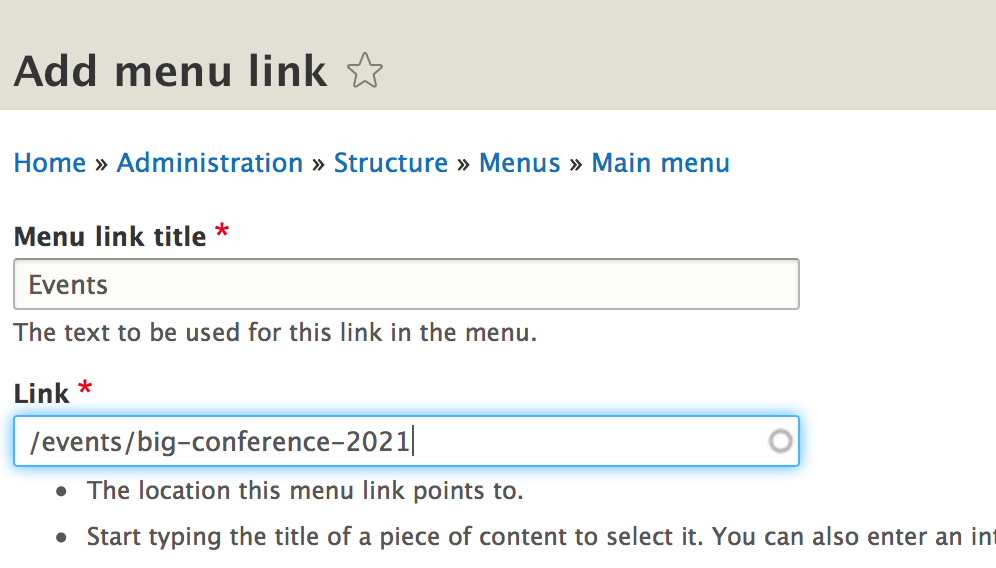
Go back to the top and select "Add link."

Add a menu link title, whatever you want to call it.
Then add the url. It will follow the pattern of /events/name-of-term-you-added. In our example, /events/big-conference-2021.
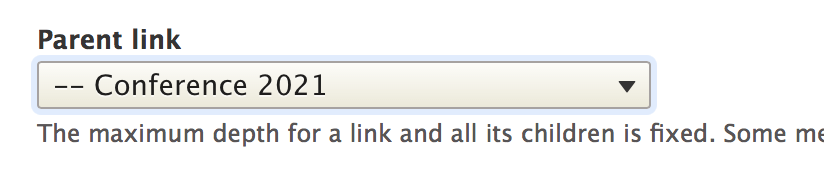
Scroll down to "Parent link."
Put your link under your conference pages.
Click on 'Save'
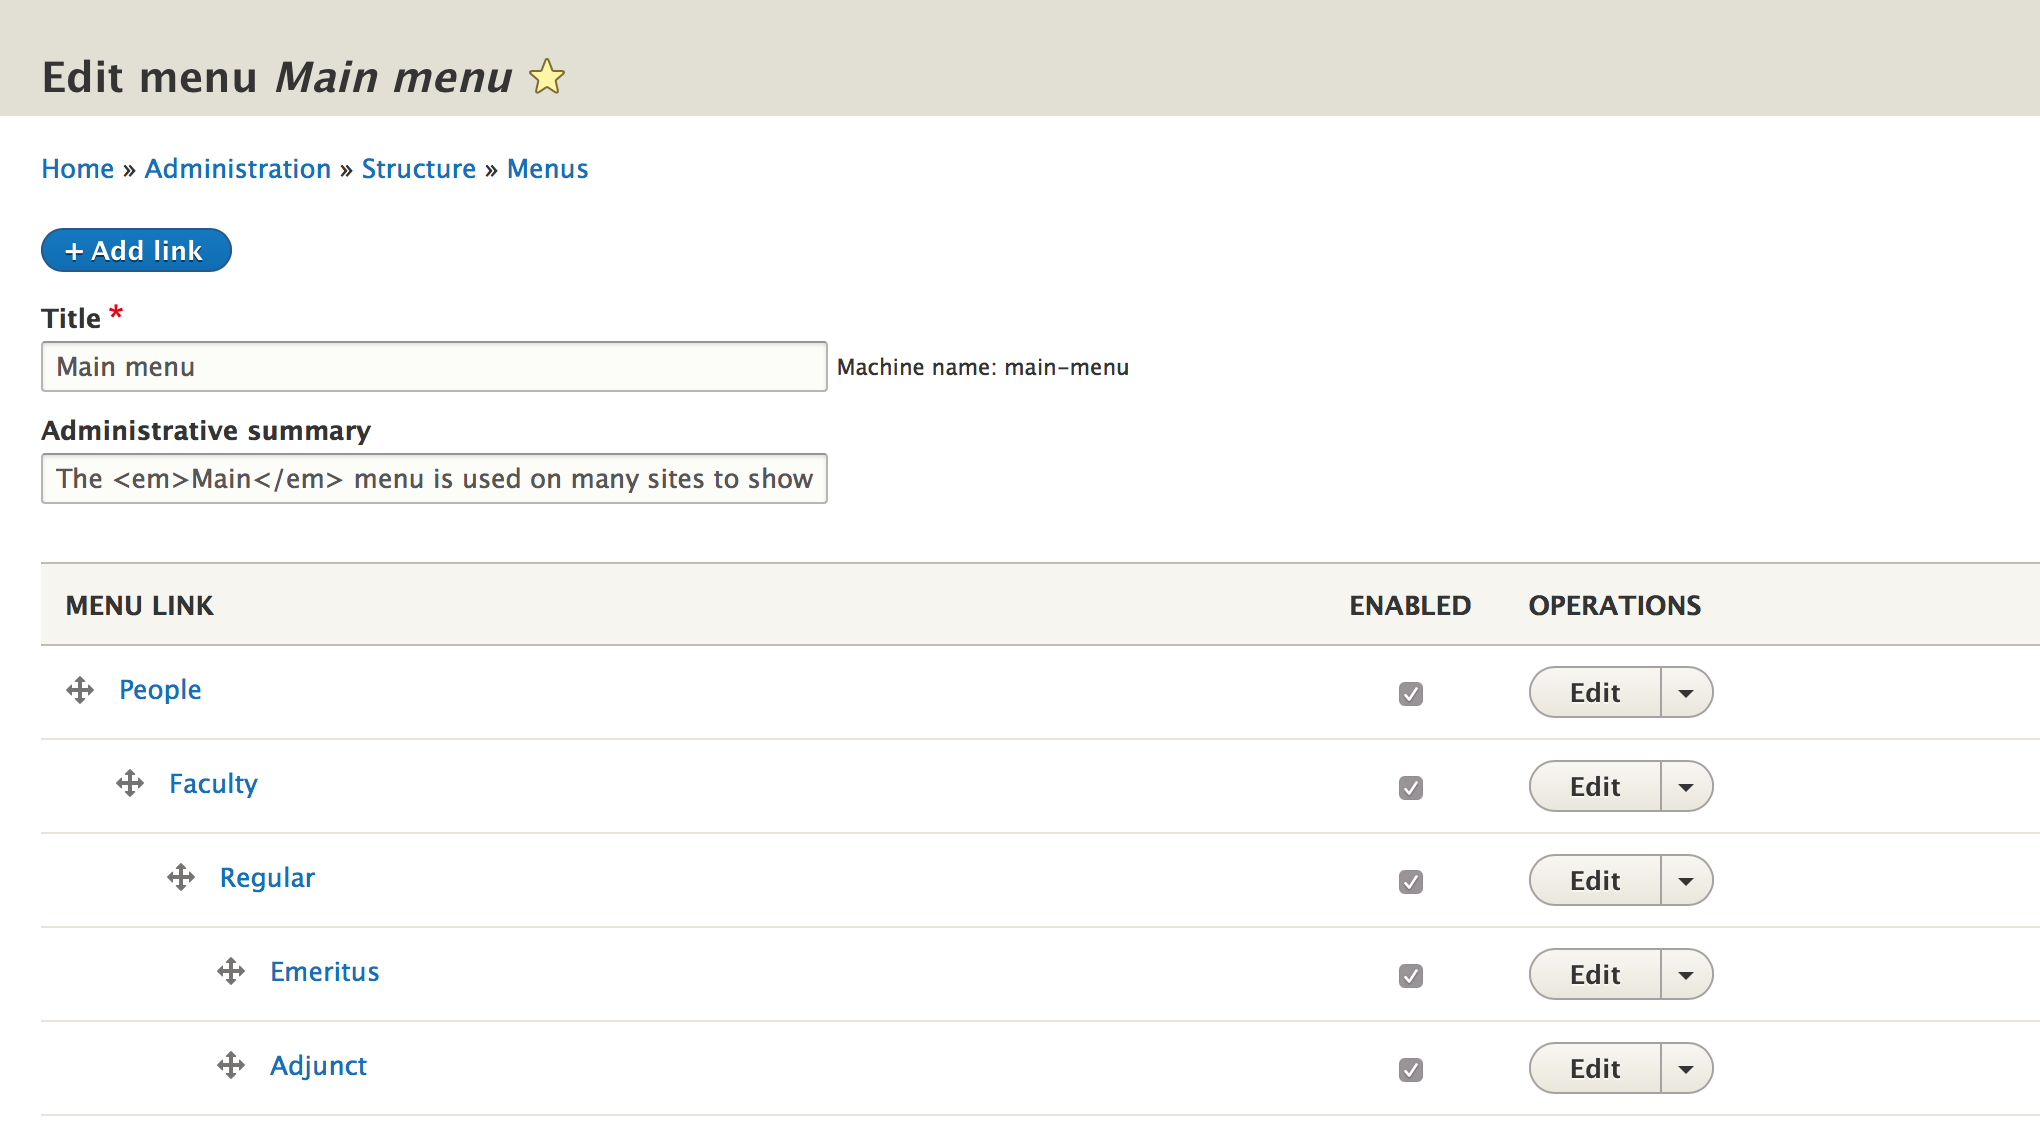
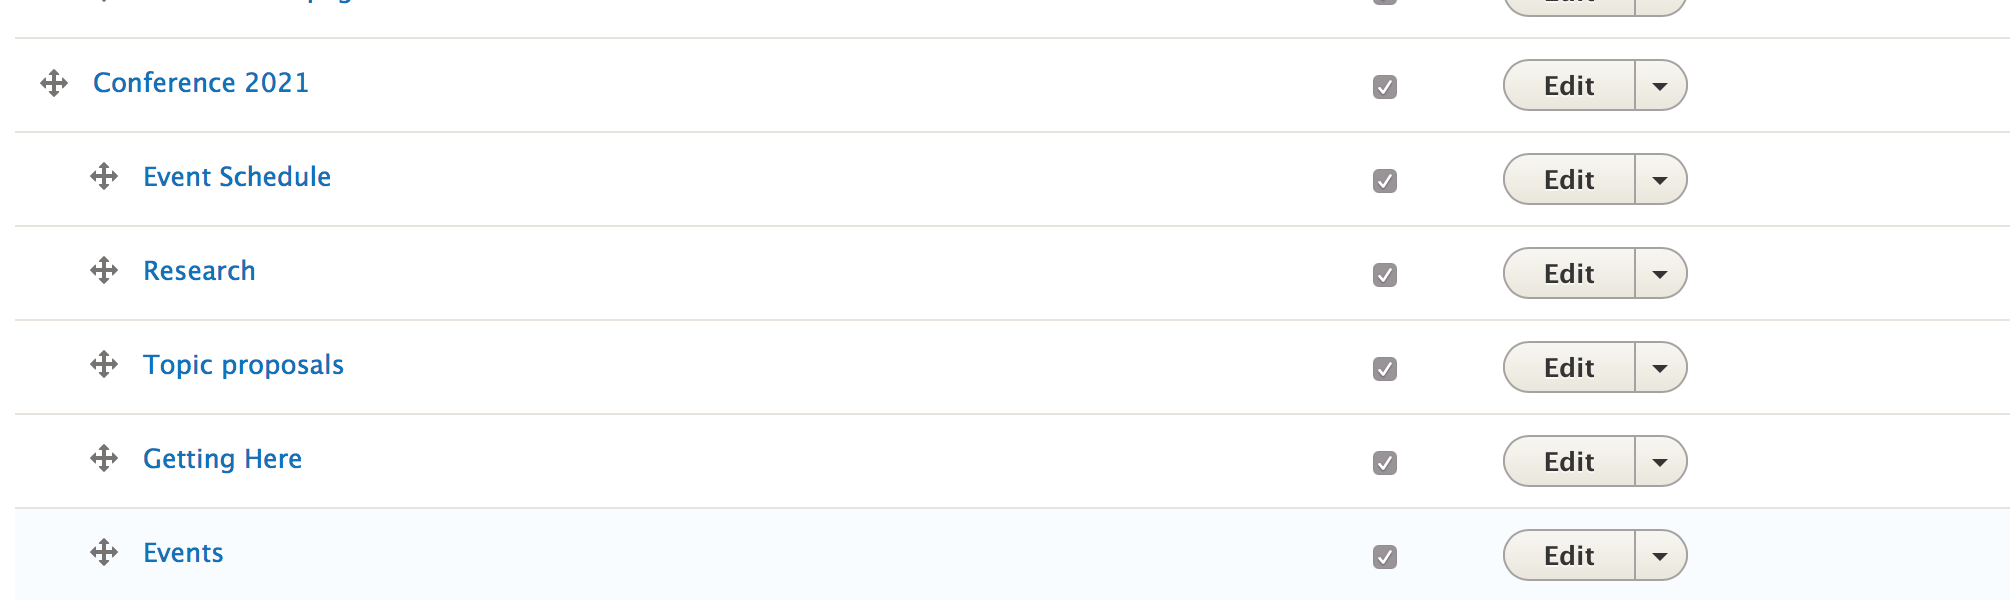
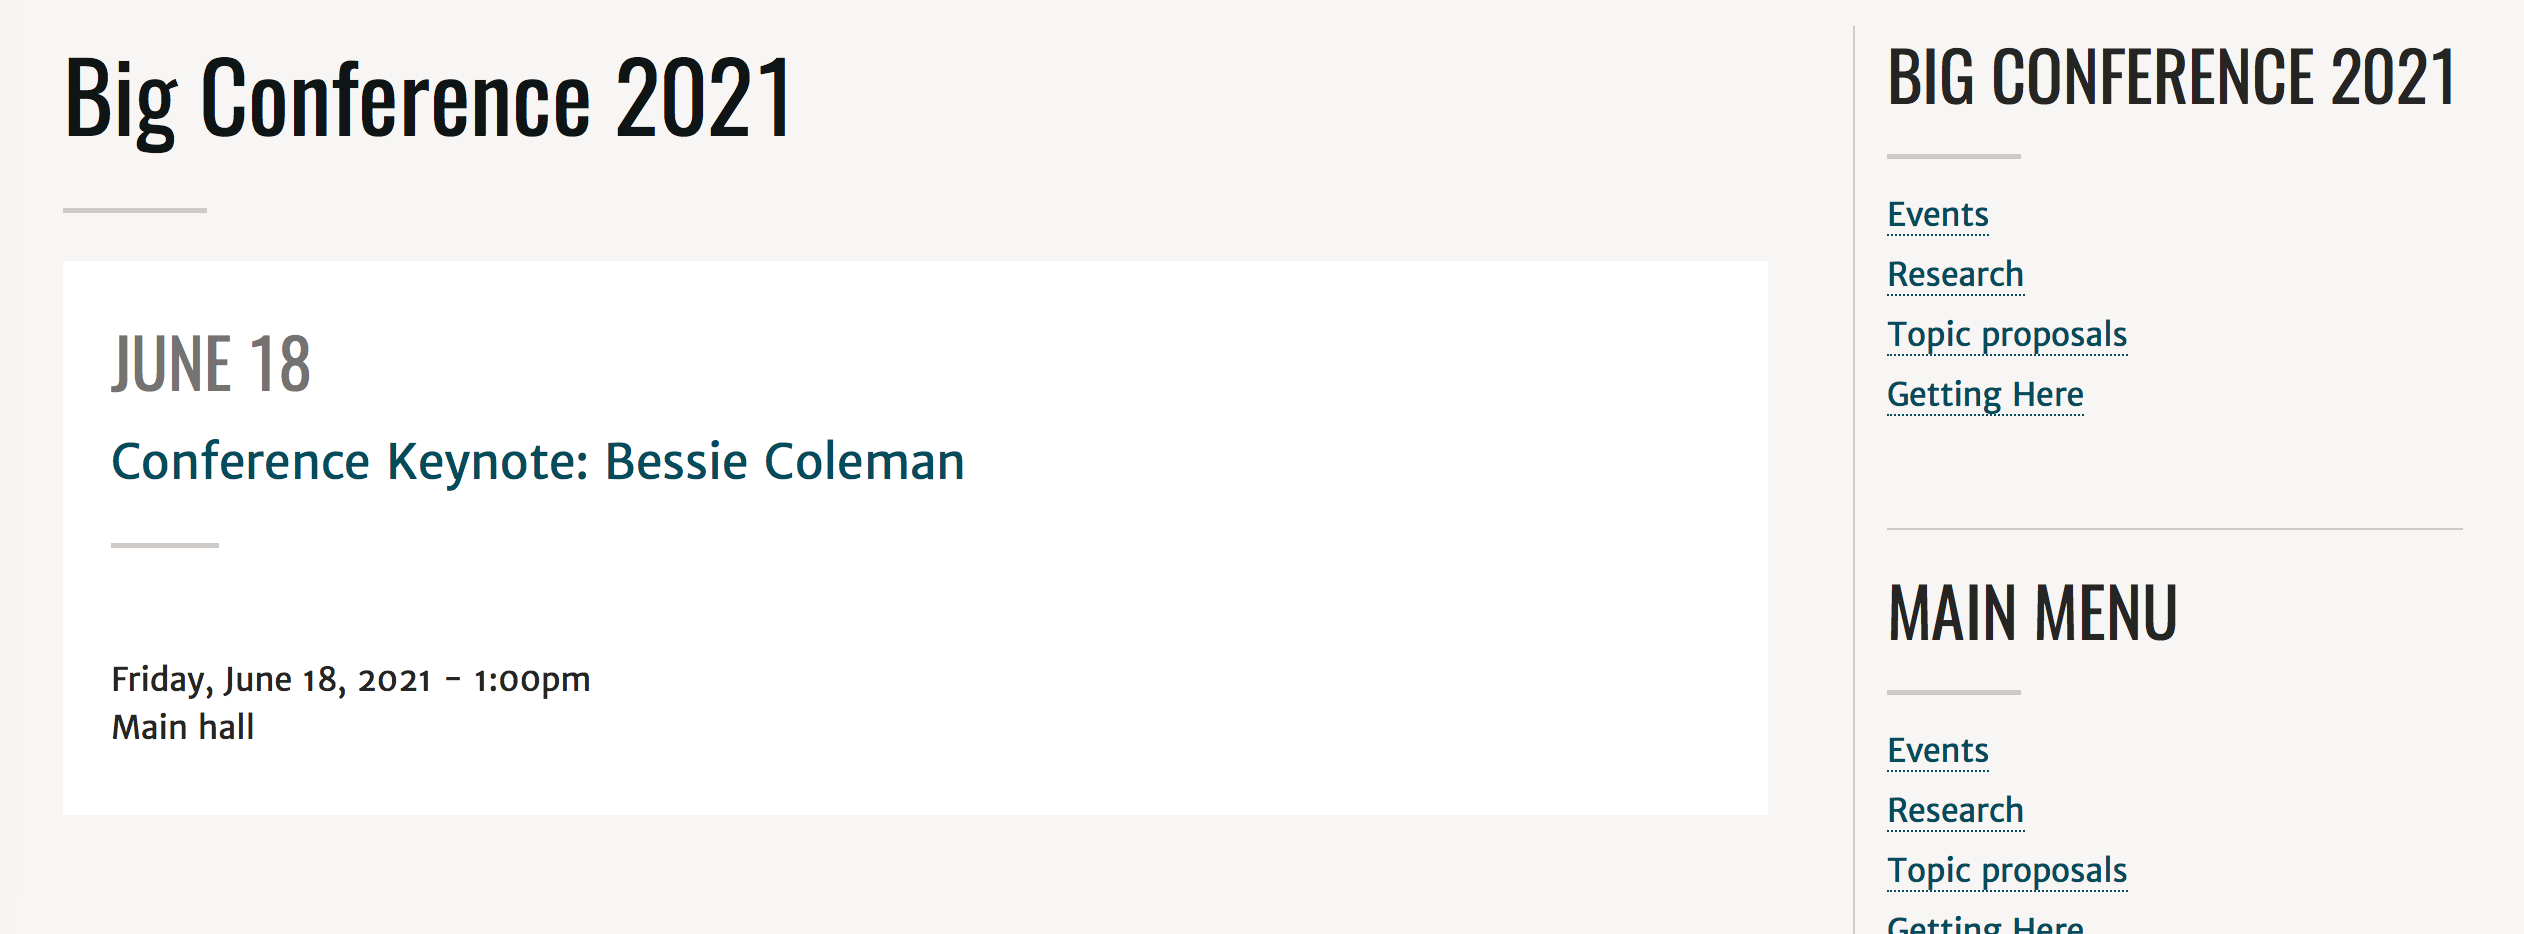
Now when I scroll to the Conference pages, I see my new "Events" menu link.
I'm going to rearrange the link order and put Events at the top. I've also decided to disable the "Event Schedule" page. This is just my preference.
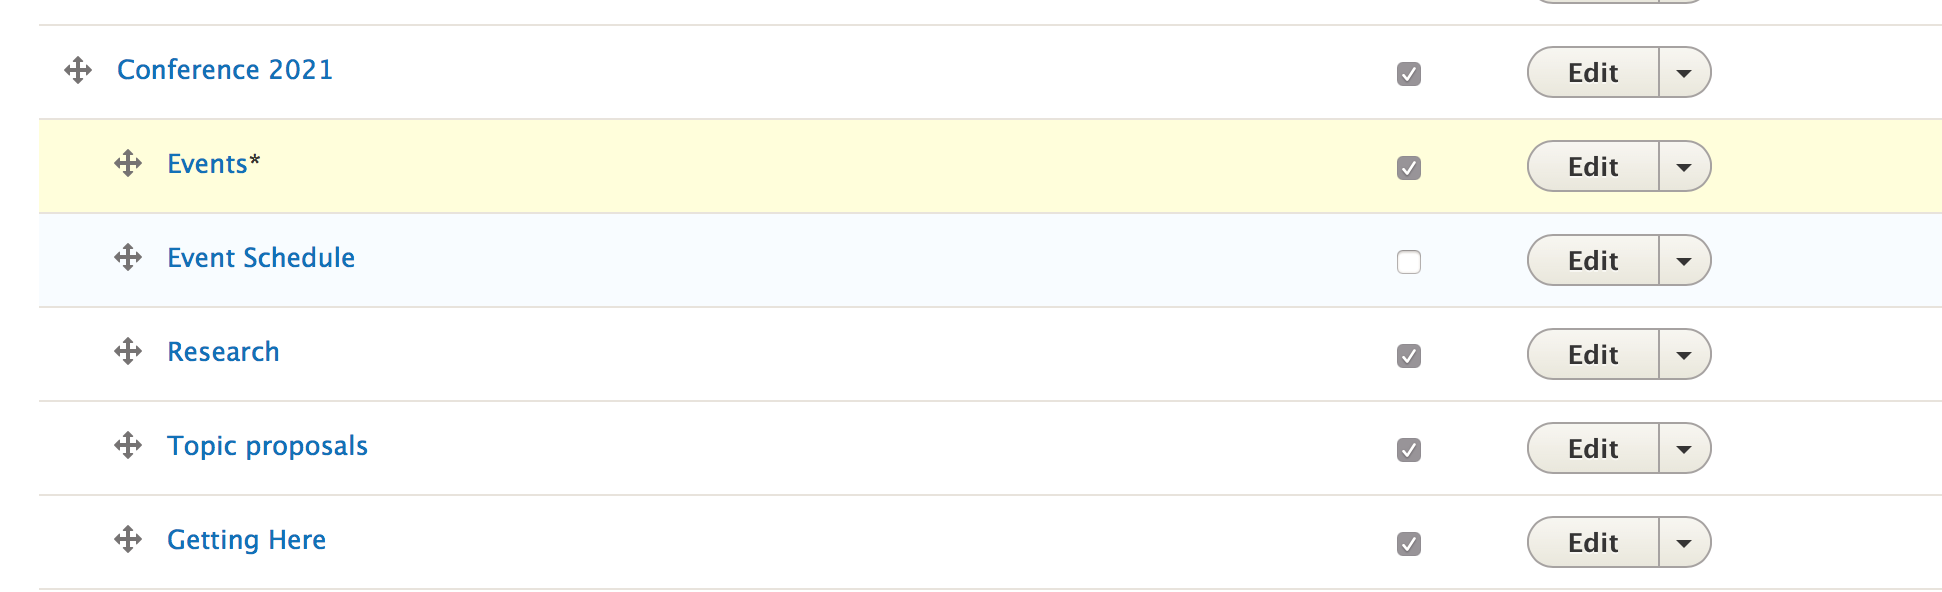
Because I rearranged links in the menu, I need to click on the 'Save' button.
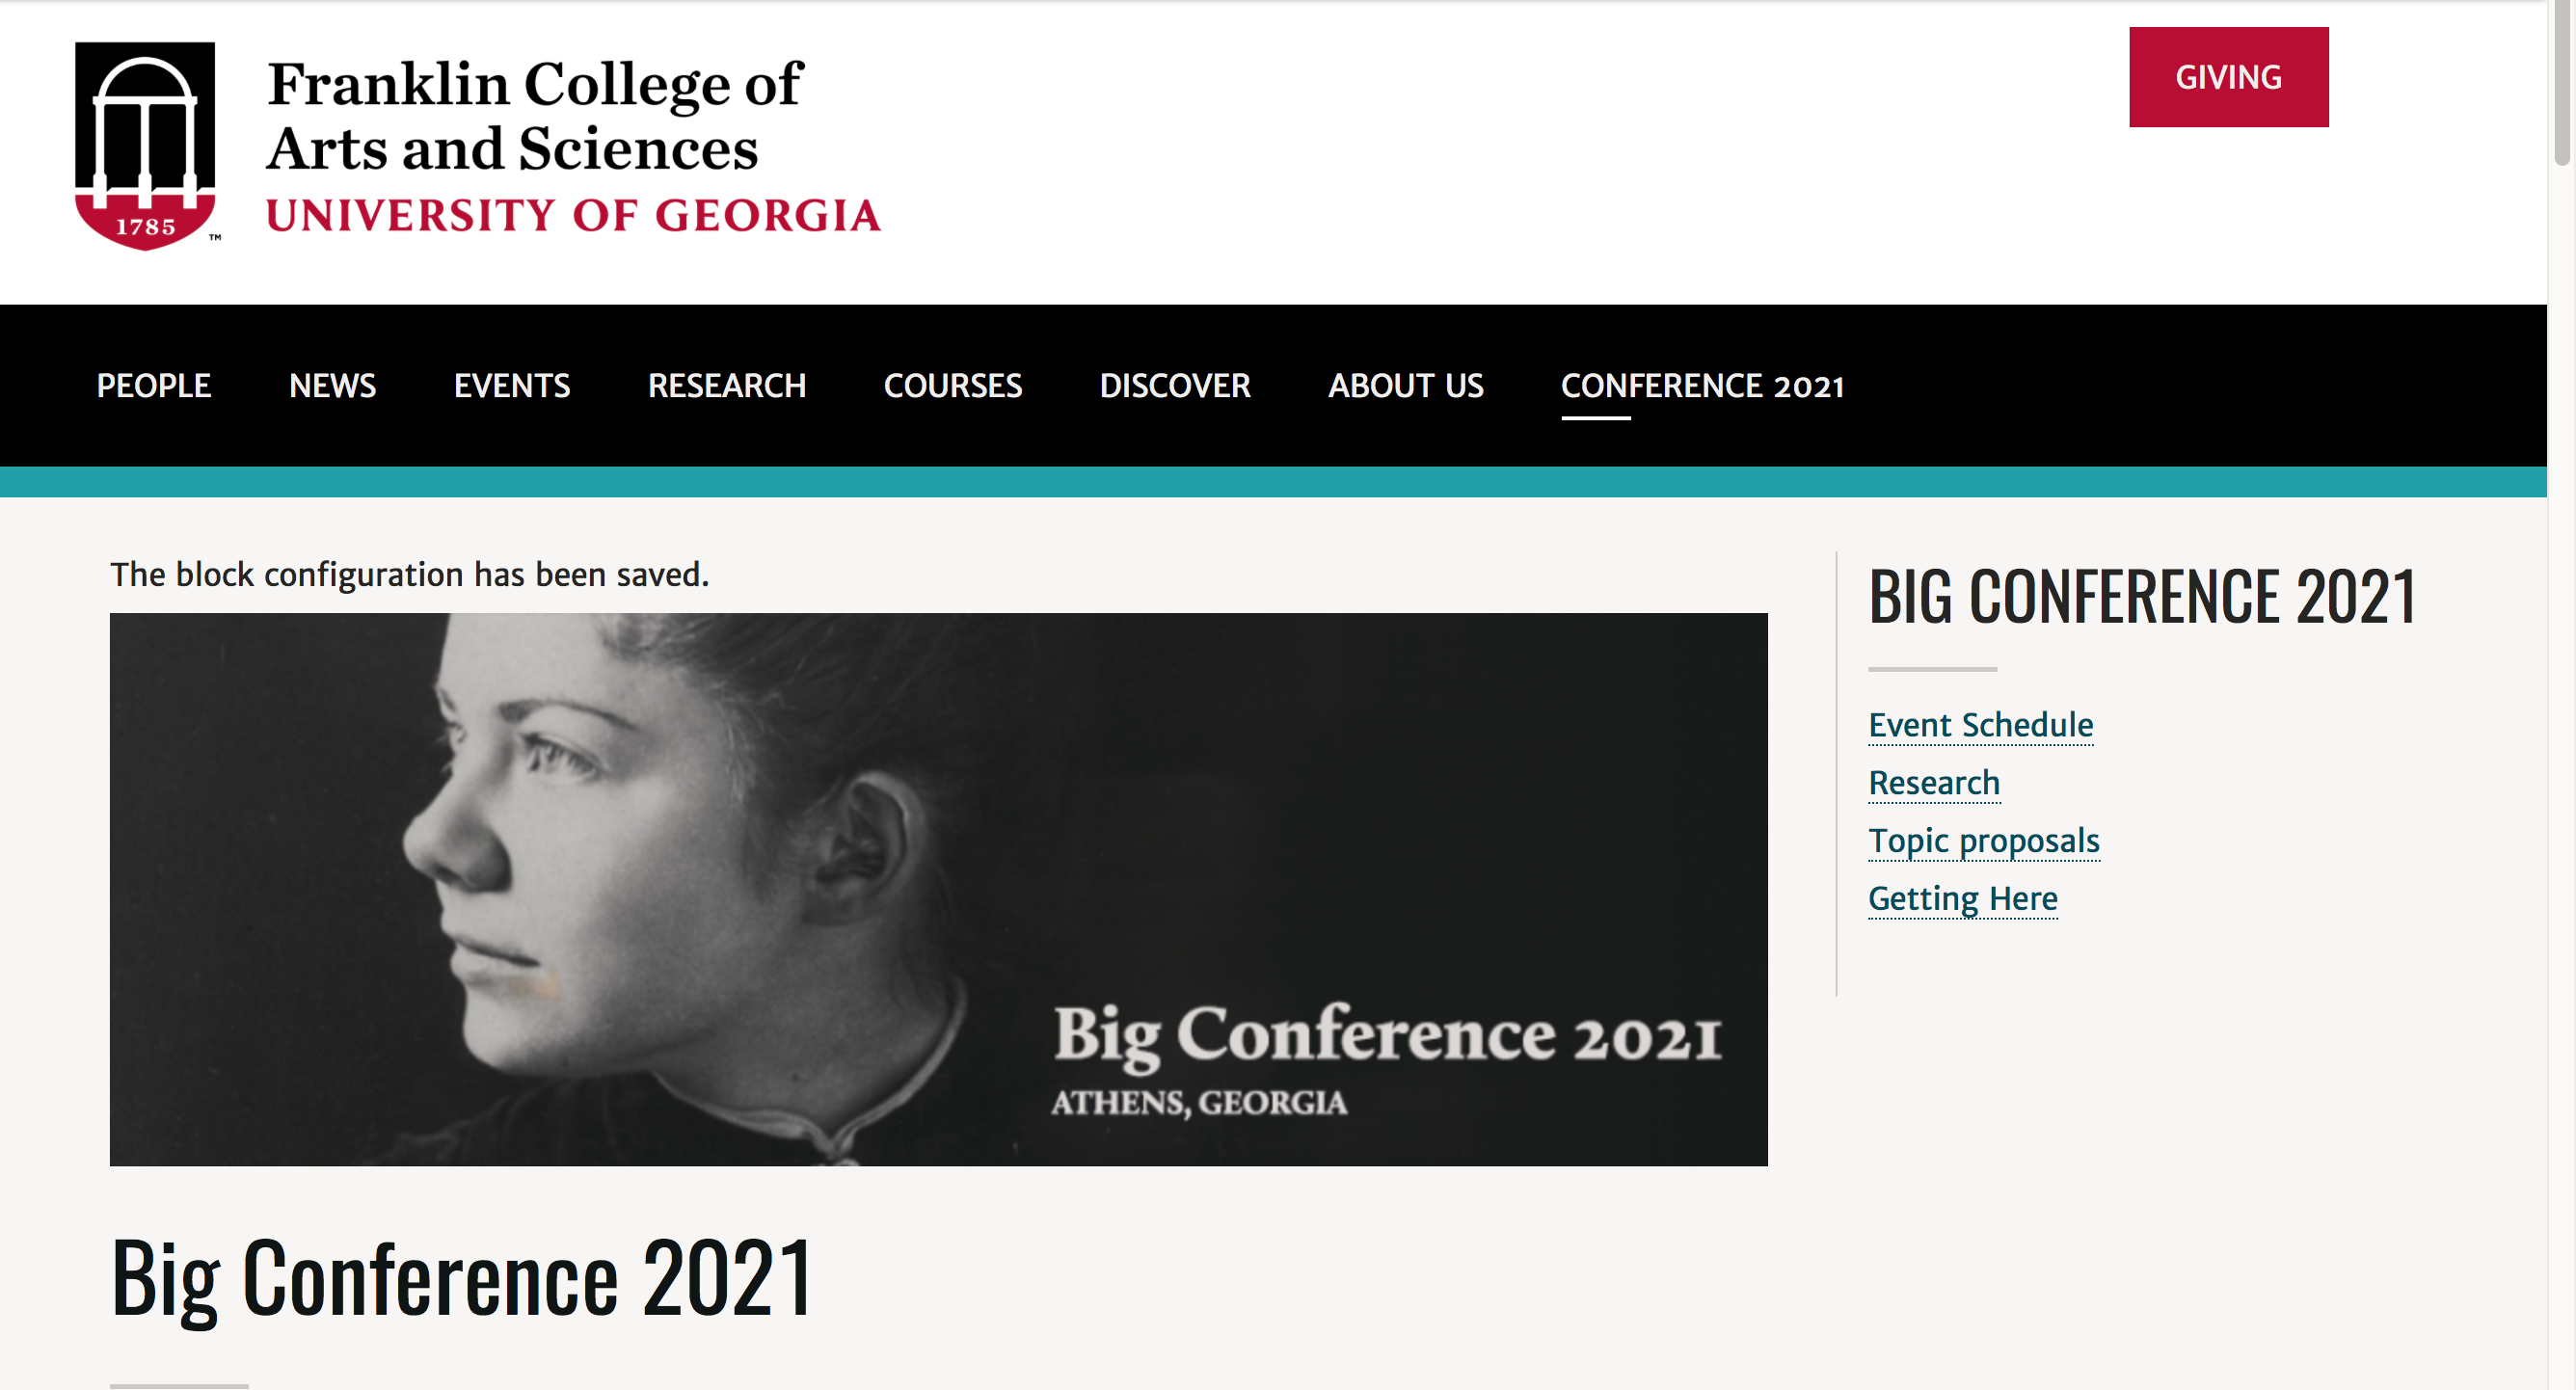
So now my Big Conference 2021 events are part of the conference menu. Notice the "Events" link to the right.
But wait, where is my "Big Conference 2021" menu title?
Remember when we added that custom menu block, we told it what pages to appear on. I need to tell it to appear at /events/big-conference-2021 also. The same thing with the big conference image in the custom block I made.
Step 4: Tell your Custom Blocks to Appear or Not Appear on This New List of Events for Your Conference
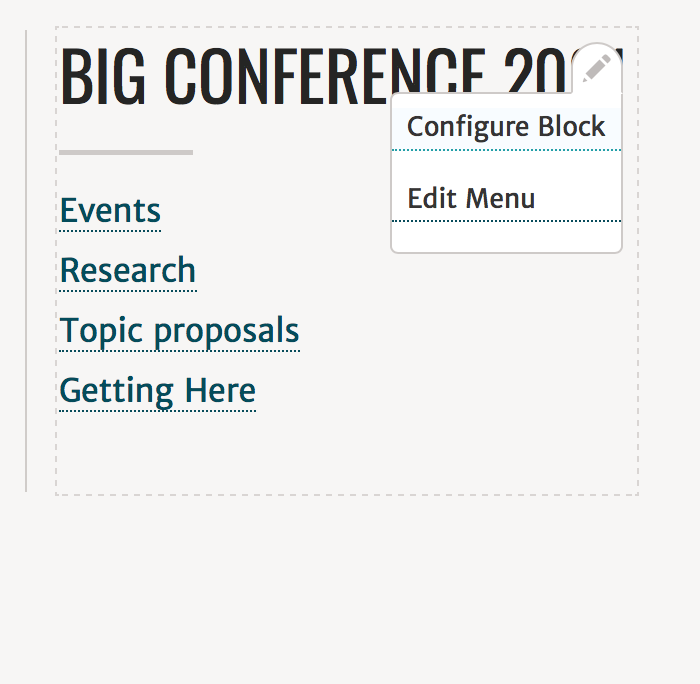
Go back to the main landing page of your conference section.
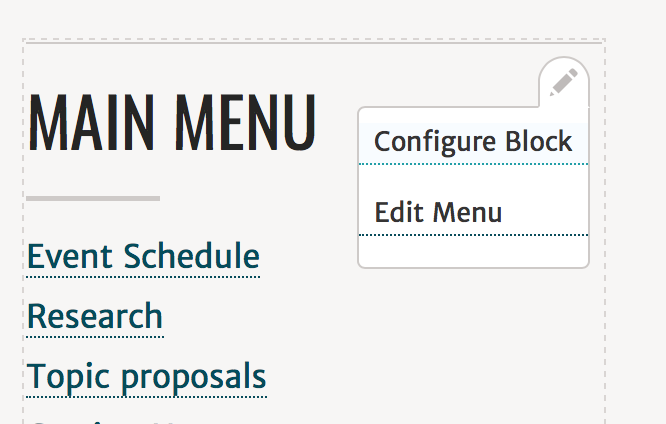
Look for the pencil to the right of the Big Conference 2021 menu block. Click this and click "Configure block."
Add the path to your events list for the conference. In our example, it is the /events/big-conference-2021 url.
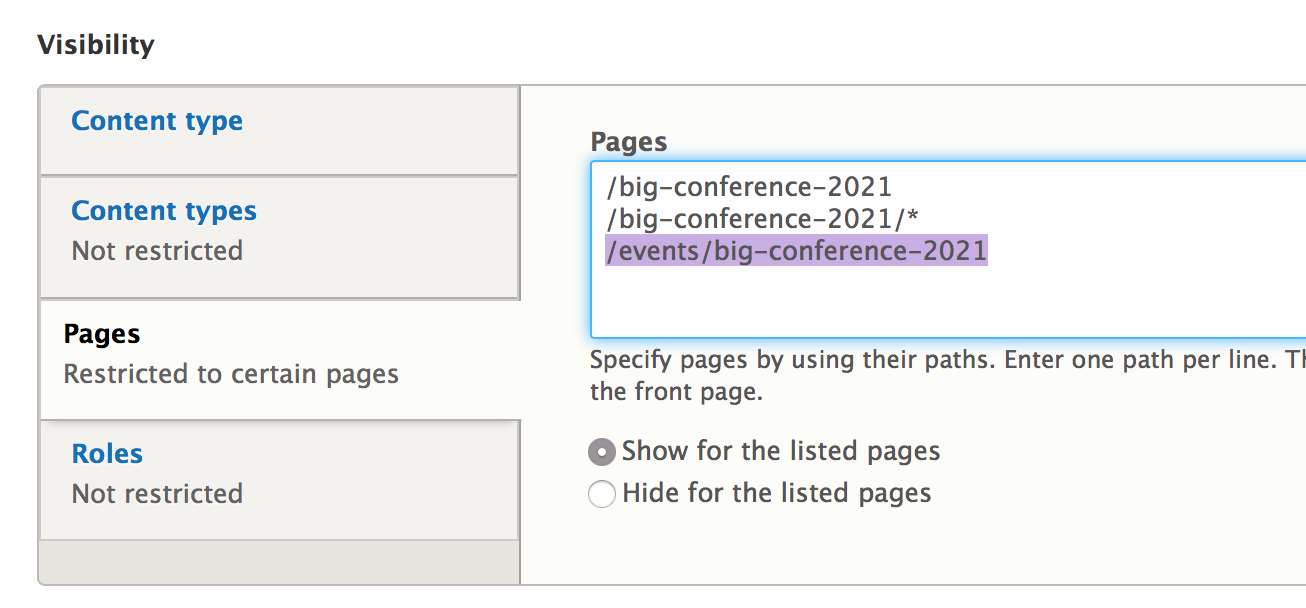
Click on "Save block."
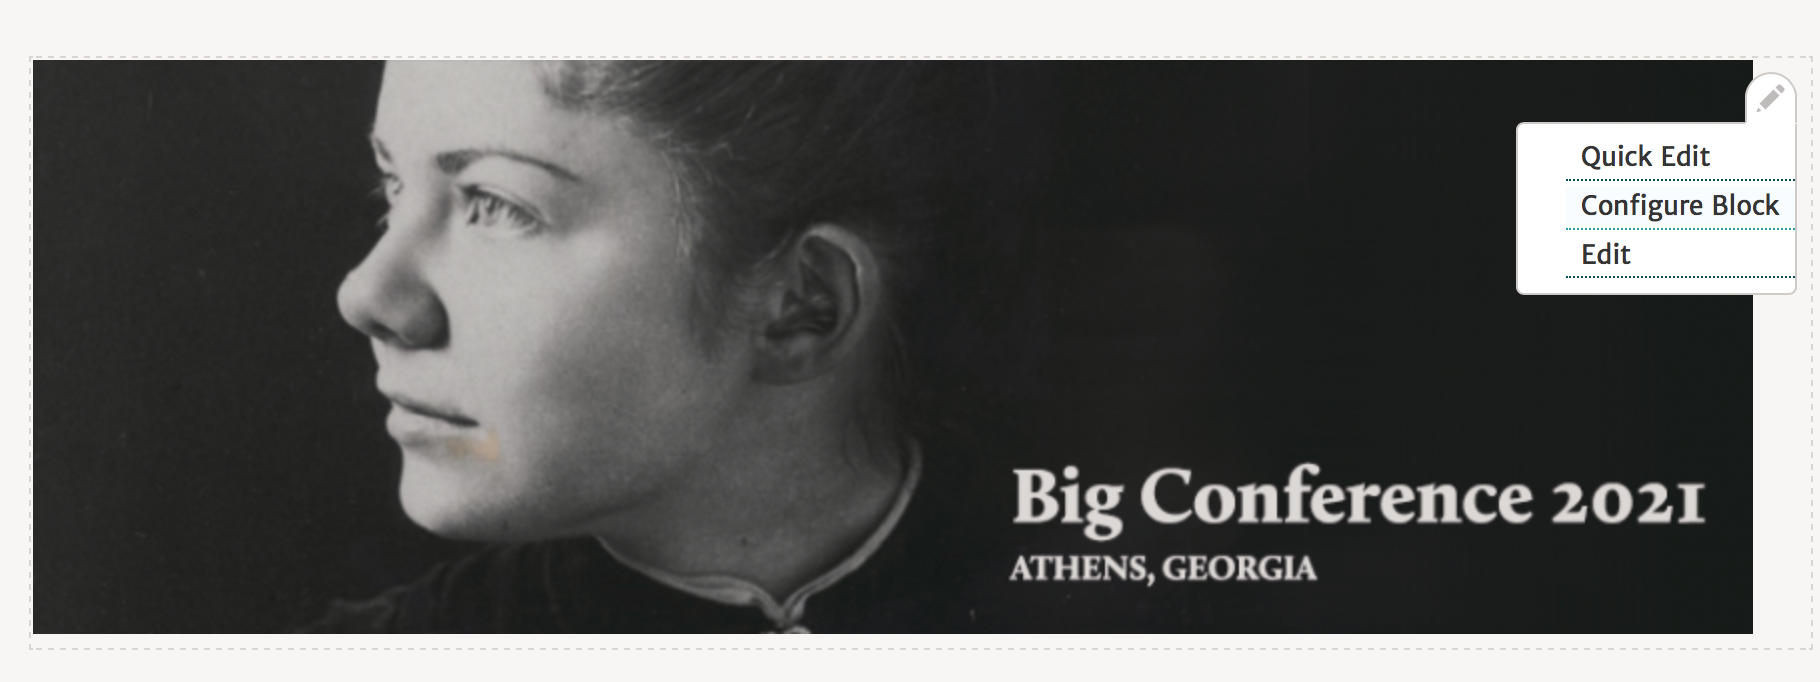
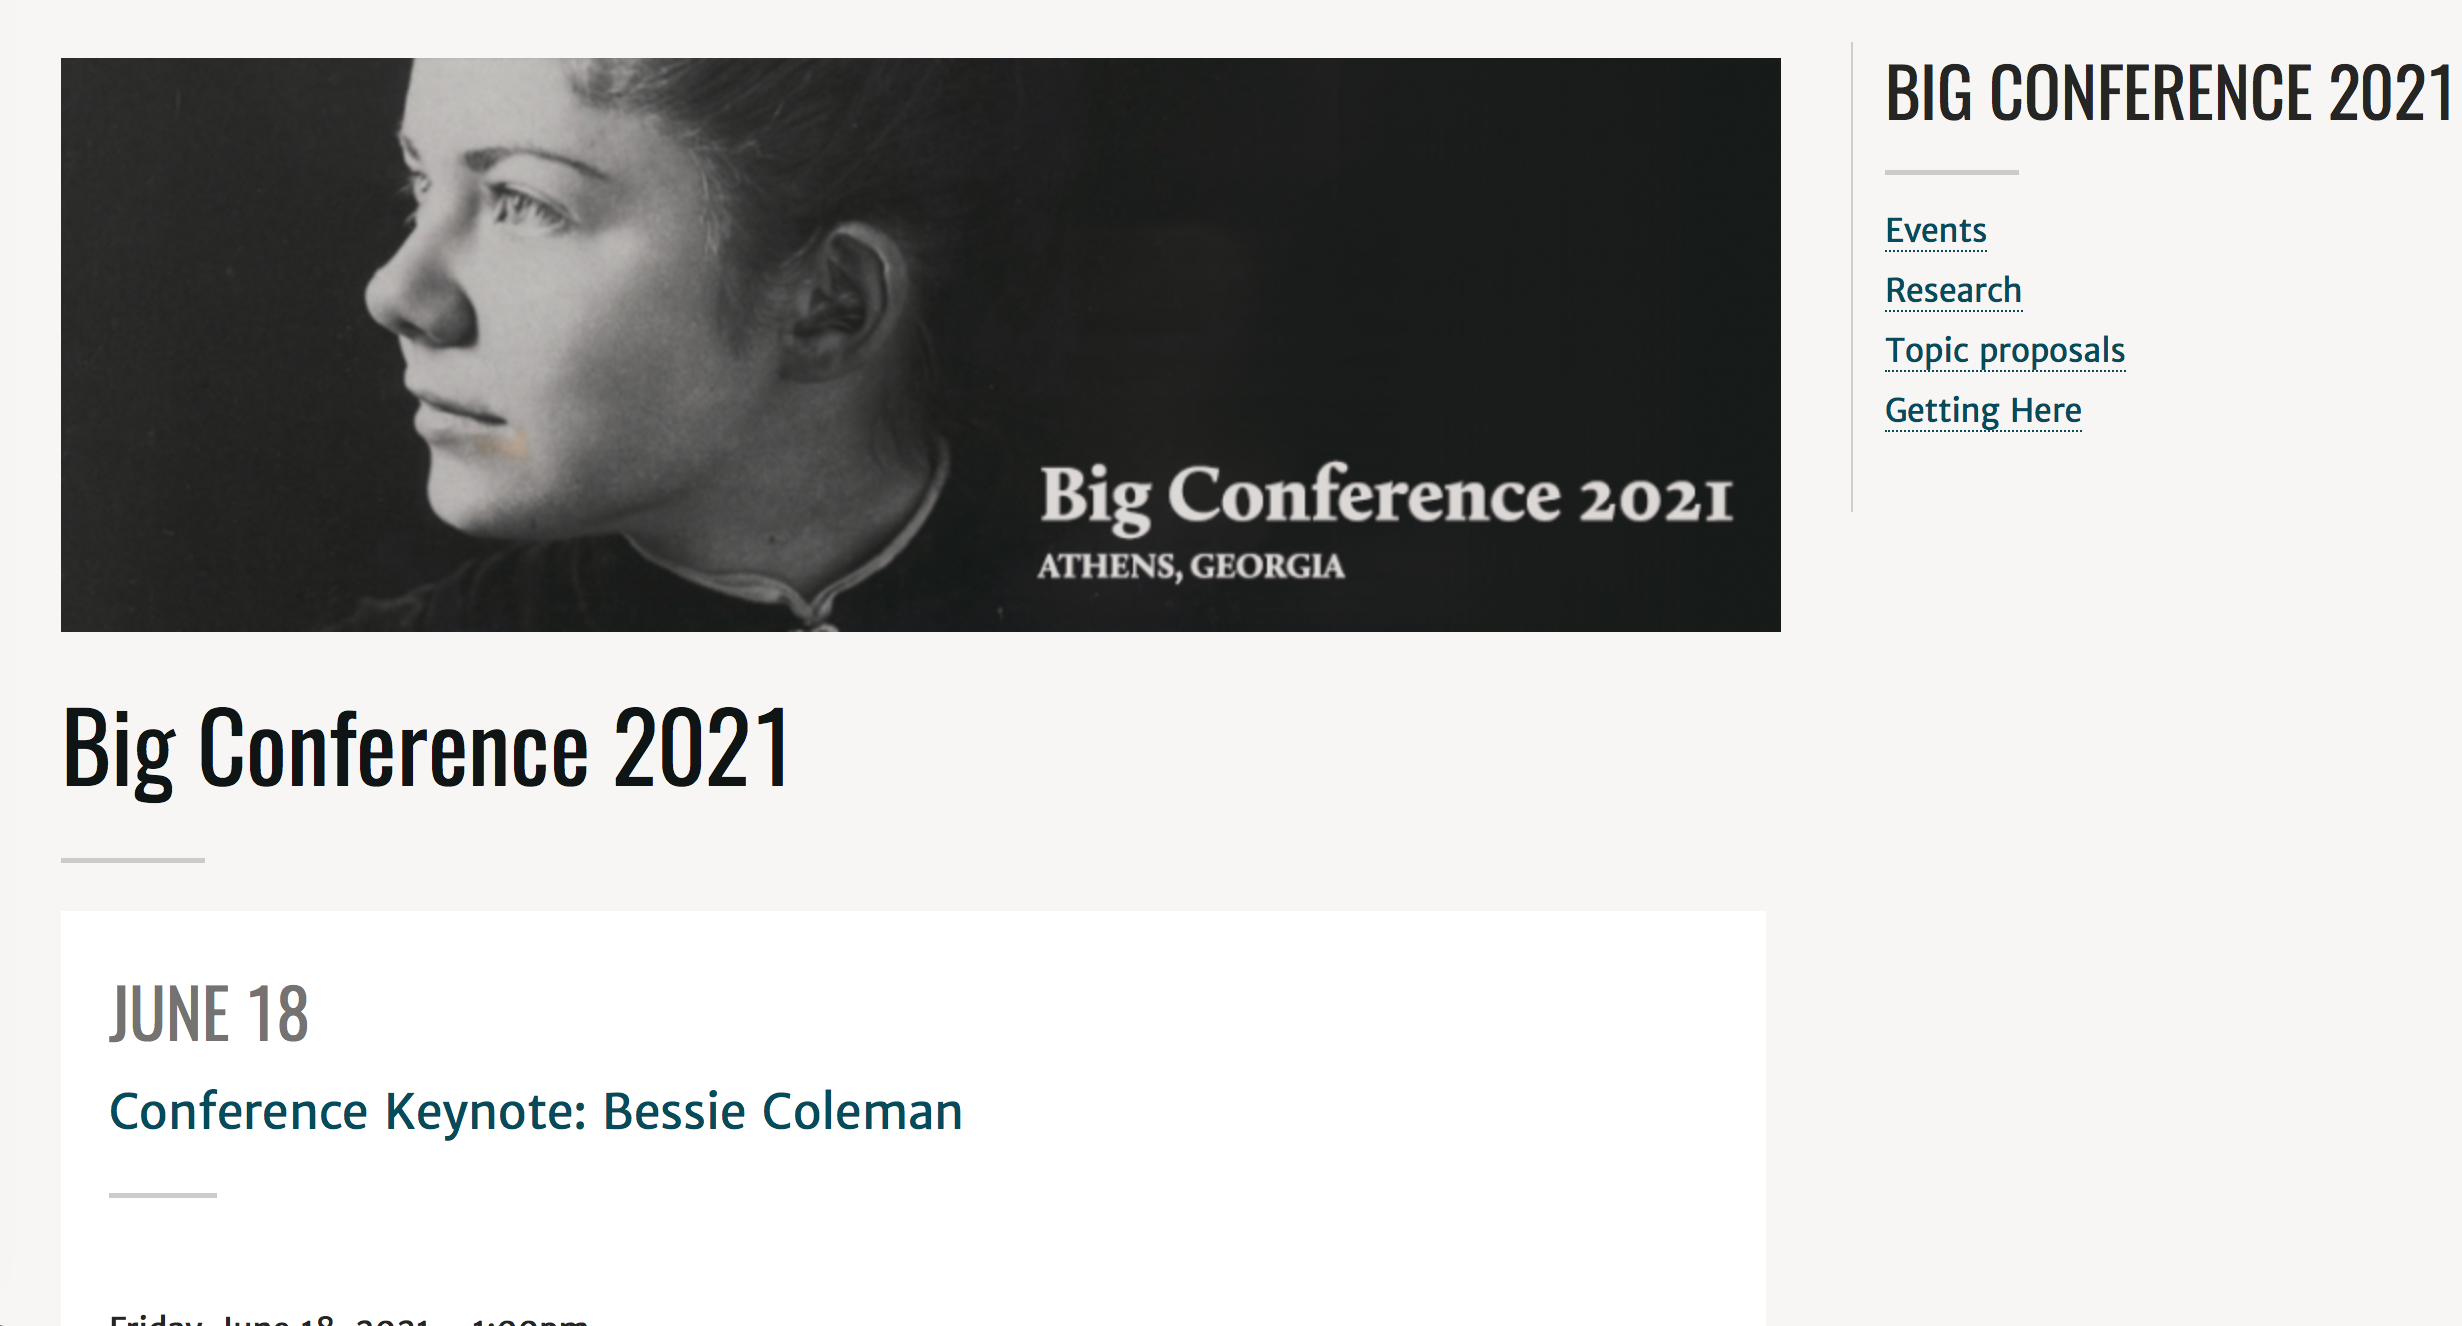
Let's go to the image block header and make sure it also appears over our events.
Click the pencil and "Configure block."
Again, the path to your events list for the conference. So the /events/big-conference-2021 url.
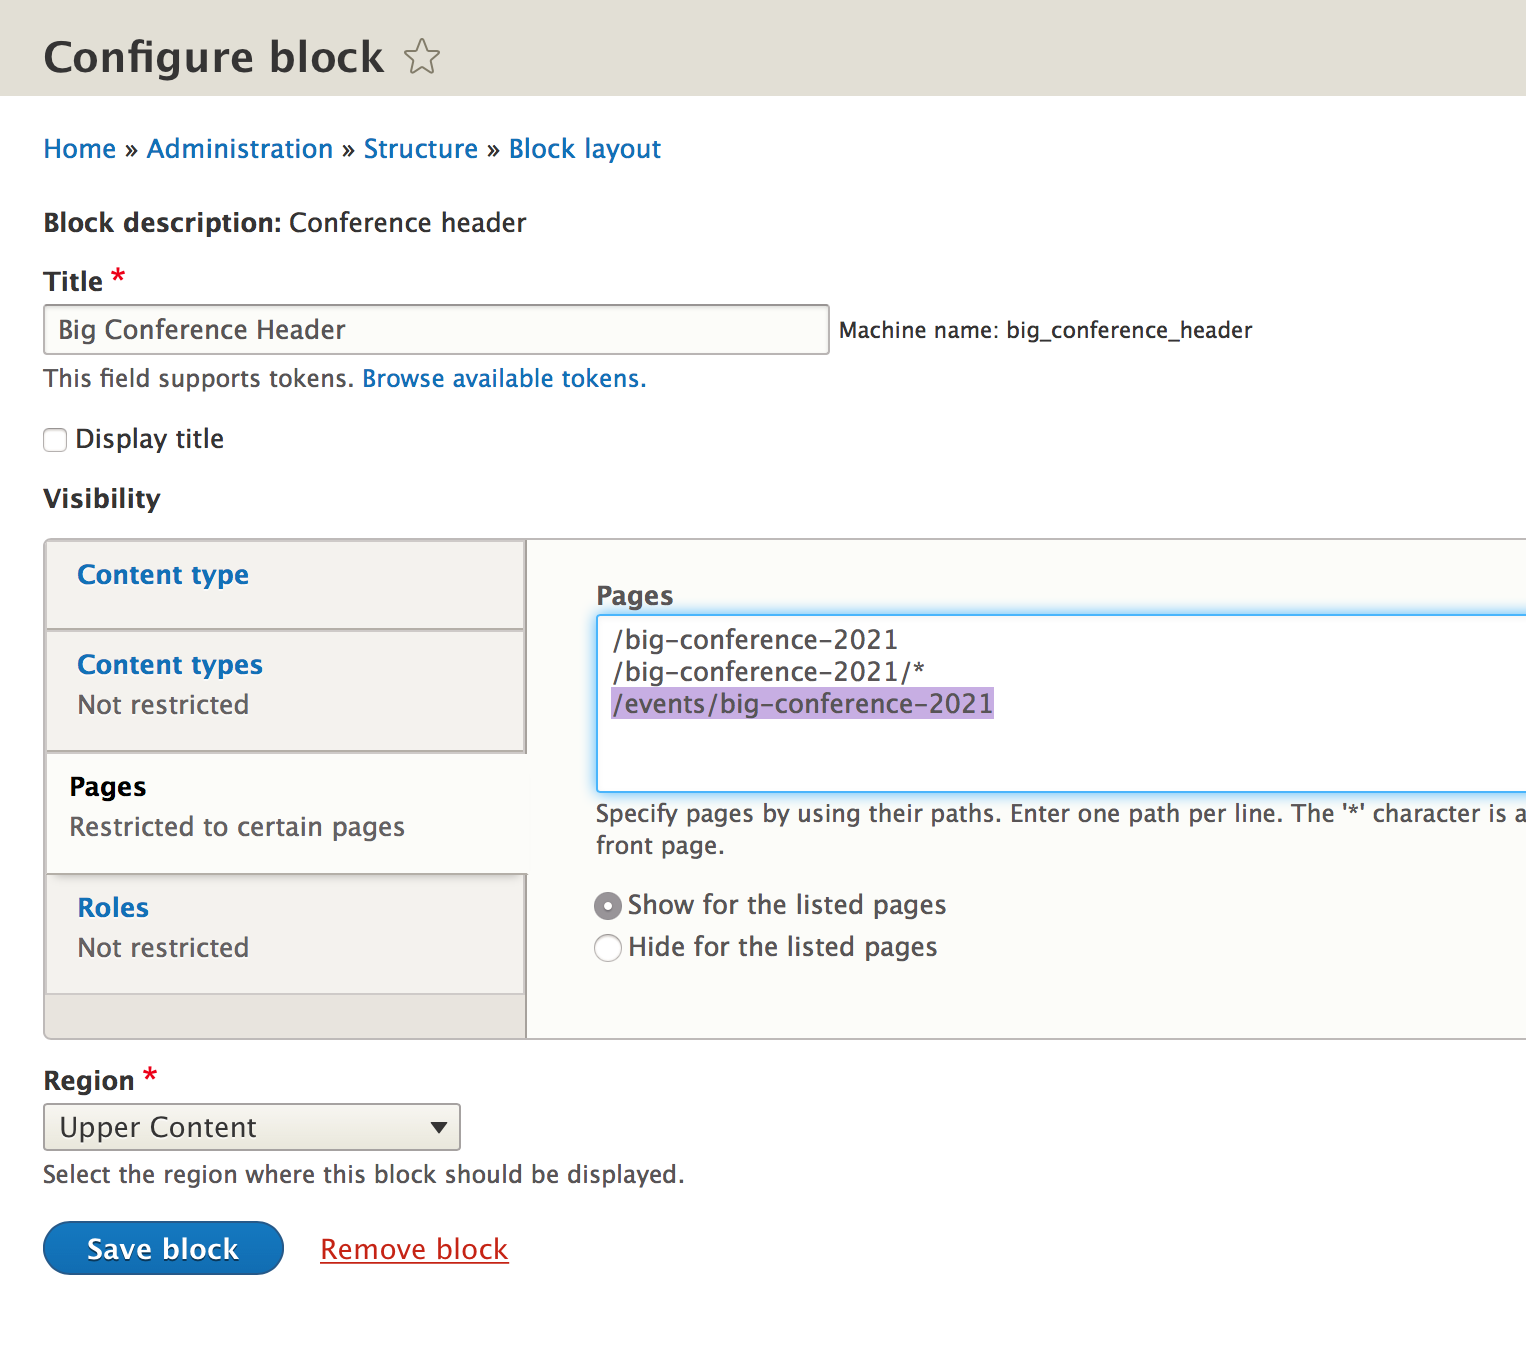
Click on "Save block."
One more thing. We have two menus on the events page. Let's tell that second Main menu not to show up.
For "Main menu," Go to the pencil and click "Configure block."
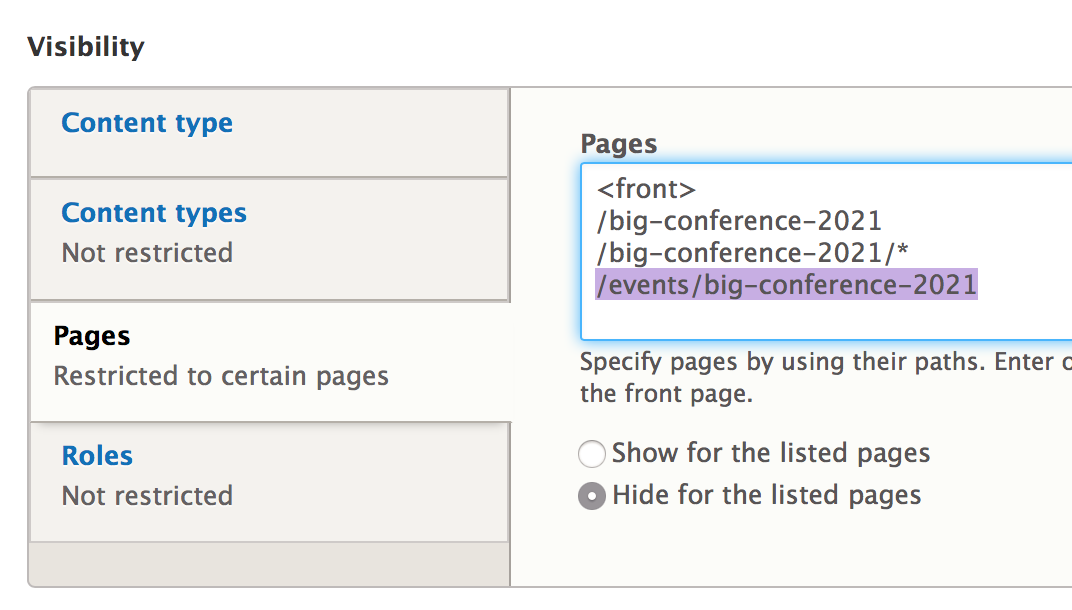
In this particular block, the "hide for listed pages" option is selected.
So we'll just add the url so it knows not to show up on this page.
Click "Save block."
Looking good! We're done!
Note, these events will also show up in the main Event section of the website, including spotlights. If you don't want this to happen, put in a ticket to the web team via helpdesk.franklin.uga.edu.
Go back to Creating Special Sections of Your Site.
To manage any part of your web site, you will have to be logged into the Drupal CMS. If you need help logging in, please review this login help document.
Monday - Friday 8:00 a.m. - 5:00 p.m. Homepage Directory Service Offerings Franklin OIT Status http://status.franklin.uga.edu/ Receive or Discontinue Status and Service Updates from Franklin OIT UGA/EITS Systems Status Pages https://www.facebook.com/uga.eits USG Systems Status PageContact the Franklin OIT Help Desk
Hours of Operation
Website Information
Systems Status Information
