Add a Banner Image to your Special Section or Conference Pages
This is an advanced topic. You will need to possess a good understanding of HTML, and have significant experience with Drupal content editing.
Permission Level
Level 3 or Higher - See permission level document for details
This page is part of a series of how-to's on creating a special section for your site, such as one used for a conference, program, or other reason. The first steps detailed how to create a section to hold your pages.
These next steps cover creating an optional custom block with an image and telling where to show up. It's an intermediate to advanced topic for our content editors. Note, you may need your permissions upgraded to create the block needed to make this happen.
If you need additional help on inserting images, or other aspects of your site, please see our Drupal 10 Support page.
Table of Contents
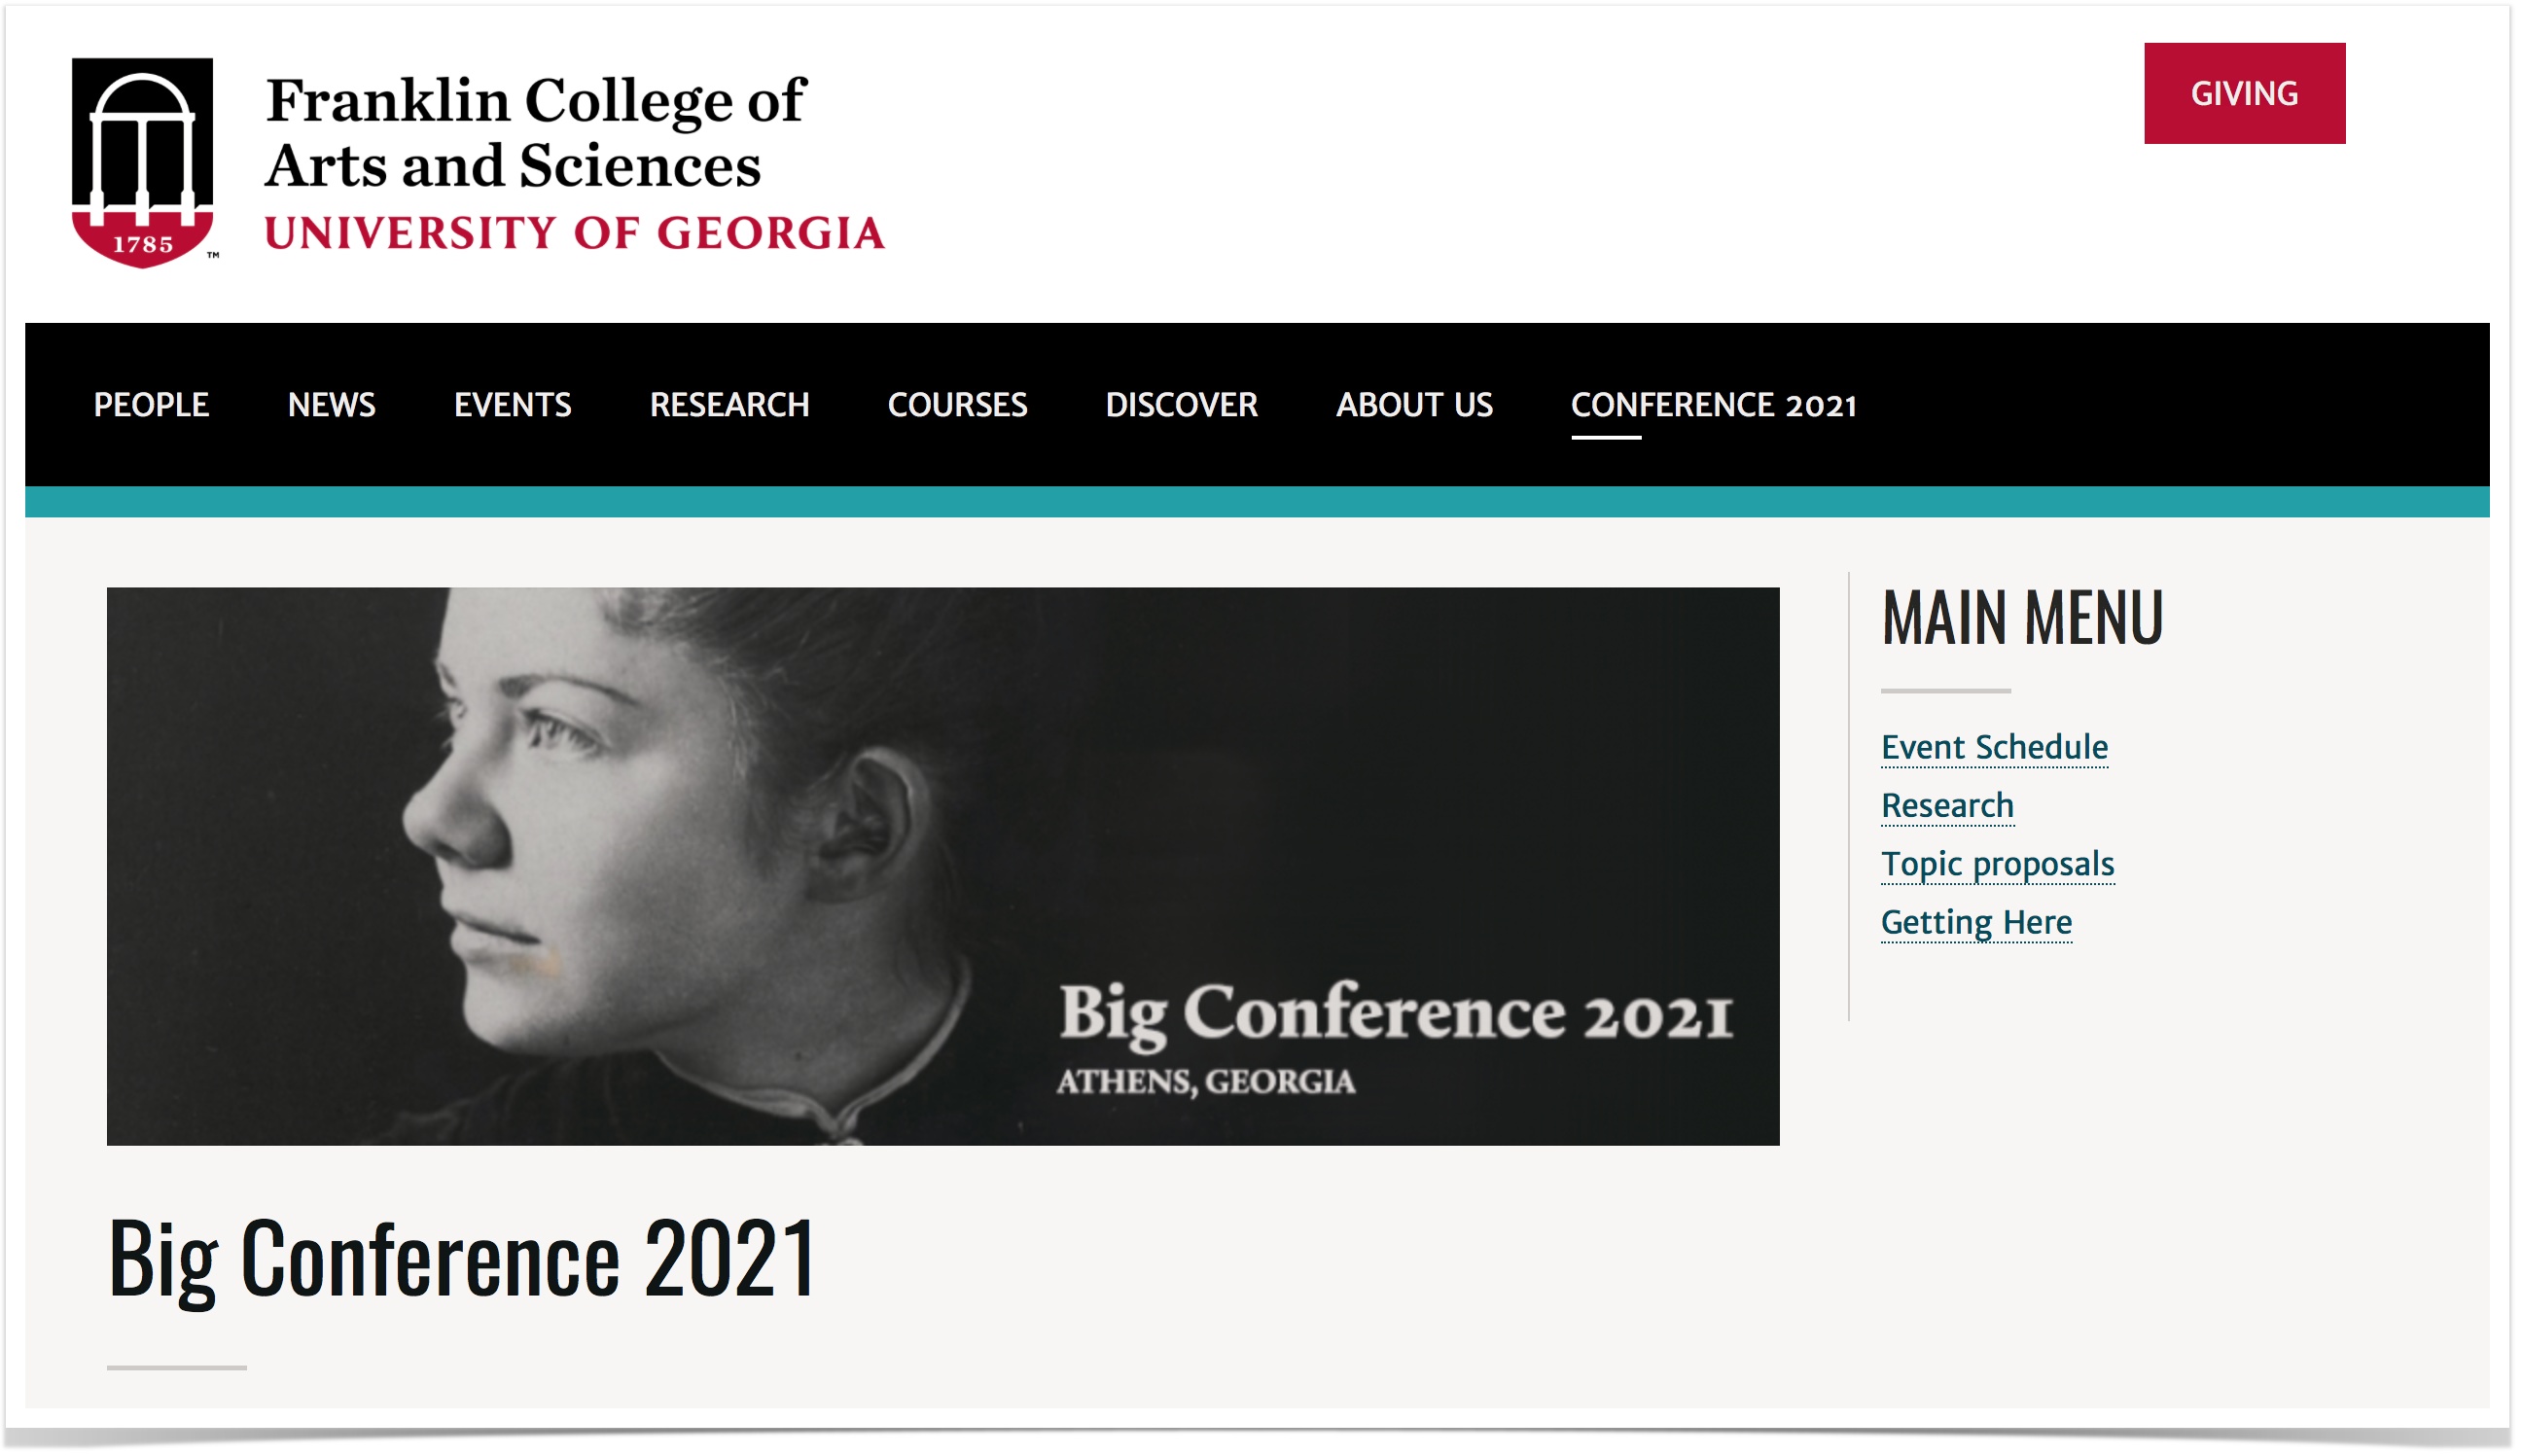
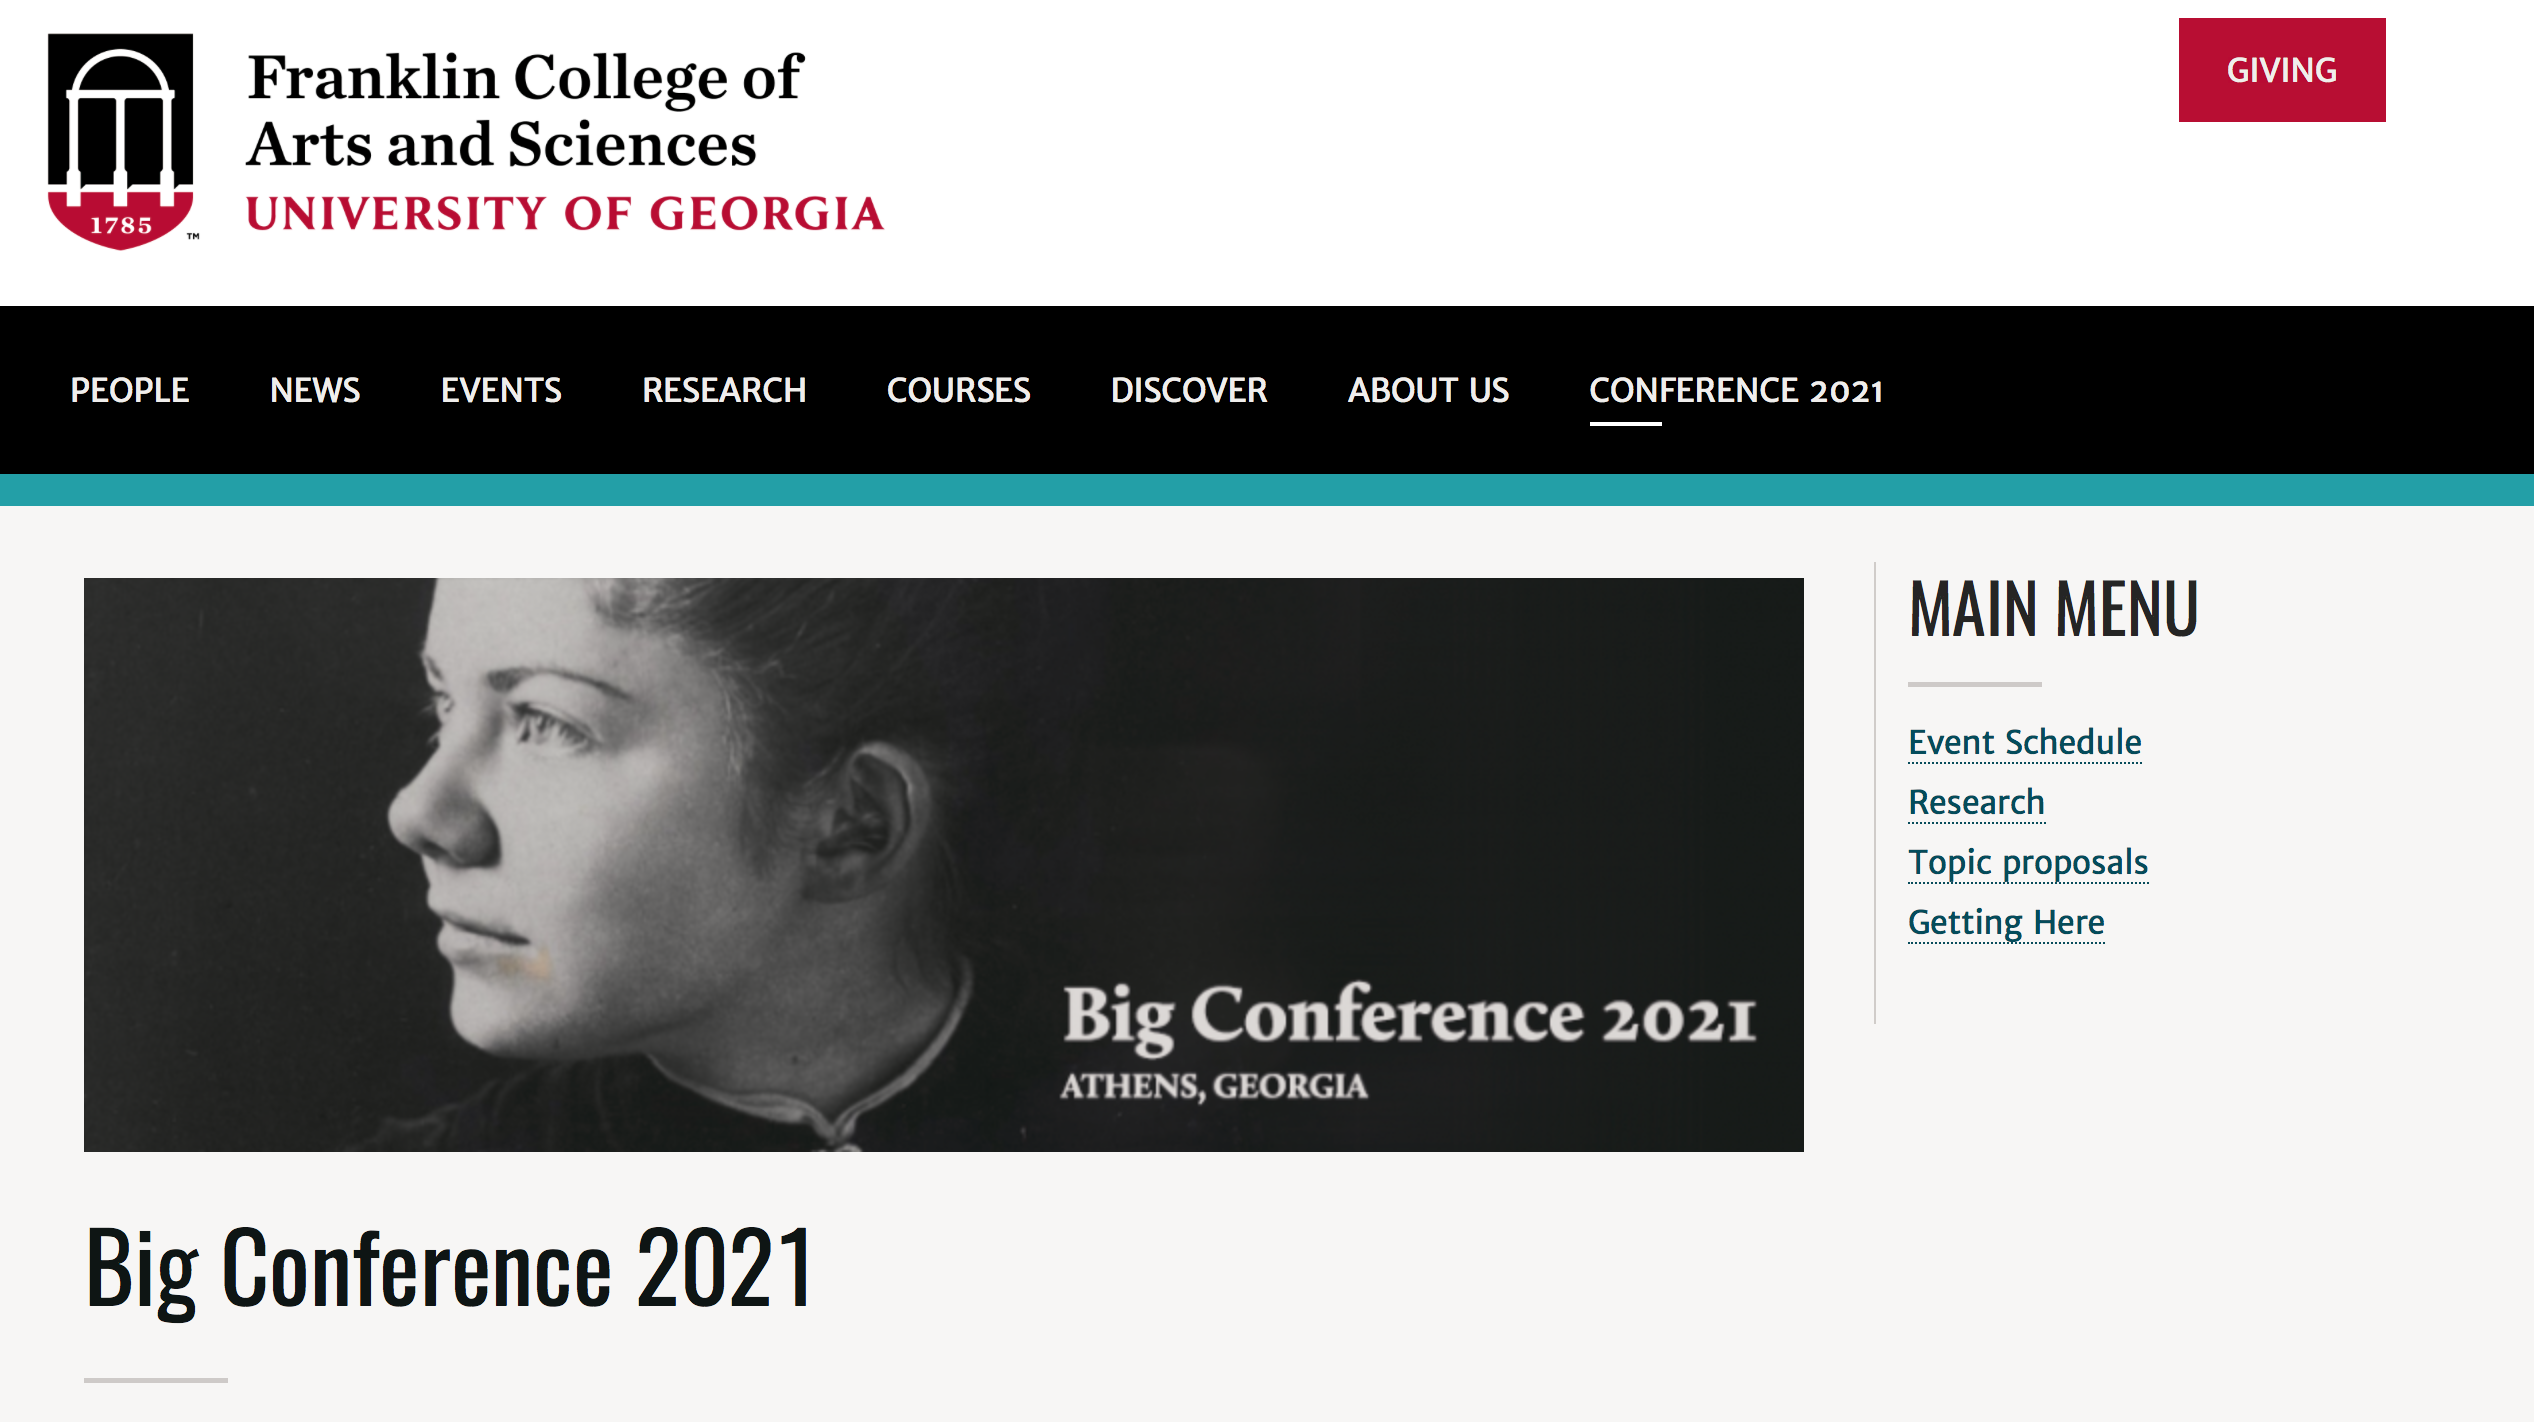
In our example from creating a special section for your site, we imagined we are creating a special section for an upcoming conference. You have the option to add a banner to appear over all these conference pages. To make this happen, we're going to create a custom block. It's helpful if you have already updated the url paths of your pages.
Step 1: Create a Custom Block to Hold Your Custom Image or Banner
In the admin tool bar under Manage, go to Structure >> Block Layout.
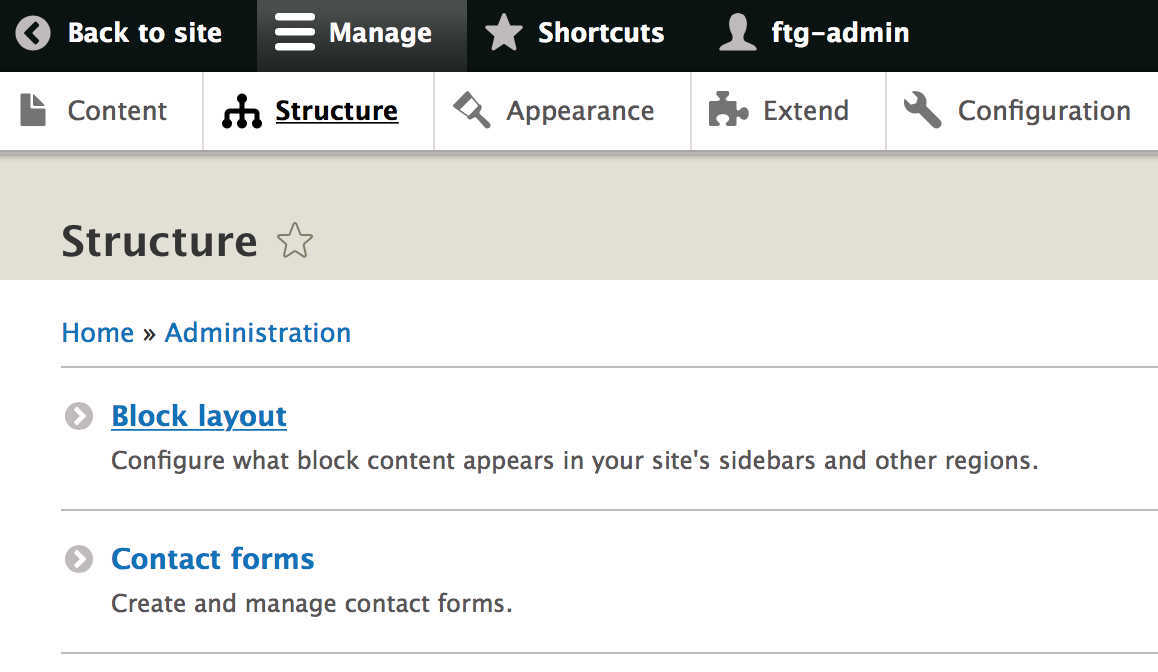
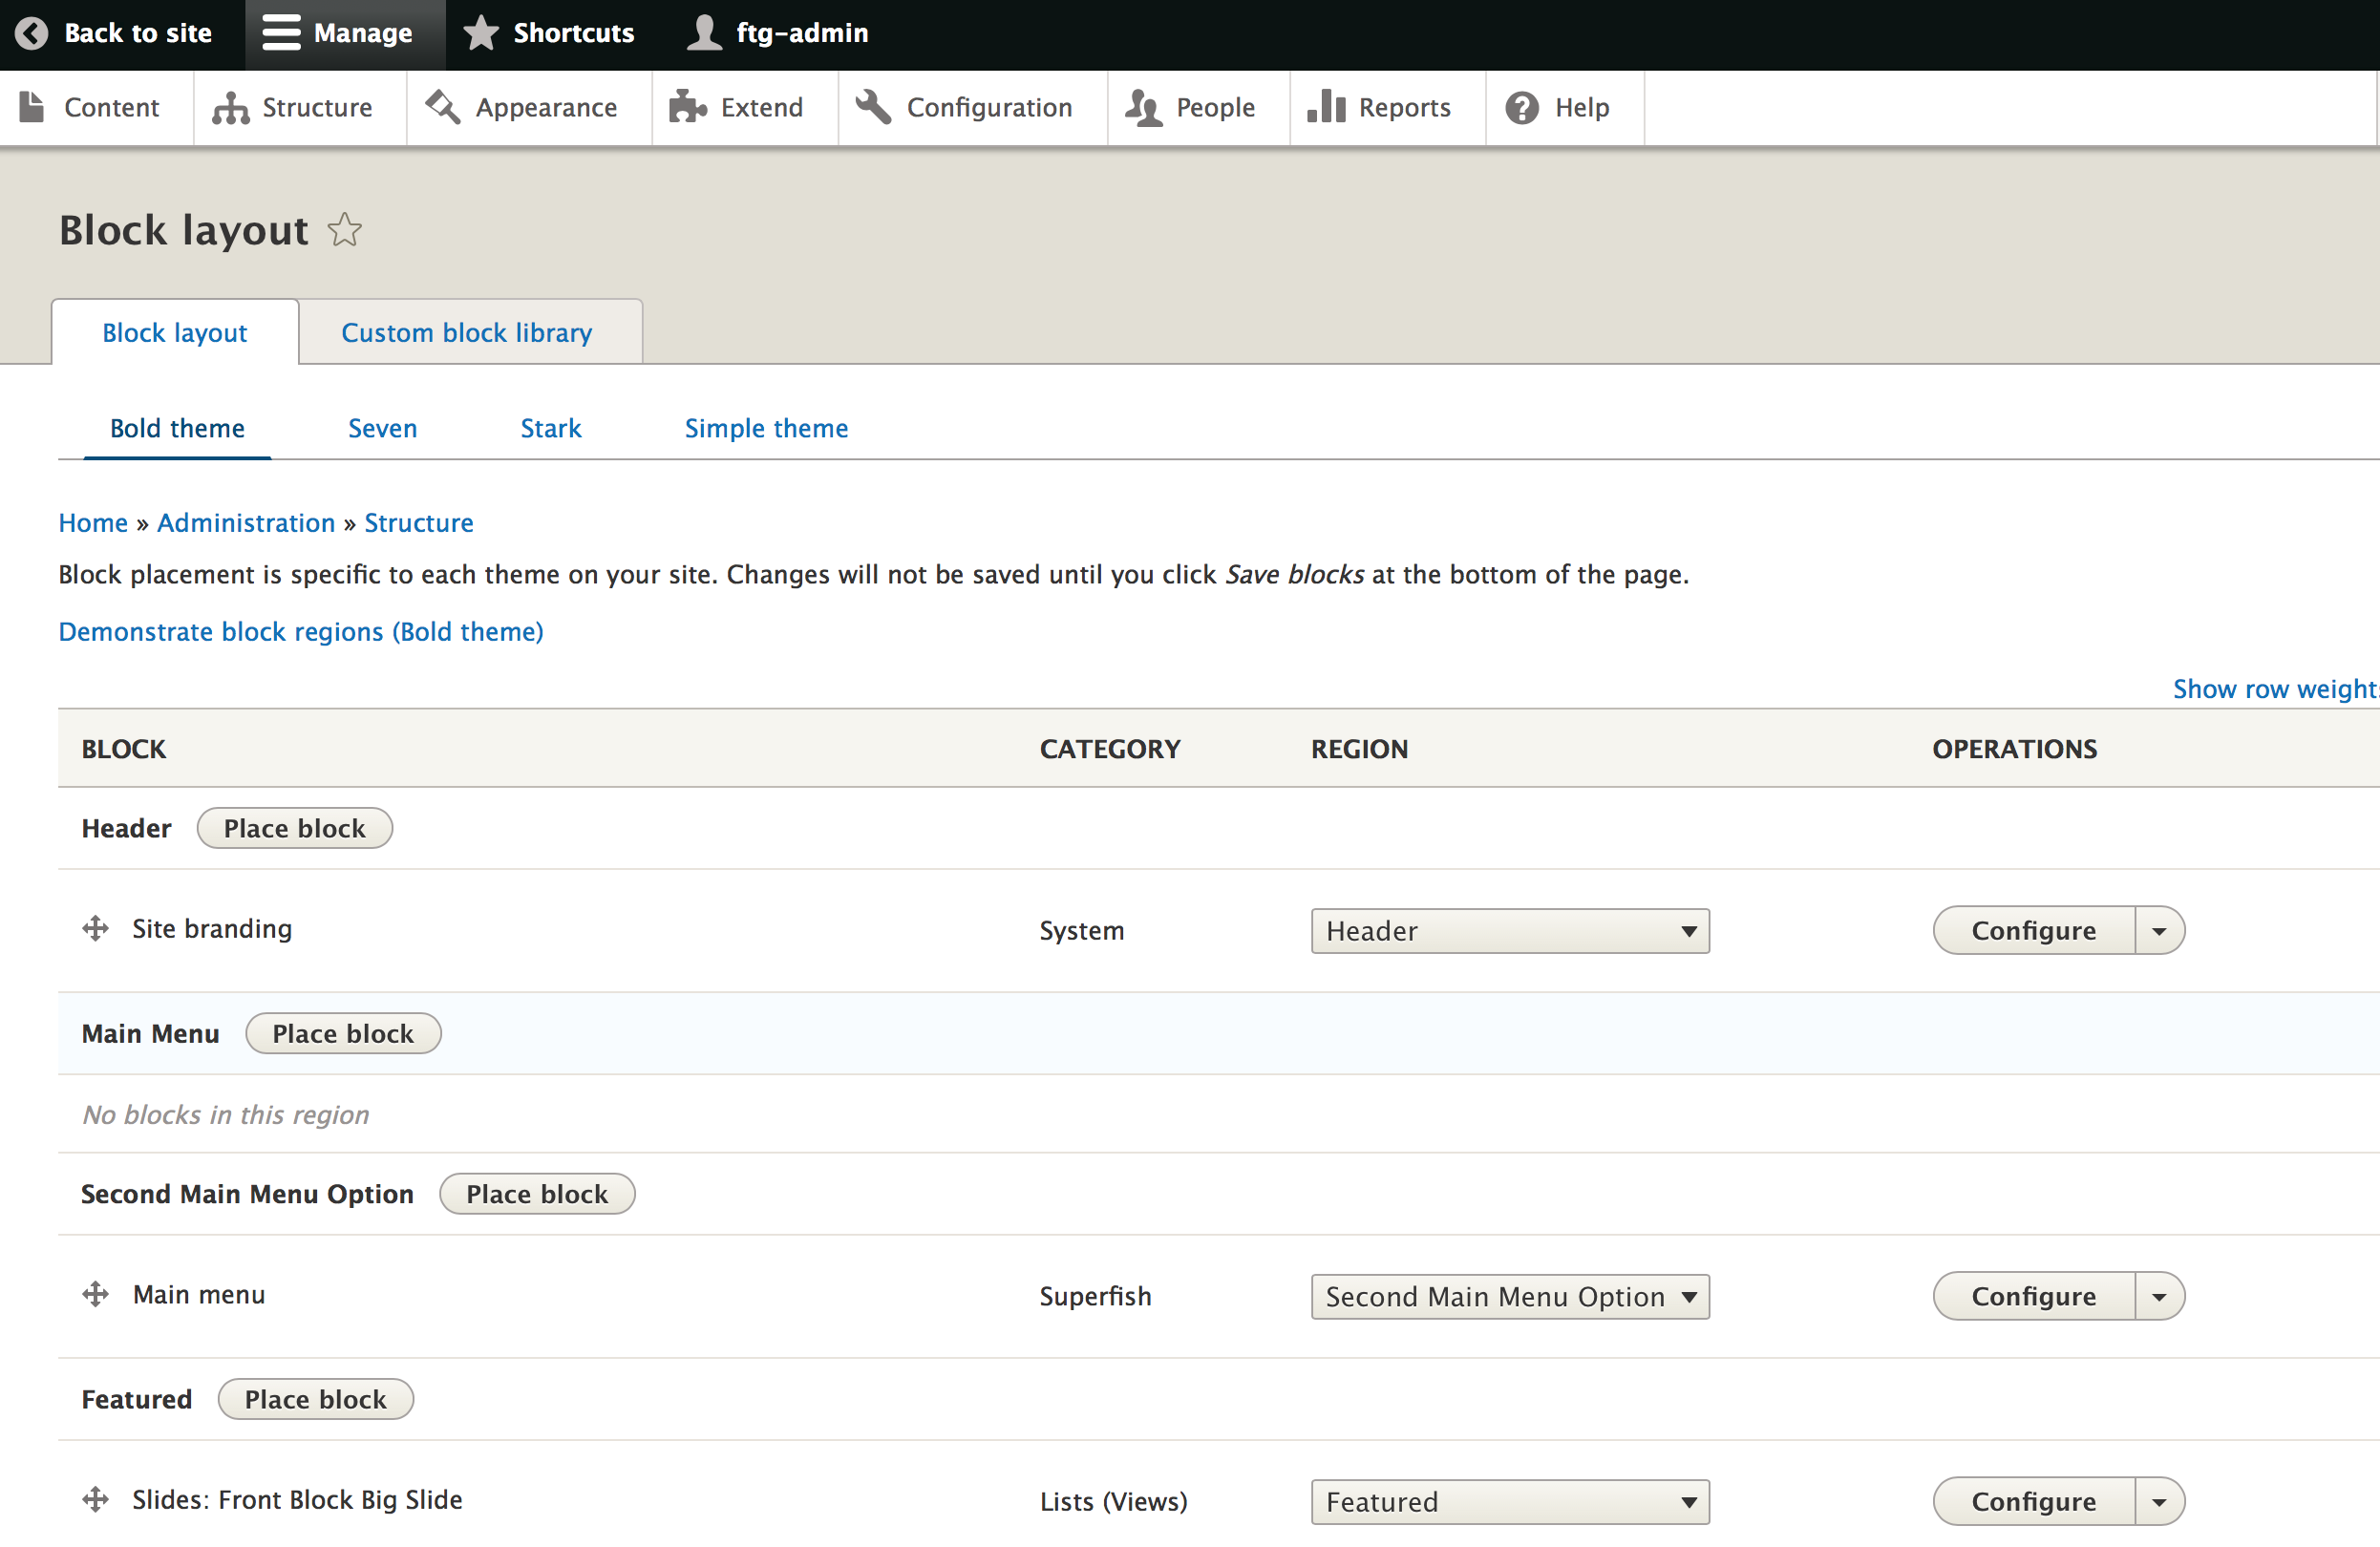
Now you are on the Block layout page. You can do a lot of damage here, so be careful.
Each bold area represents a section on your site's pages.
Step 2: Find Place Block
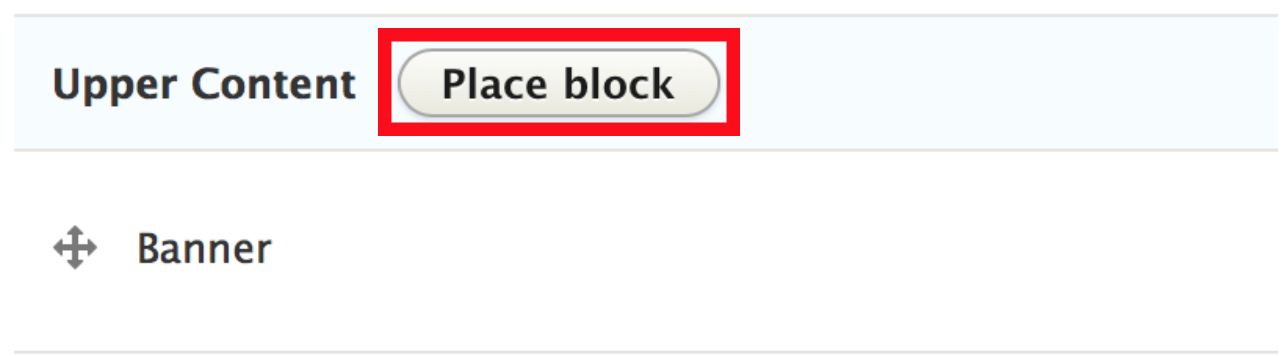
Look for the section called "Upper Content."
This is where we want to place our banner.
Select "Place block."
Step 2: Add Custom Block
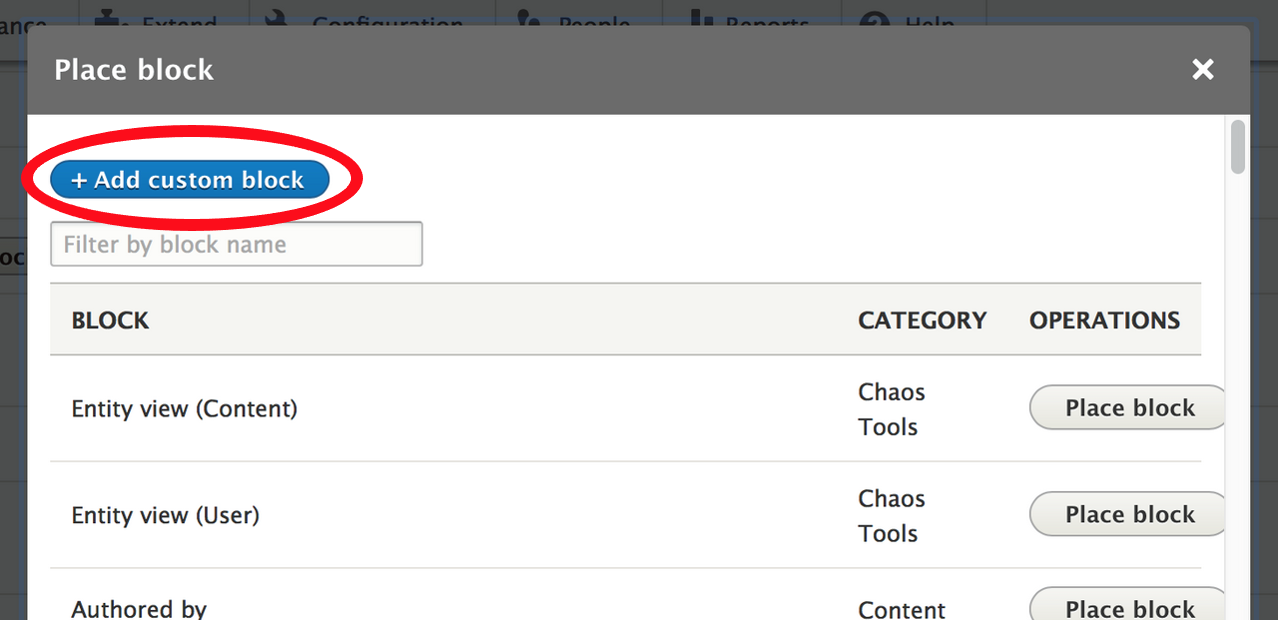
A prompt will come up with a list of existing blocks.
We don't want any of these. We want to create our own block.
Click the blue "Add custom block" button.
Step 4: Create a Custom Block
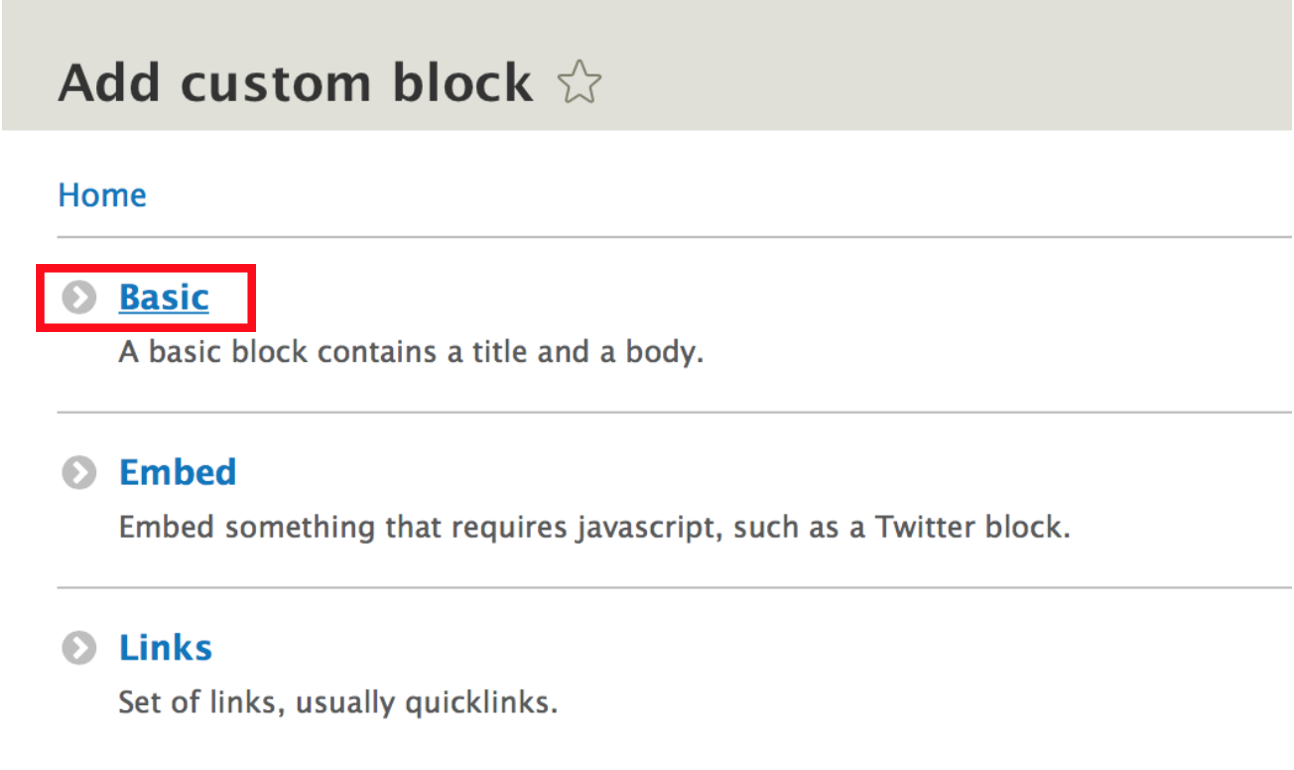
Now you'll get an option to add a custom block.
Click on "Basic."
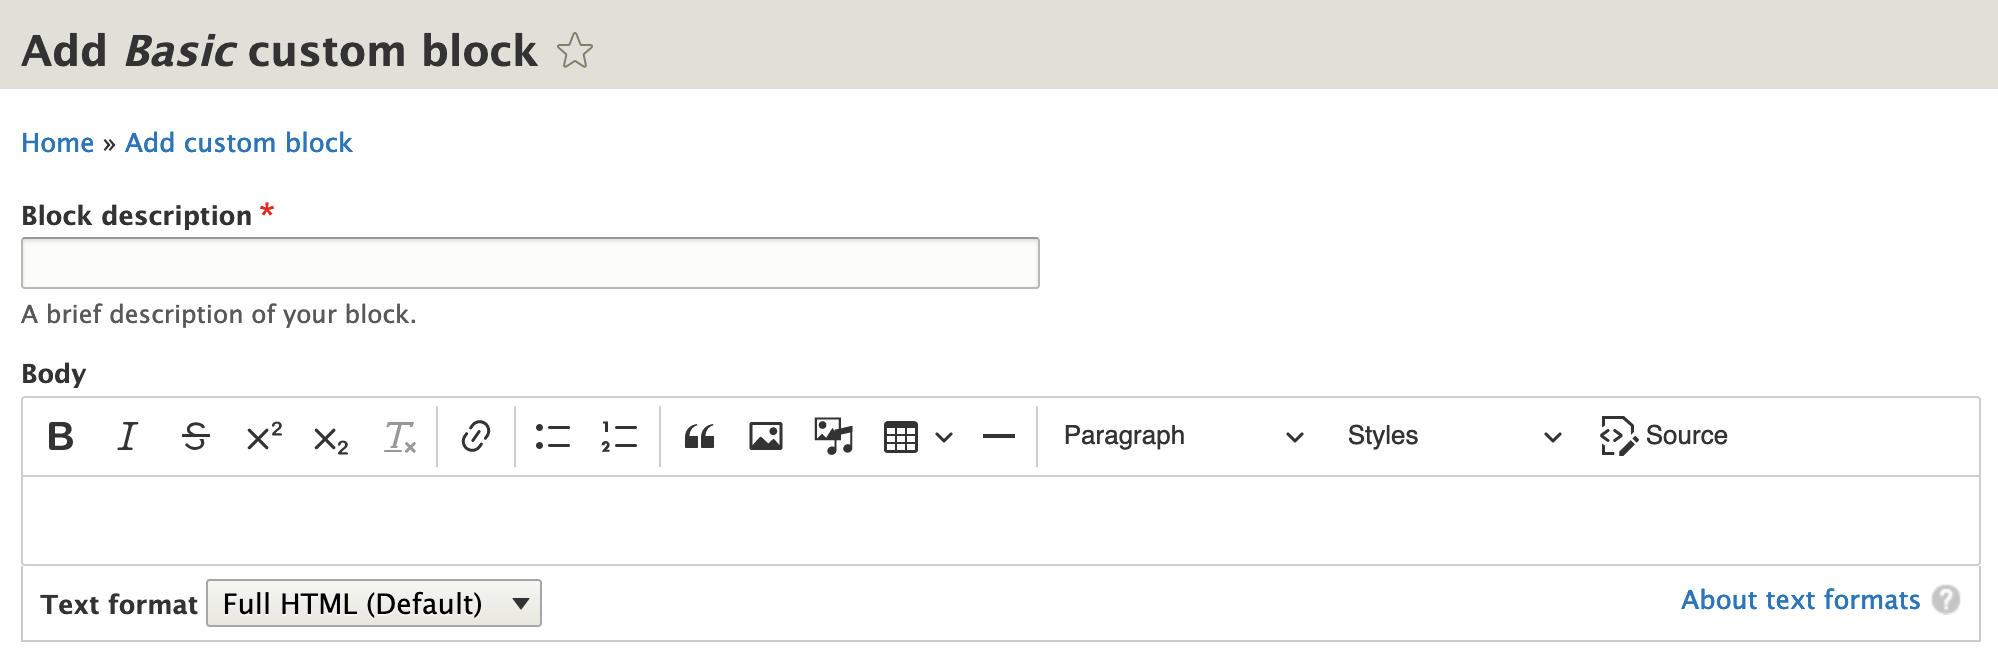
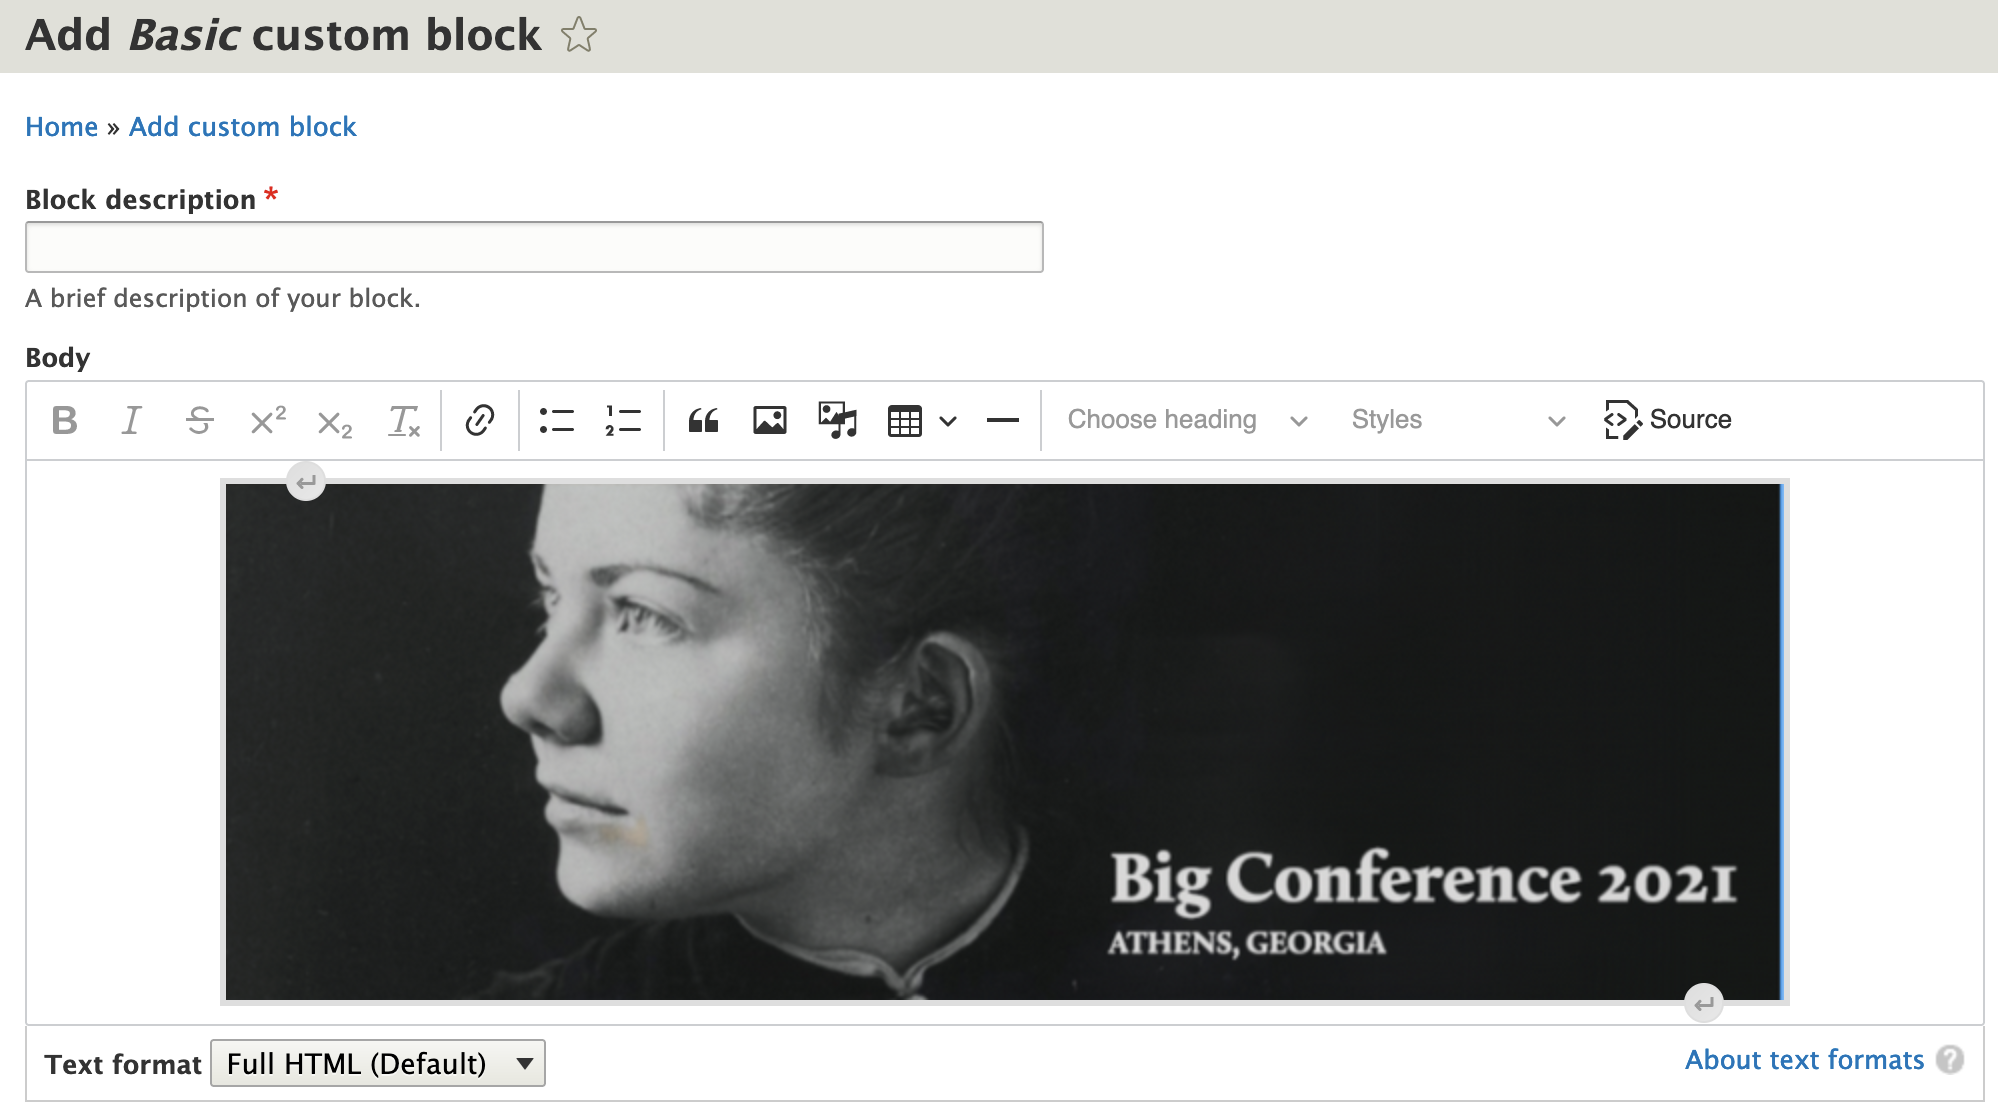
You'll notice that the screen for creating a basic custom block looks a lot like the editing screen for creating a basic page, or other type of content.
The text editor toolbar is the same. We can add text, links, images, etc.
Step 5: Add Banner Image
We can put anything here. But I think the best thing to do is to add an image that will look like a banner above all the conference pages on my site.
If you need extra help with adding images, see our Adding Images to Content documentataion.
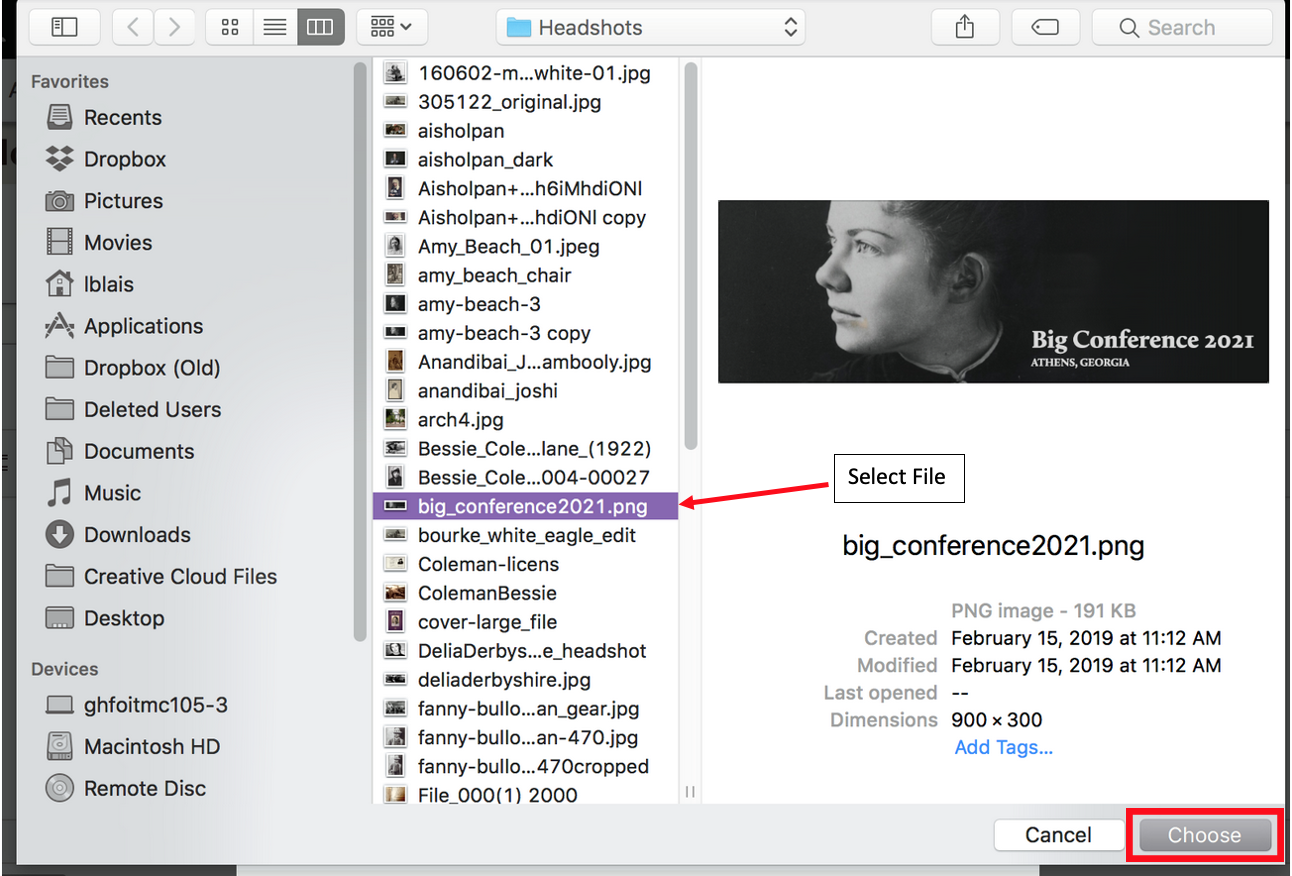
- You'll get a prompt to browse files on your computer.
- Browse for the image you want to be your header. I've made one ahead of time to insert for this example.
- Select "Choose."
The website will automatically reduce the image side if it is too wide.
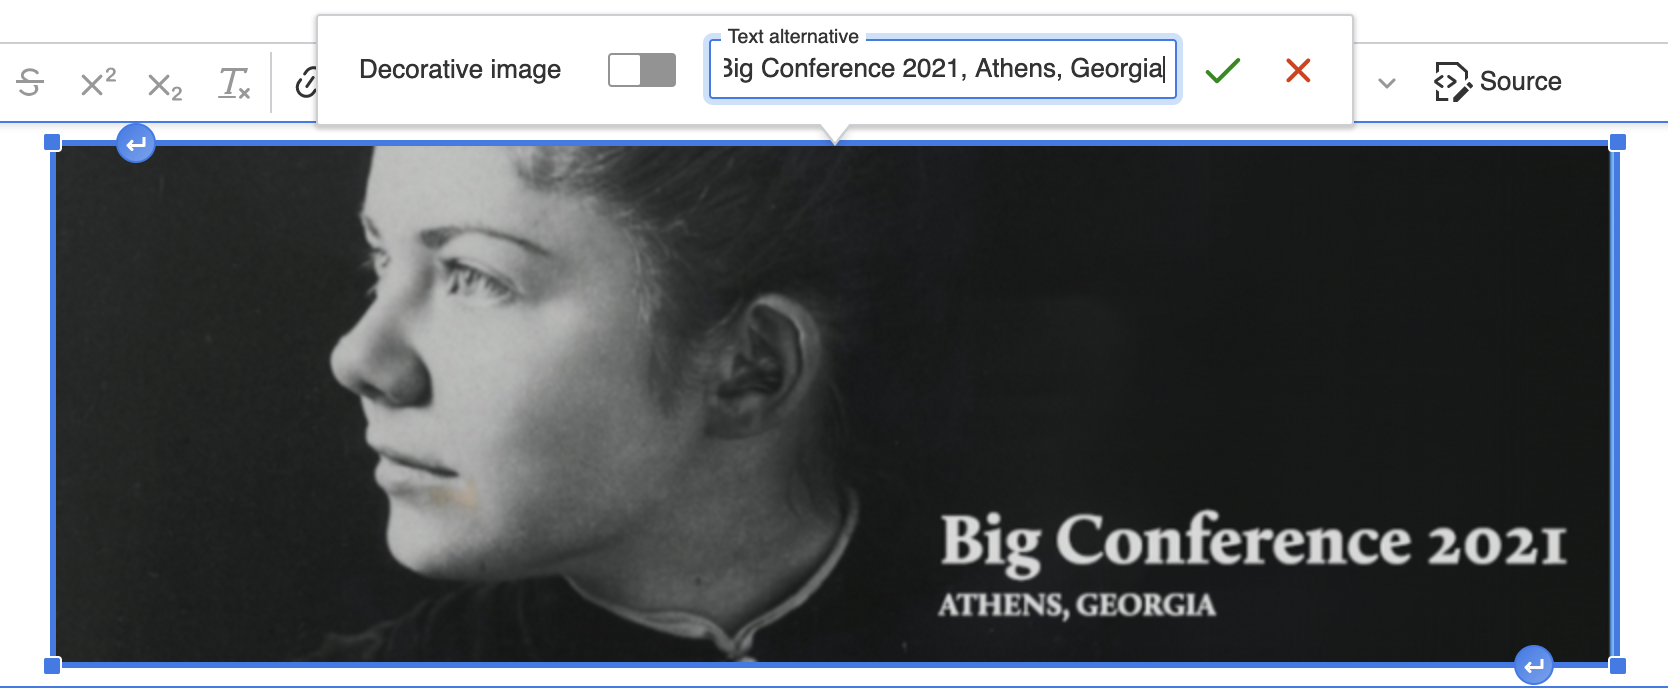
- Be sure to include Text alternative for any text in your image.
- Click on the green check mark to Save.
Step 6: Click on 'Save'

Step 7: View Banner Image
Now your image header can be seen.
Step 8: Tell the Custom Header Image Block Where to Show Up
So now we get a message that our block has been created, but we still have to tell it where to show up.
Again, for this next part to work, you will have needed to gone through each of your pages and updated the url paths.
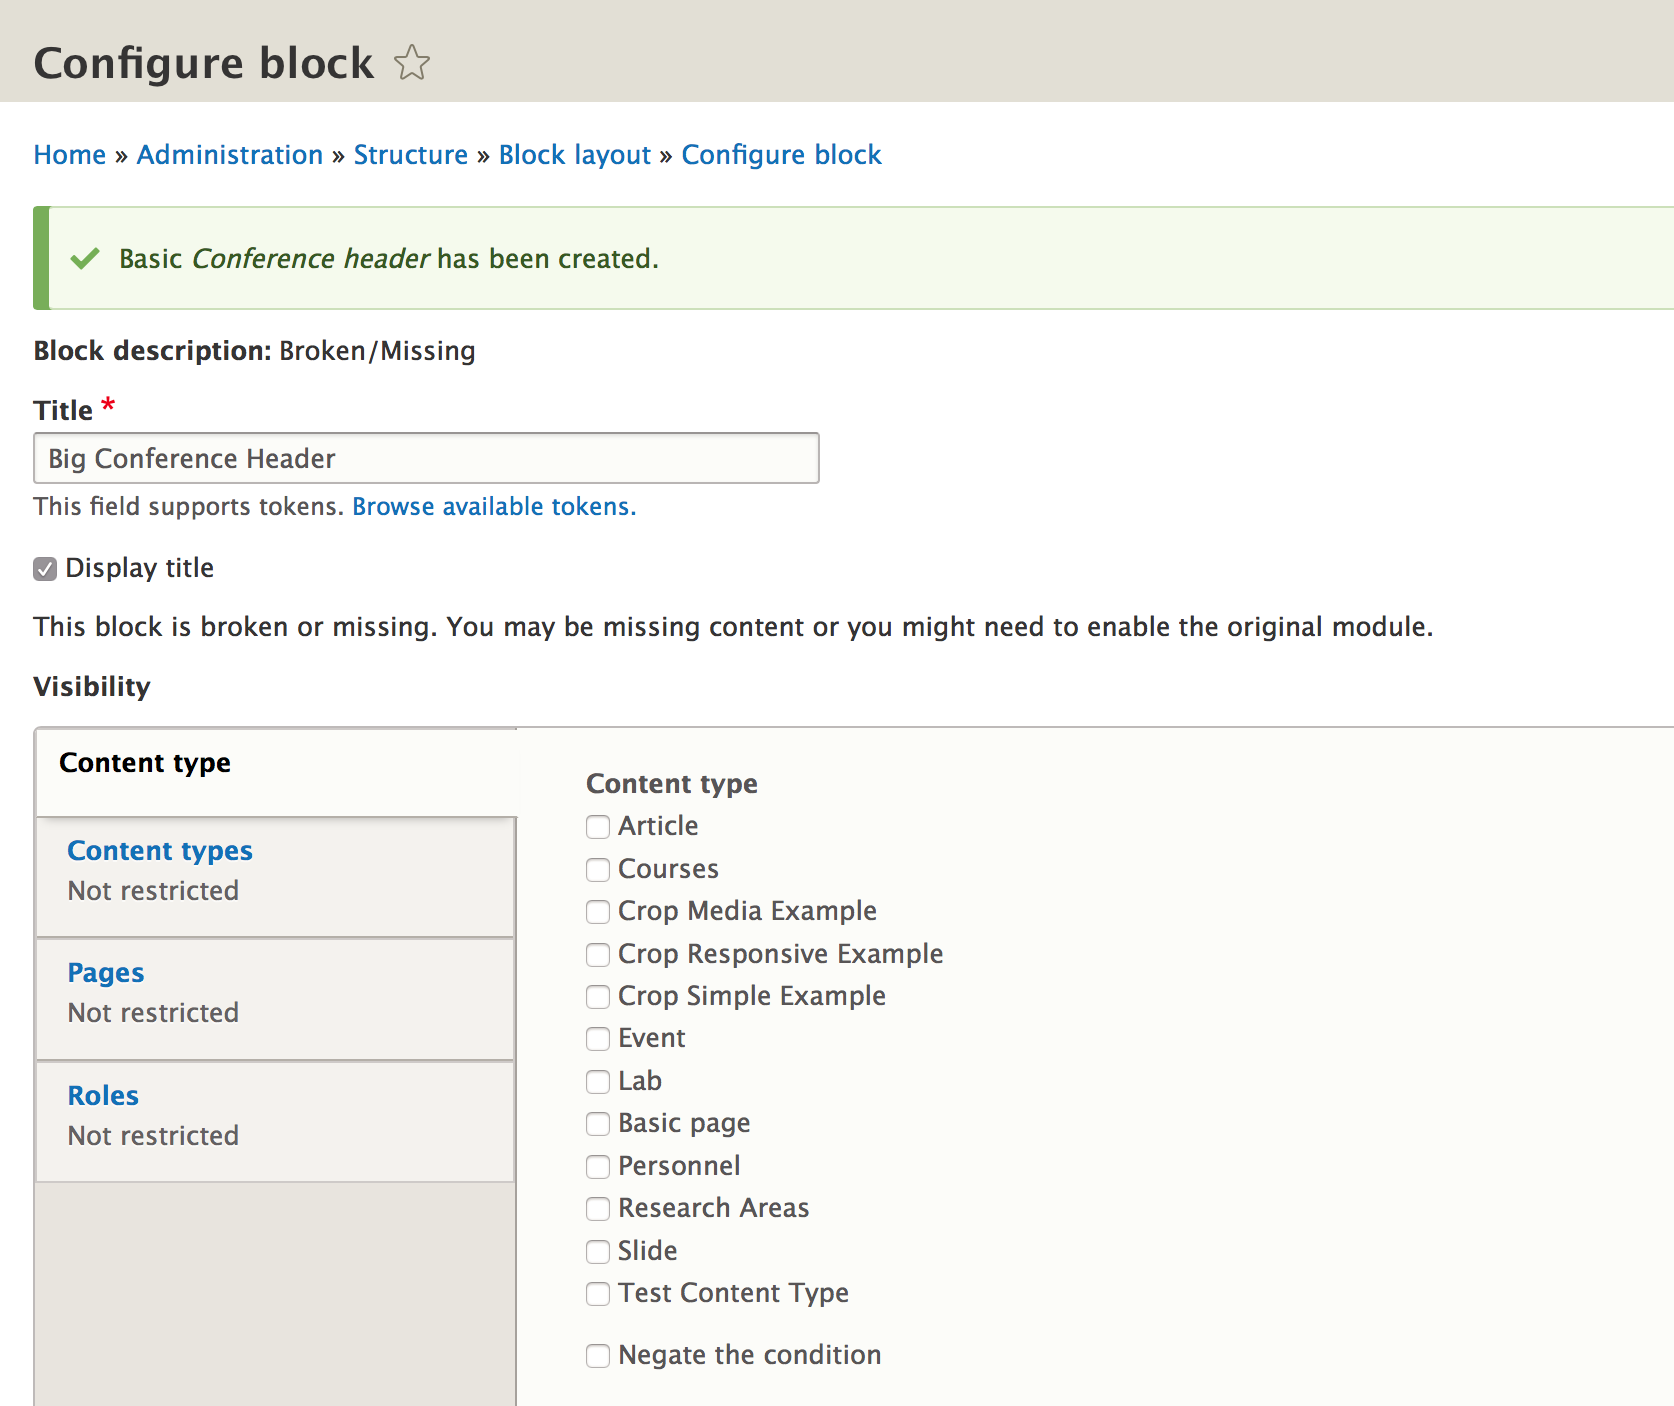
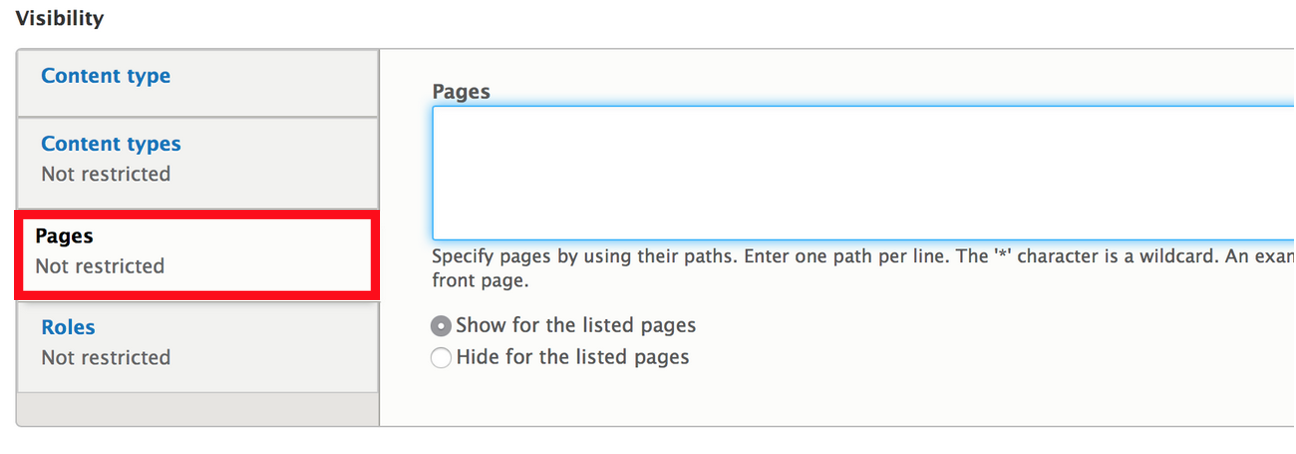
Look under the "Pages" side tab.
By getting the url of the conference landing page, I'm going to tell this block to show up on that specific page.
Open another tab and open your conference landing page to get the url.
In the url menu bar, I'm going to copy everything after the .edu. In our example that would be /big-conference-2021.
(I'm using a demo site, which says site15.centos.local, instead of name.franklin.uga.edu)

Now go back to your block creation page in the other tab.
Paste that url in the "pages" section.
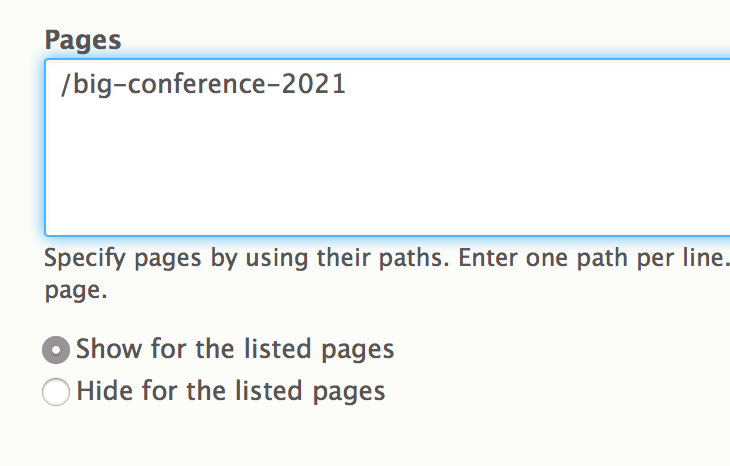
This will make the block show up my Big Conference 2021 landing page.
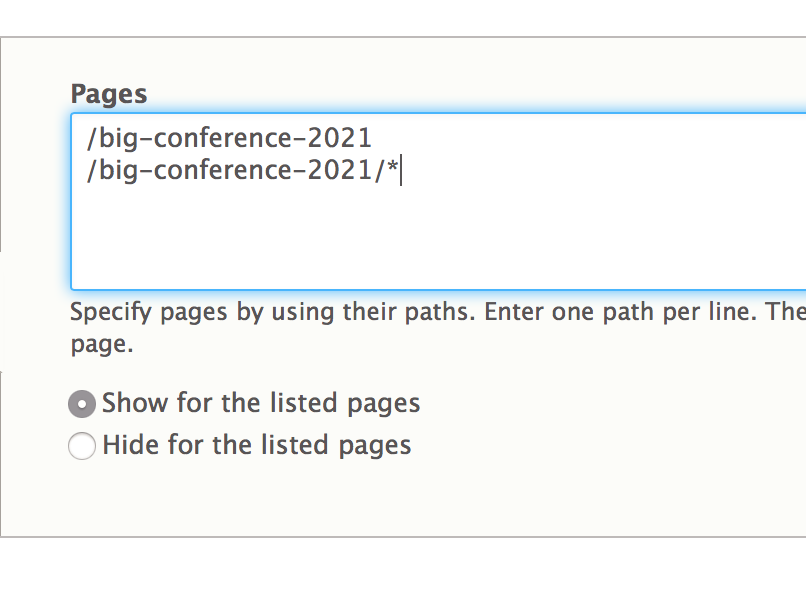
But I'm going to add something else to this.
I'm going to add /big-conference-2021/*. This means it will also show up on any page with /big-conference-2021 as part of its url.
Again, for this next part to work, you will have needed to gone through each of your pages and updated the url paths.
Step 5 : Specify the Region of Where You Want Your Block to Appear
Before we save, there's one more thing we have to do.
We need to specify the region (again). It is "Upper Content."
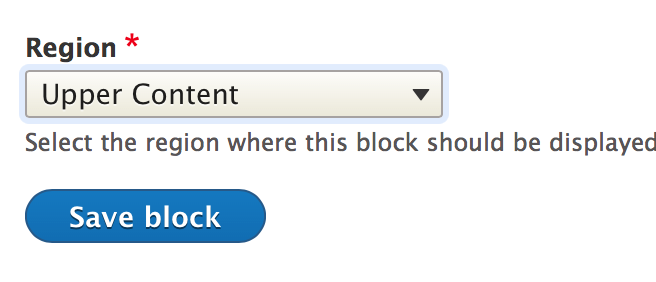
Now 'Save block.'
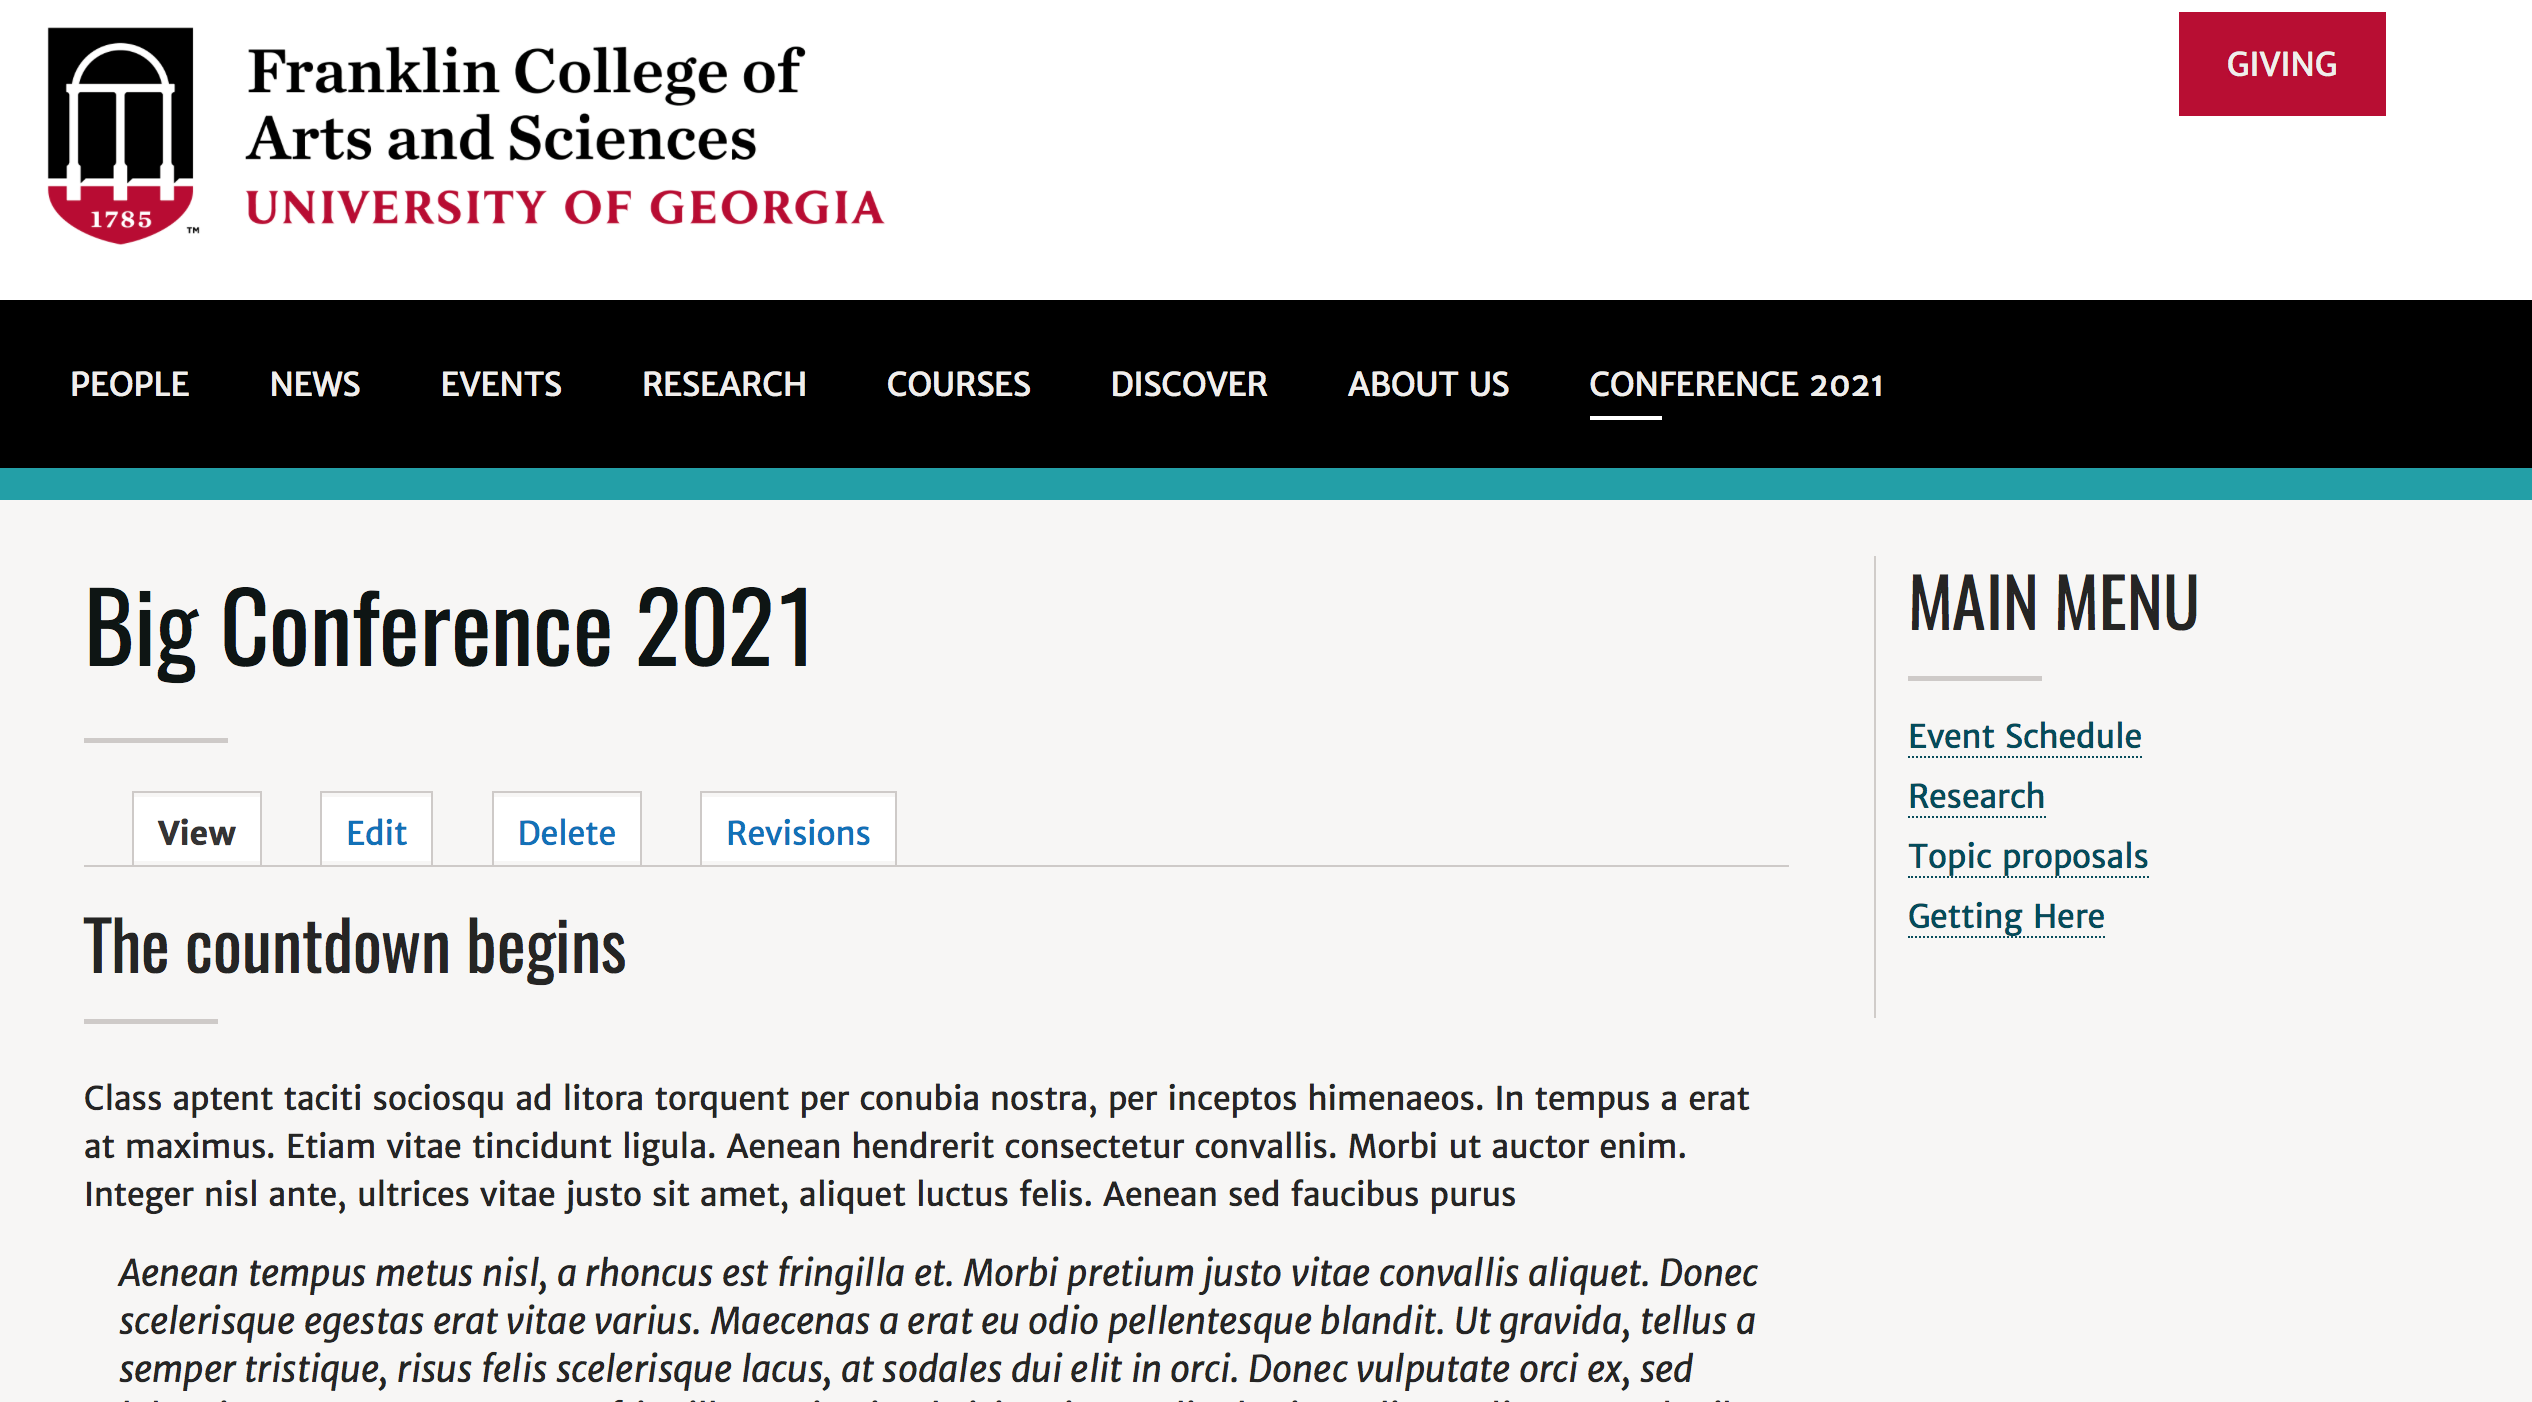
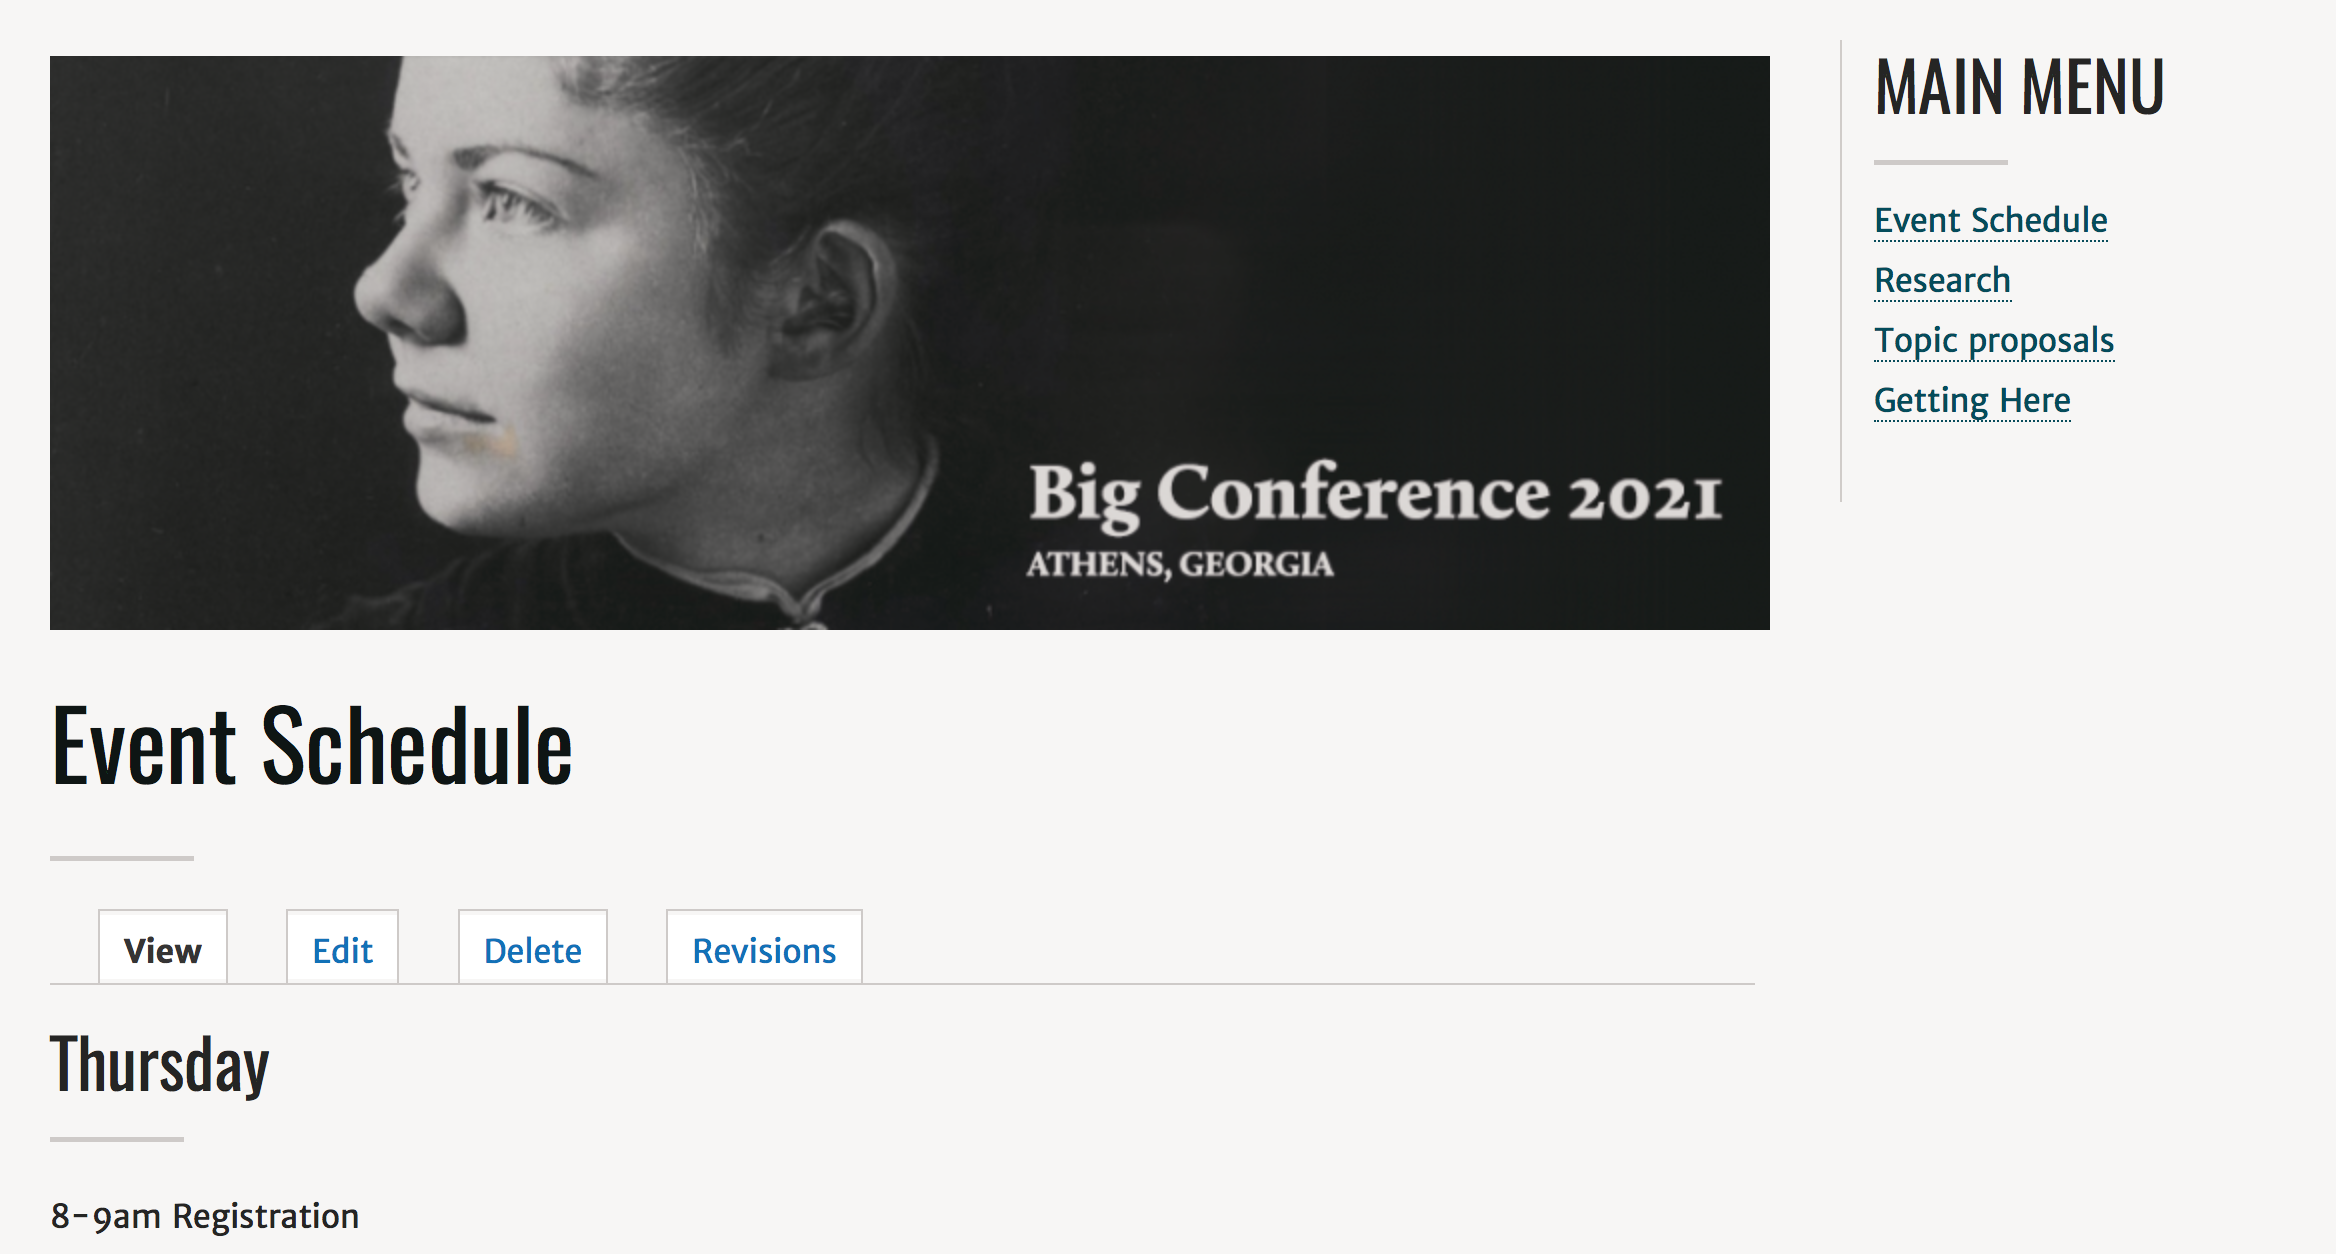
Step 6: View Landing Page
And when we view our Big Conference 2021 landing page, we see the custom block with the image we added.
Great!
And if you added /big-conference-2021 to all your page urls like I showed you how to do in creating a special section your site, the header block will appear on those pages too, automatically.
The block appears on this page too!
Repeat this process for all pages you want to have the banner block.
Next... Create a Menu Block with a Custom Title
To manage any part of your web site, you will have to be logged into the Drupal CMS. If you need help logging in, please review this login help document.
Monday - Friday 8:00 a.m. - 5:00 p.m. Homepage Directory Service Offerings Franklin OIT Status http://status.franklin.uga.edu/ Receive or Discontinue Status and Service Updates from Franklin OIT UGA/EITS Systems Status Pages https://www.facebook.com/uga.eits USG Systems Status PageContact the Franklin OIT Help Desk
Hours of Operation
Website Information
Systems Status Information
