Adding Images to Content
- Lauren Blais (Unlicensed)
- Laura P Rowan
- Stephanie Lynn
This is a beginner topic. Little to no advanced knowledge is required.
Permission Level
Level 1 or Higher - See permission level document for details
Overview
You can add and position images to pages on your Drupal 10 site where there is a text editor.
Table of Contents
Option 1: Inserting Images
Step 1: Place Image
- Within the text editor, place your cursor where you want your image to appear.
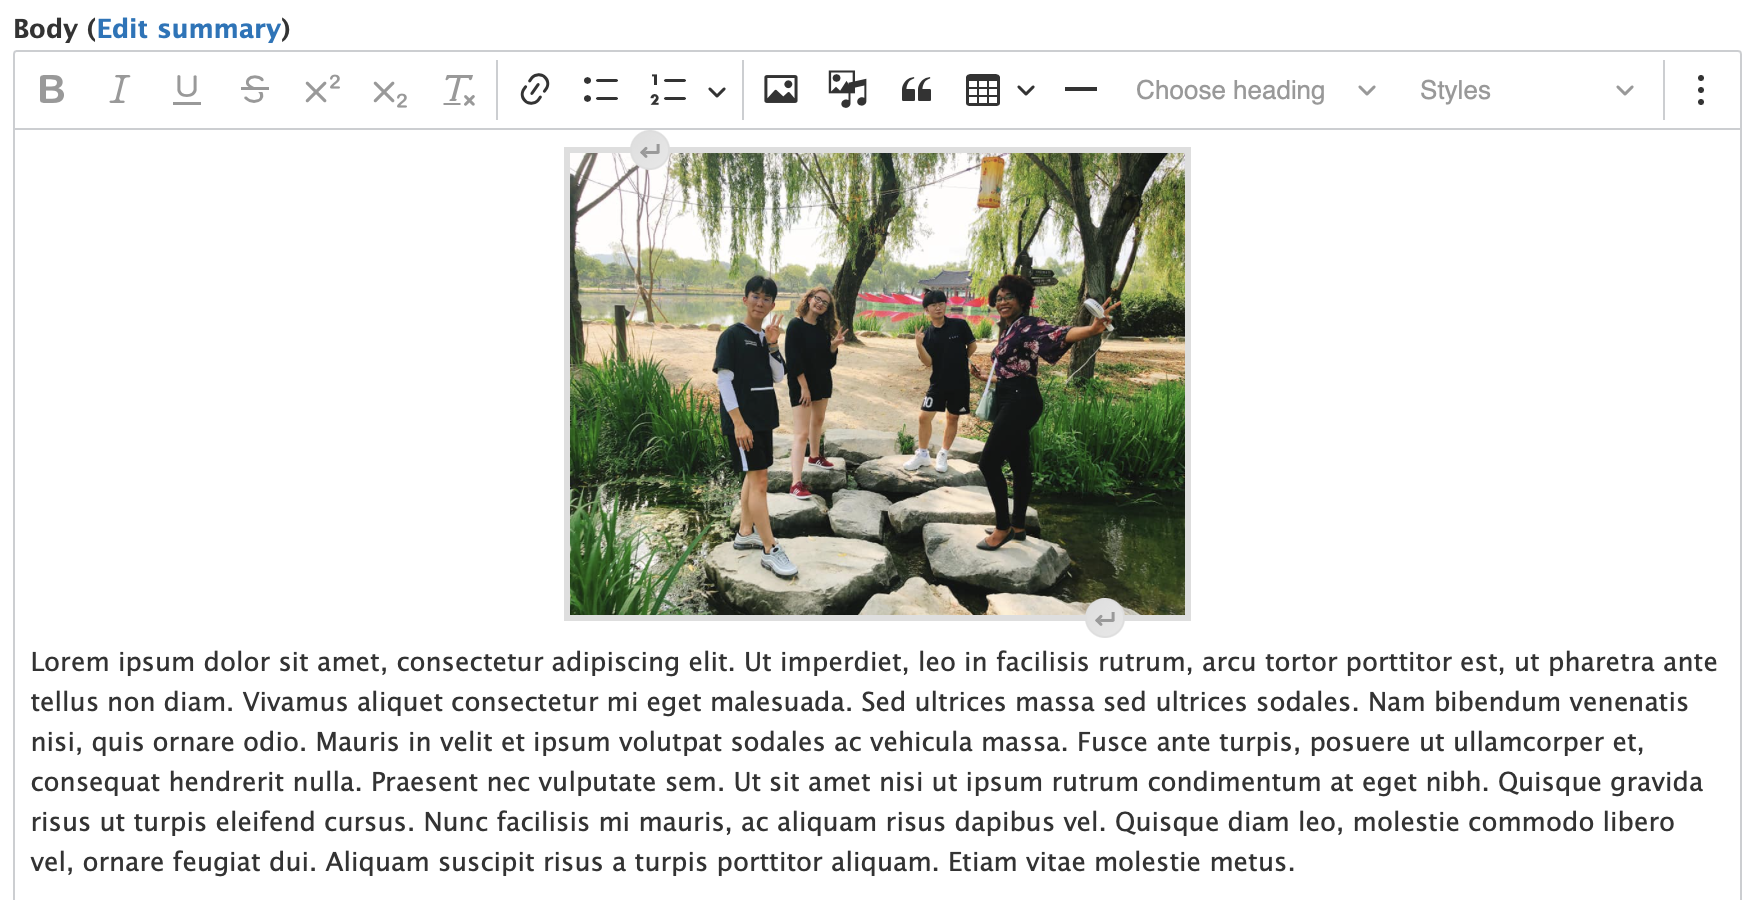
- I'm putting this image at the beginning, above my text.
- Place your mouse over the picture frame icon and 'Insert Image' will pop up.
- Click on the picture frame button
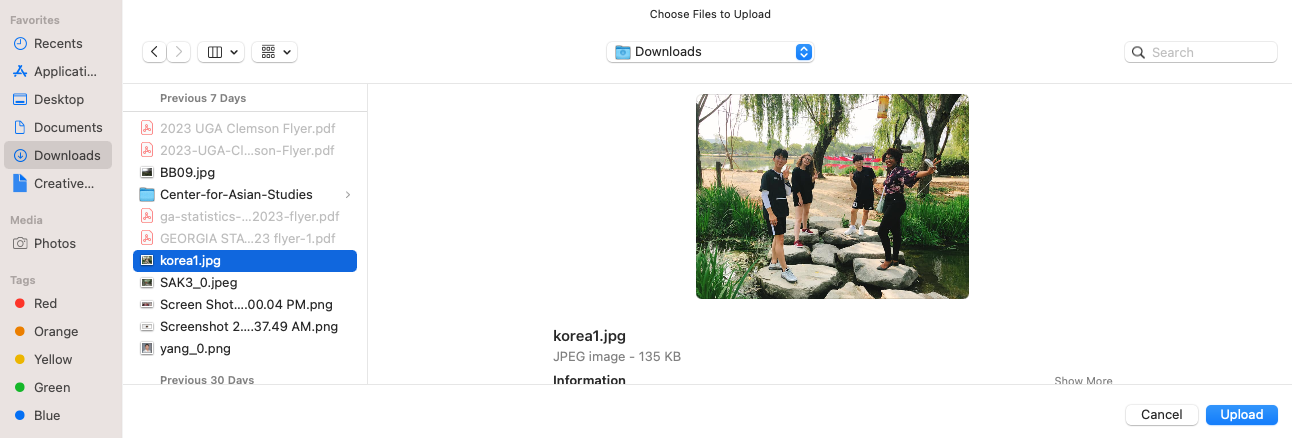
Step 2: Upload File from your Computer
Select the file you want to upload from your computer and then click on the 'Upload' button
Step 3: Add Alternative, or "alt" Text
A box will automatically appear and you can add alternative text for the image you just uploaded.
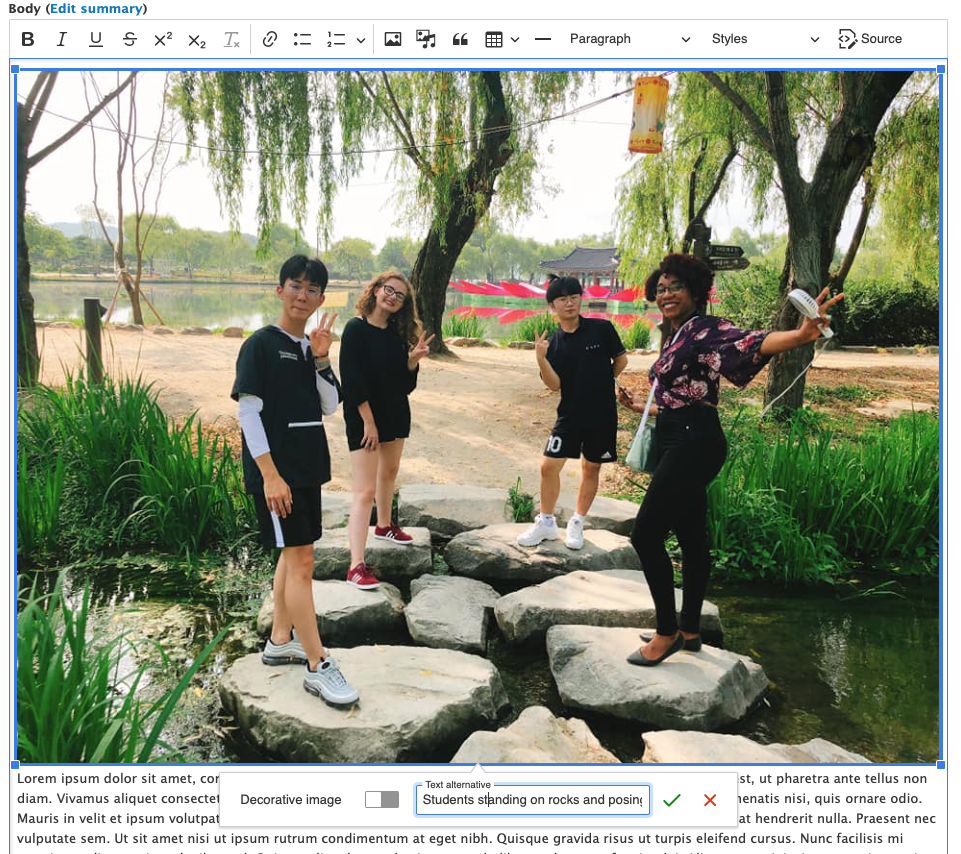
I wrote, "Students standing on rocks and posing for a photograph in Study Abroad in Korea"
About Alternative Text:
Alt text allows people who have visual impairments to understand what the image is about. You don't need to say "image of" or "picture of," but in this example I mention that it is an historic photograph, because I think that helps explain the significance of the photo.
If this were an artist's rendering of the planet Venus, I would say "An illustration of the surface of Venus..."
Modern head shots generally don't require alternative text, because the alt text would not provide any information that is missing to someone who can't see. I would just enter two quotation marks, which signals blank alt text.
Step 4: Resize Image
If you fill the image you are working with is too large, you may want to resize it. Once it's resized you can align it and have text wrap around it. To resize the image, you click on the image and grab the little blue box in the corner and drag it to the size you like.
Your image is now ready to be formatted and can have text wrap around it, if you like:
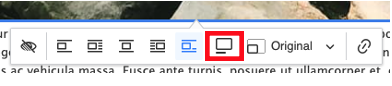
Step 5: Formatting the Image
Click on the image and a menu bar will appear below it. You can put your mouse over each icon and it will tell you what function it will perform. You can align the image (with text wrapped around it), add a caption and link the image.

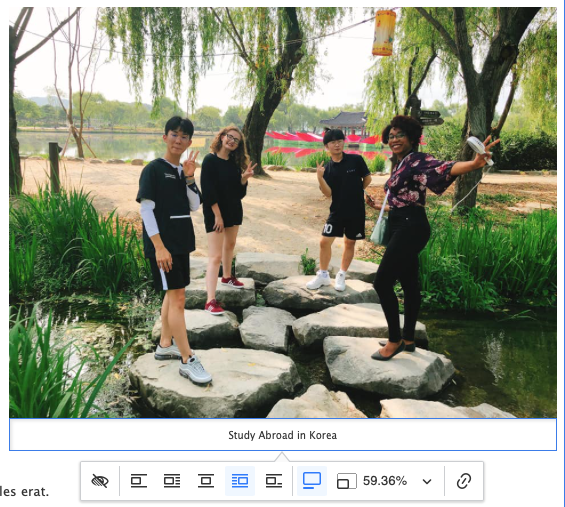
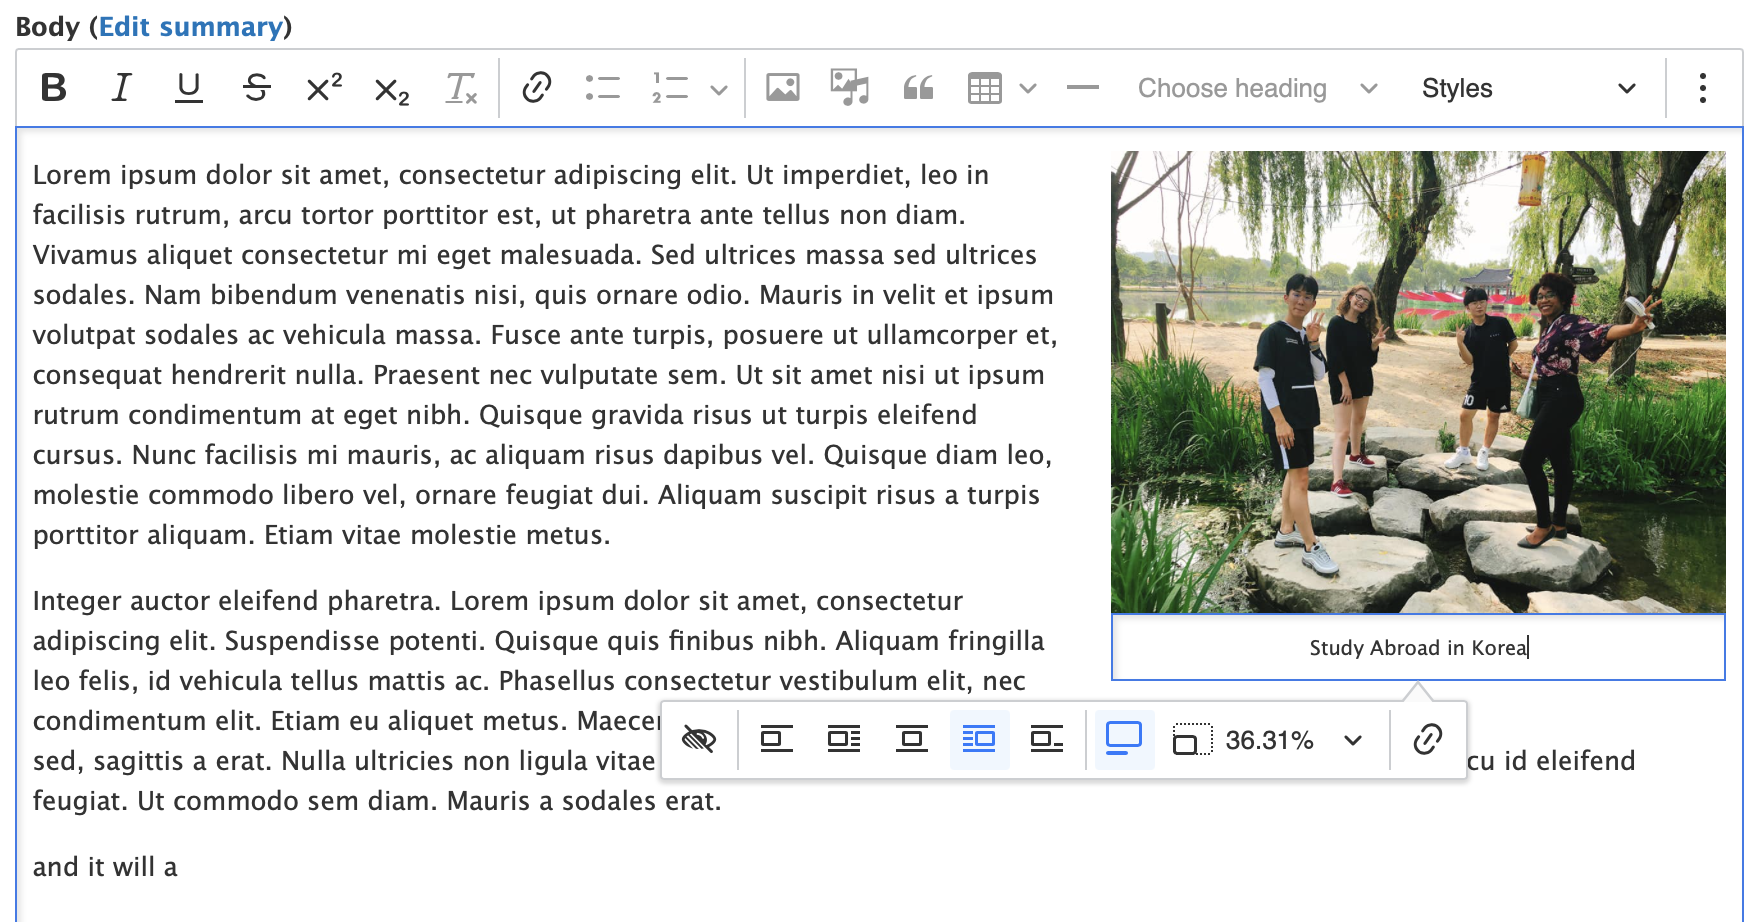
Step 6: Adding a Caption
Add a caption beneath the image by selecting the caption icon:
Type in the caption and you will have a caption for the image.
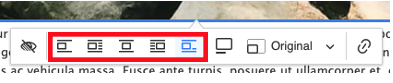
Step 7: Aligning the Image
You can align the image by clicking on one of these buttons.
I want to align the image to the right. To do this I click on the button that says "Align Right" when I hover over it.
Note: If you want the image to be aligned with the second paragraph, you simply move the cursor to the beginning of the second paragraph when placing the image.
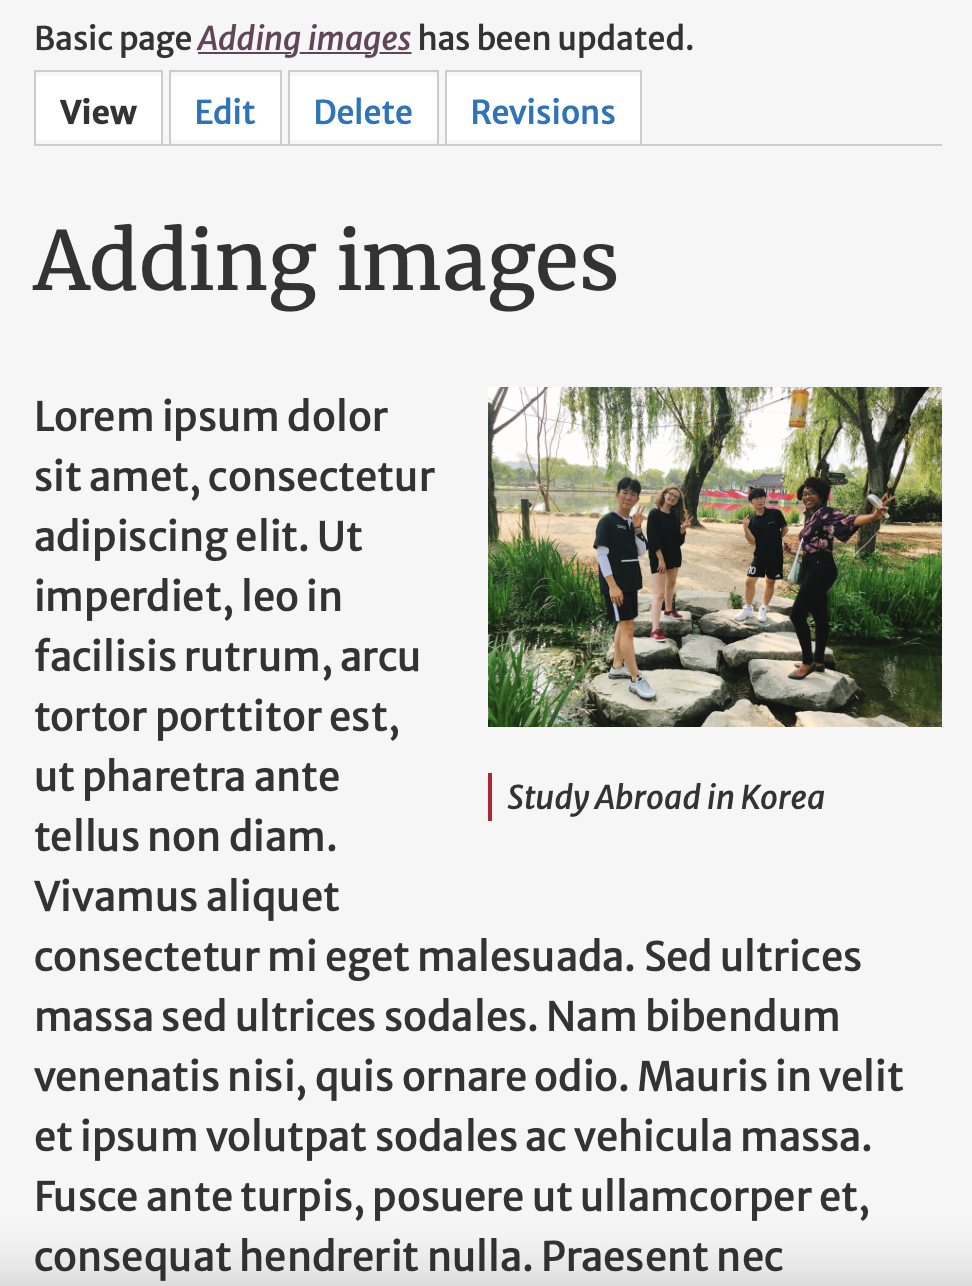
Step 8: Save and View Page

Click on the 'Save' button at the bottom of the page and you can now view the page:
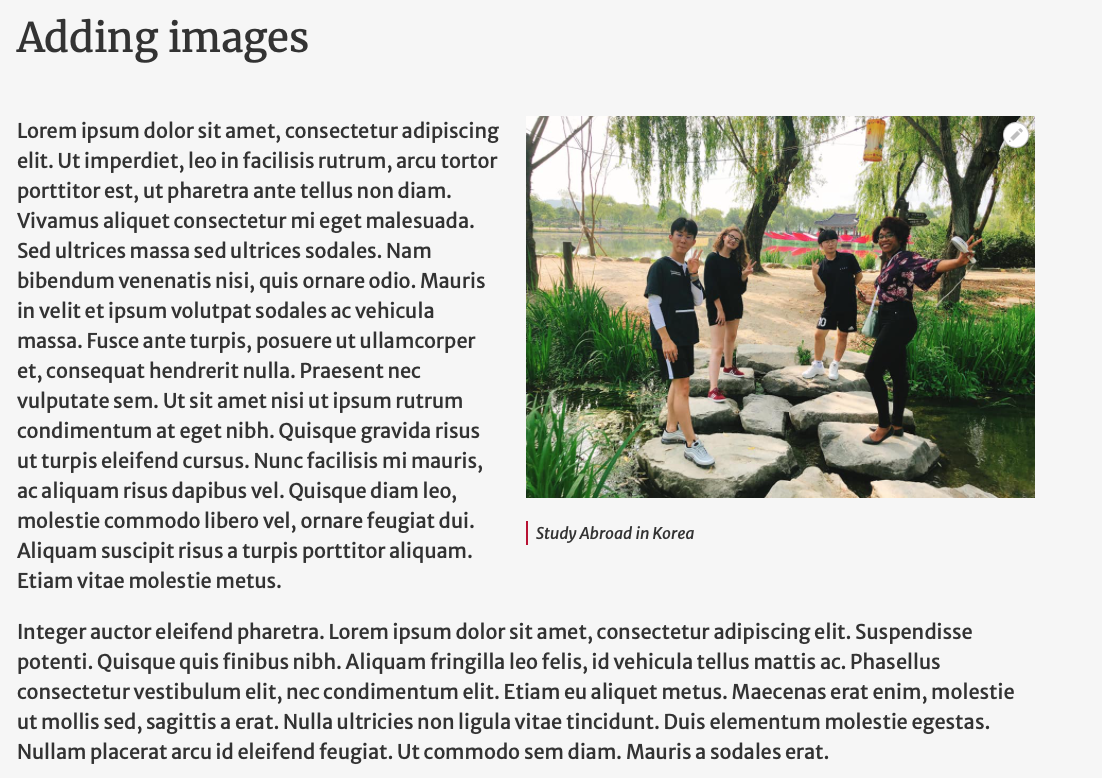
The image resizes automatically no matter what device someone views the page with.
Option 2: Inserting an Image Already on the Website
Step 1: Reusing Images in Fields Specifically for Images
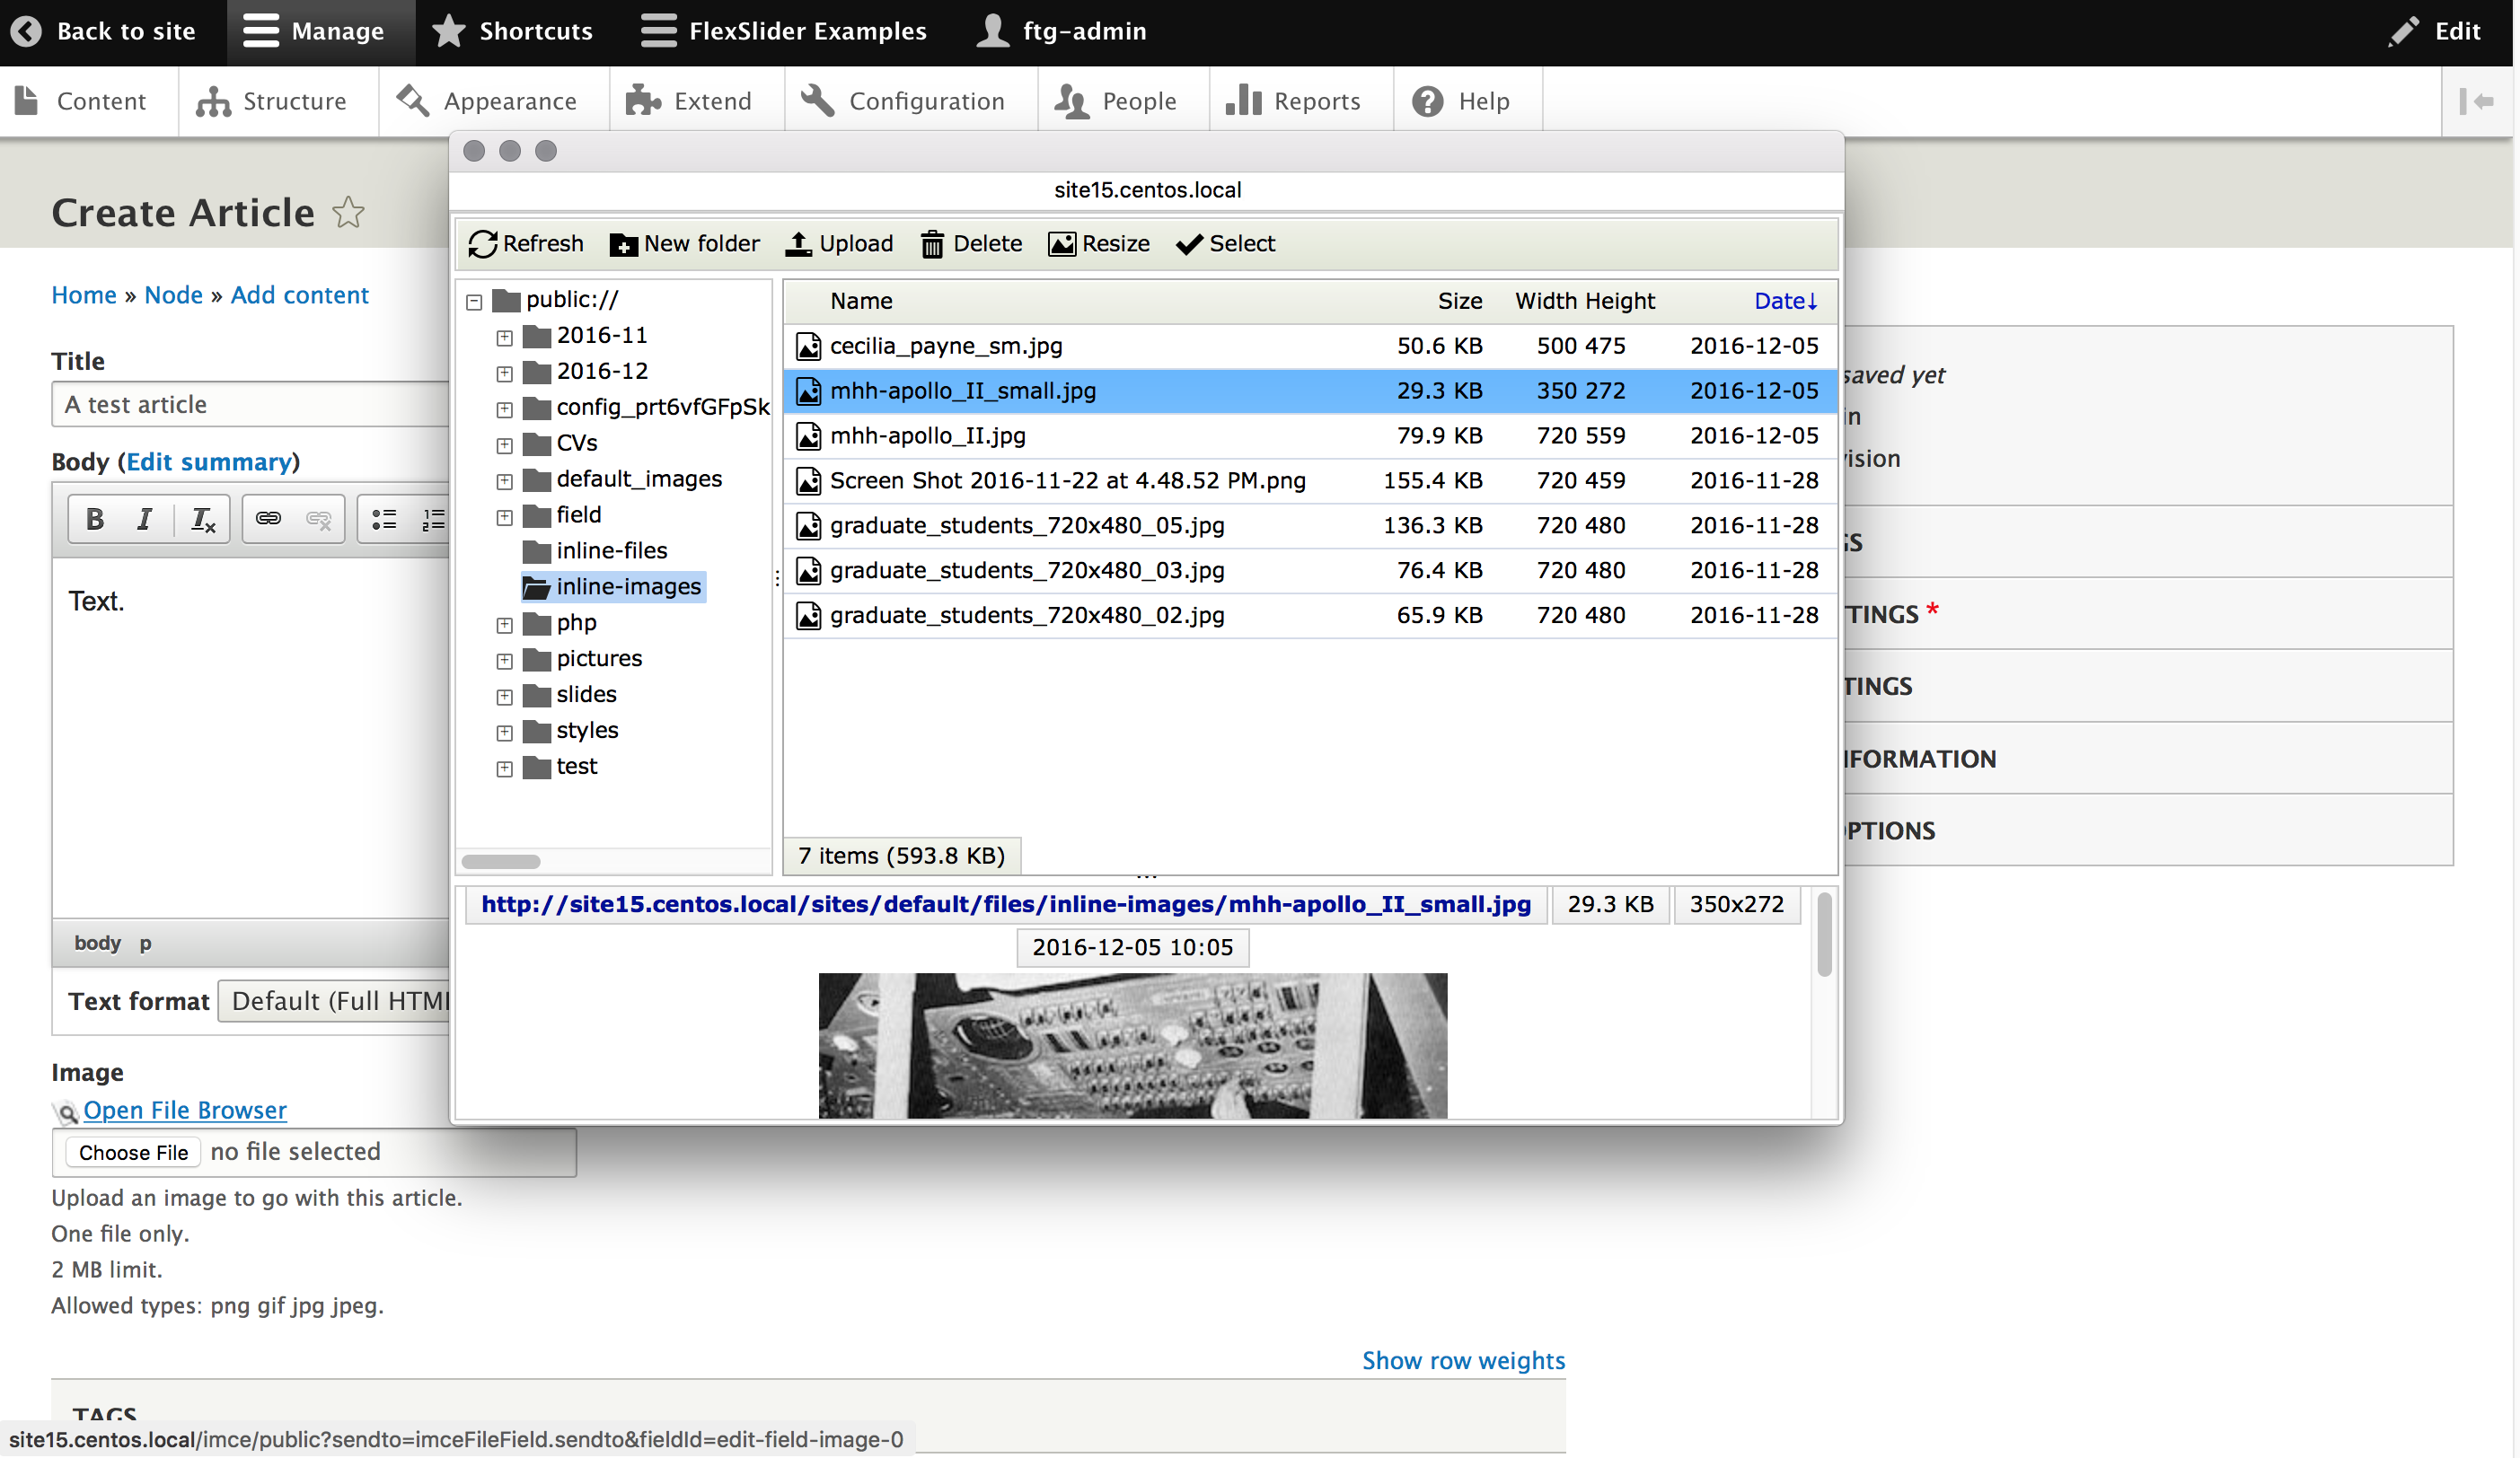
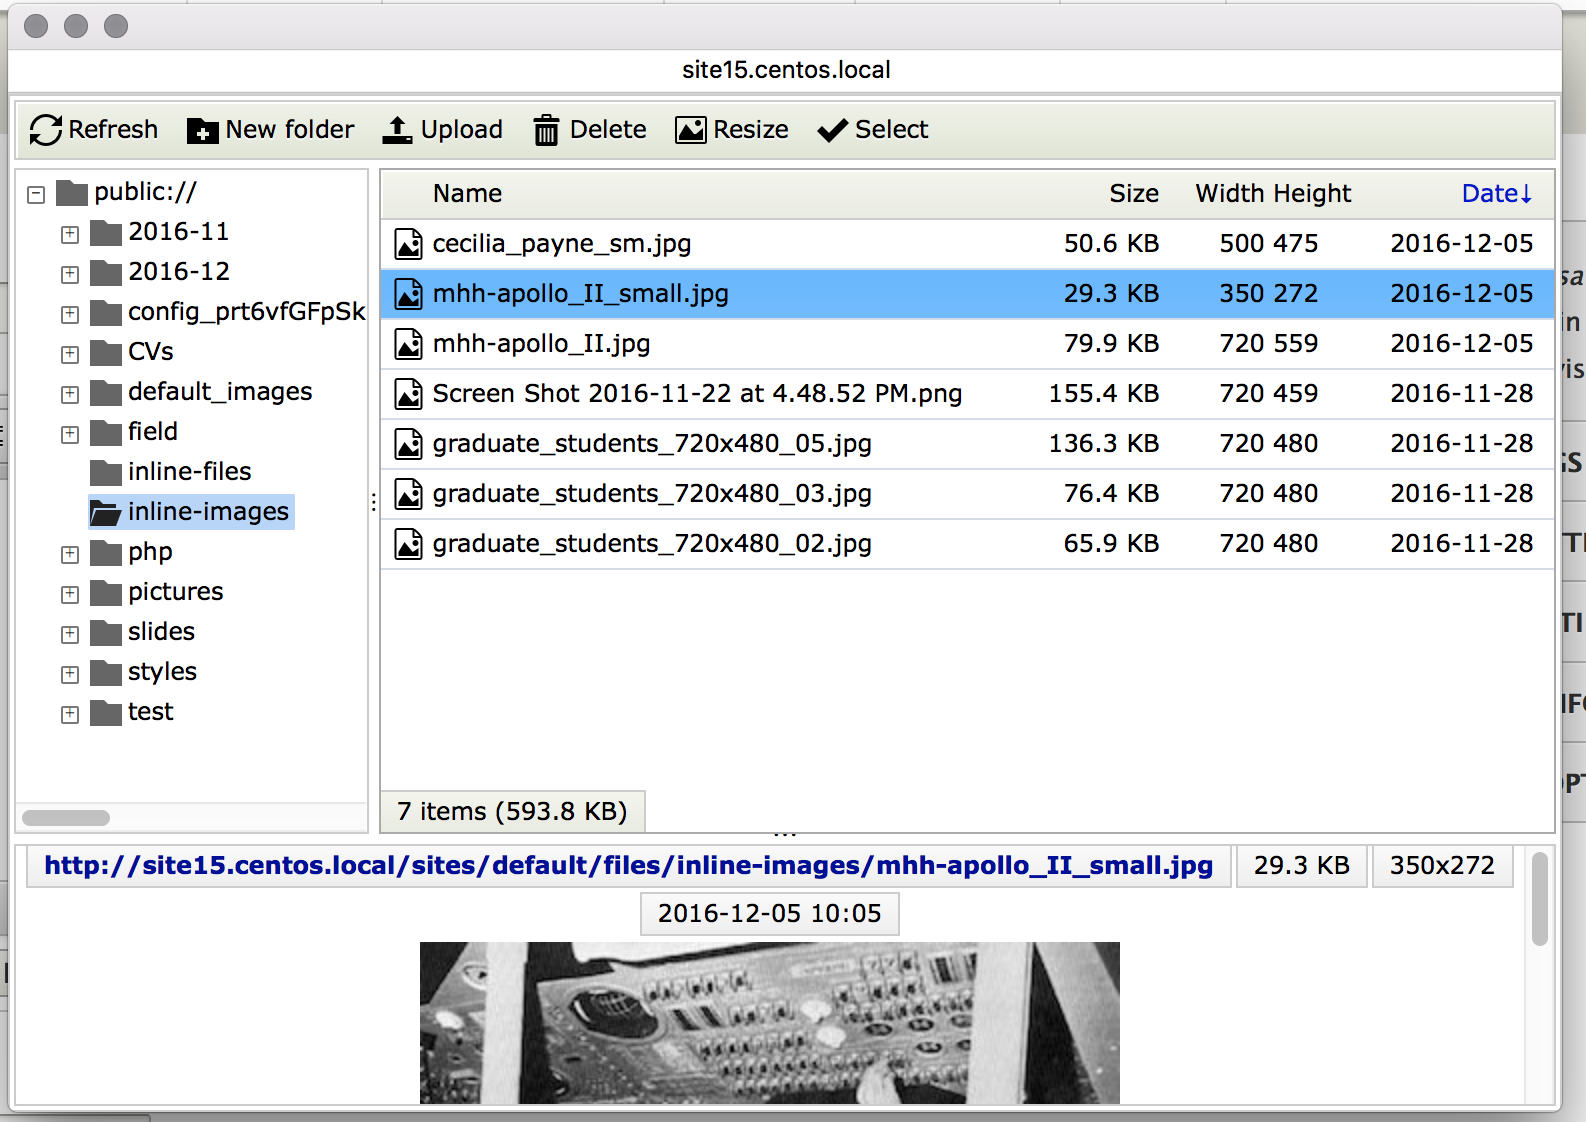
If you are uploading an image using a field specifically for images, it is possible to use an existing image on the site.
For example, the Article content type has an image field specifically for the thumbnail.
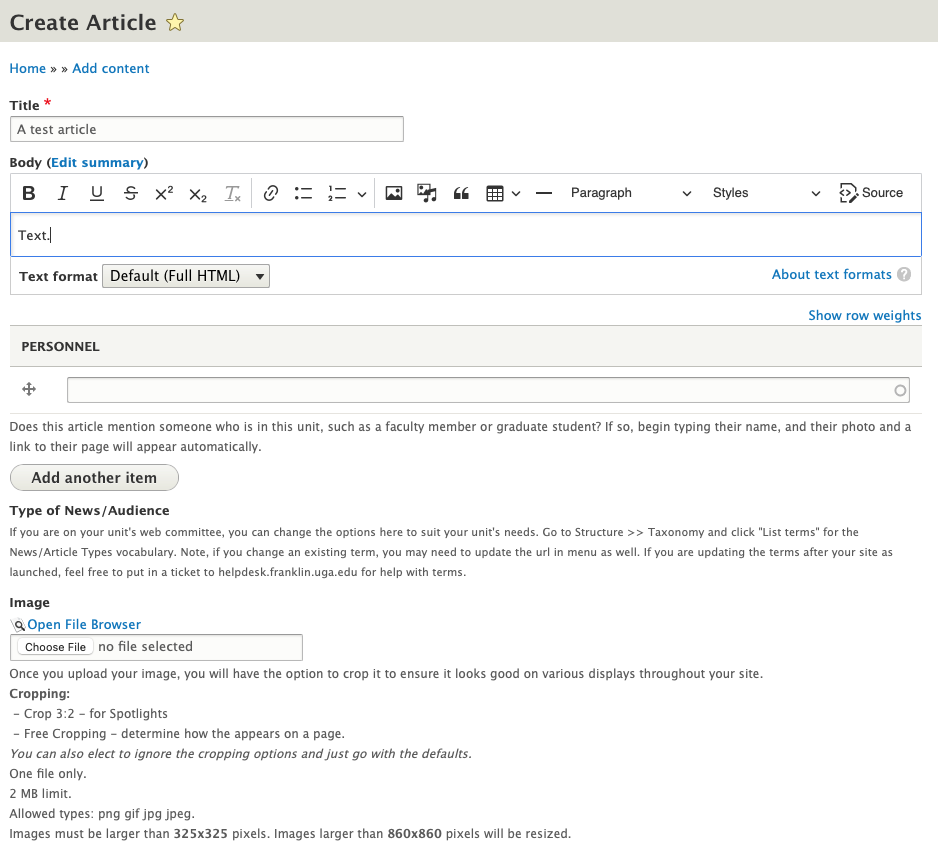
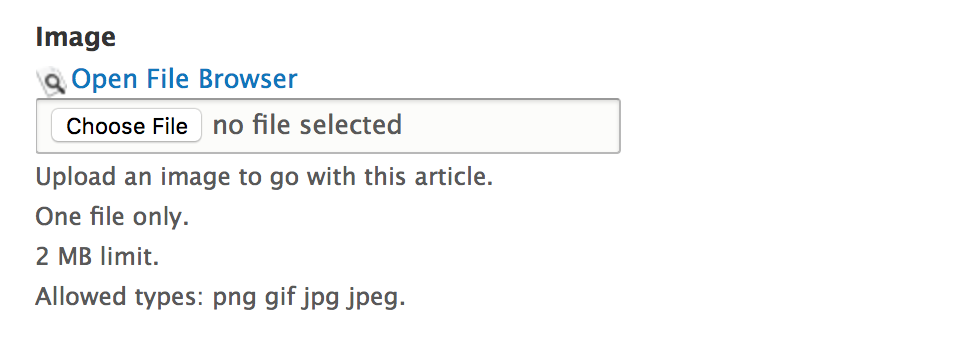
I can either use "Choose File" to select a file from my computer, or I can use the "Open File Browser" link to access all images (and files) on the site.
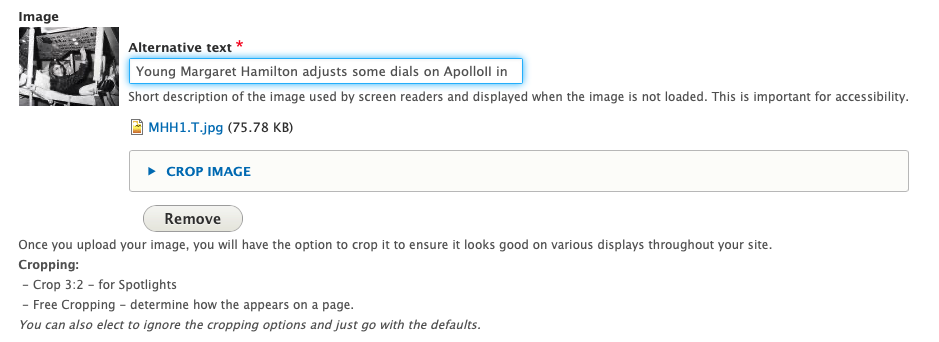
I found the image of Margaret Hamilton that I previously uploaded to the Basic Page in the above examples, and I am using it for this article's thumbnail.
As when I insert images with the text editor, I need to include some alt text.
I've saved my Article with my thumbnail image.
Because this image was uploaded with an image field, there are some automatic alignments placed on the image to make it go to the right.
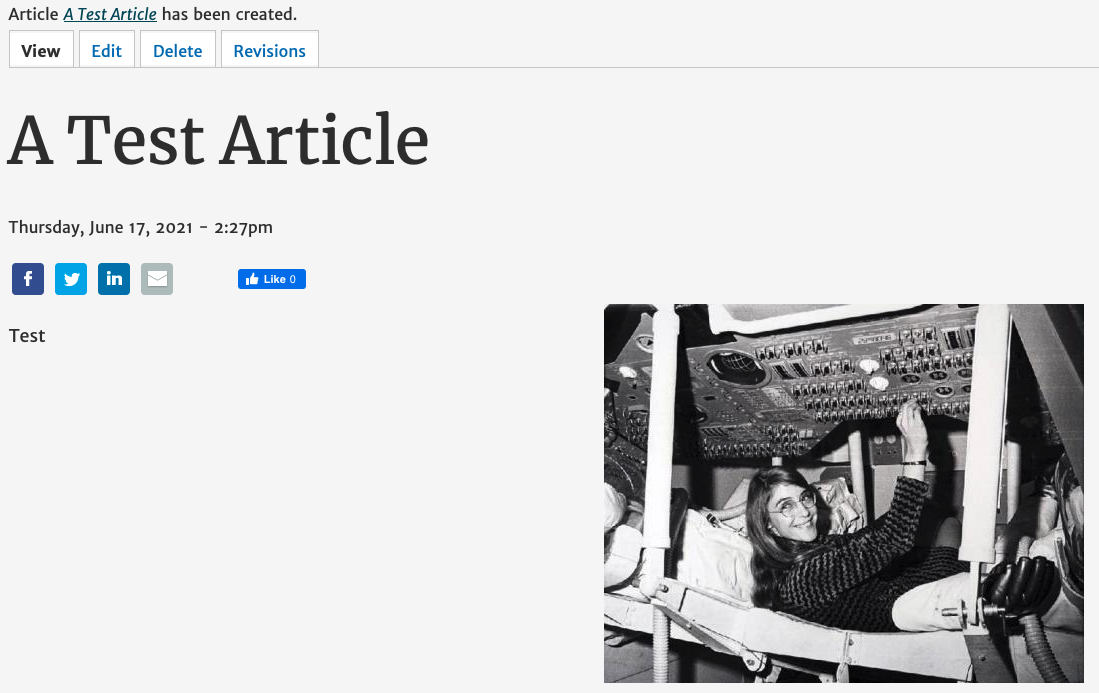
This image appears cropped and resized in the preview version of the article on the News page.

Step 2: Reusing Images (and Files) in the Body Text Fields
However if you want to insert an existing image into a body text field, it is more complicated.
The easiest thing to do is upload another copy of the image from your Desktop.
Please Note: We do have documentation on another option, but as it involves working with html source, it is an Intermediate topic : Inserting an Image or File That is Already Being Used on the Website
To manage any part of your web site, you will have to be logged into the Drupal CMS. If you need help logging in, please review this login help document.
Monday - Friday 8:00 a.m. - 5:00 p.m. Homepage & Directory Service Offerings Franklin College IT News Franklin OIT Status http://status.franklin.uga.edu/ Receive or Discontinue Status and Service Updates from Franklin OIT UGA/EITS Systems Status Pages https://www.facebook.com/uga.eits USG Systems Status PageContact the Franklin OIT Help Desk
Hours of Operation
Website Information
Systems Status Information
