Photoshop: Layer Tutorial
- Stephanie Lynn
- Laura P Rowan
This is an intermediate topic. You will need to possess some basic understanding and have some experience with Drupal content editing.
Permission Level
Level 1 or Higher - See permission level document for details
Recommended Tool
This documentation is demonstrating the use of Adobe Photoshop CC (but it will also be very similar in older versions of photoshop)
Resources
Practice Files: Peabody Photo
Working with Layers
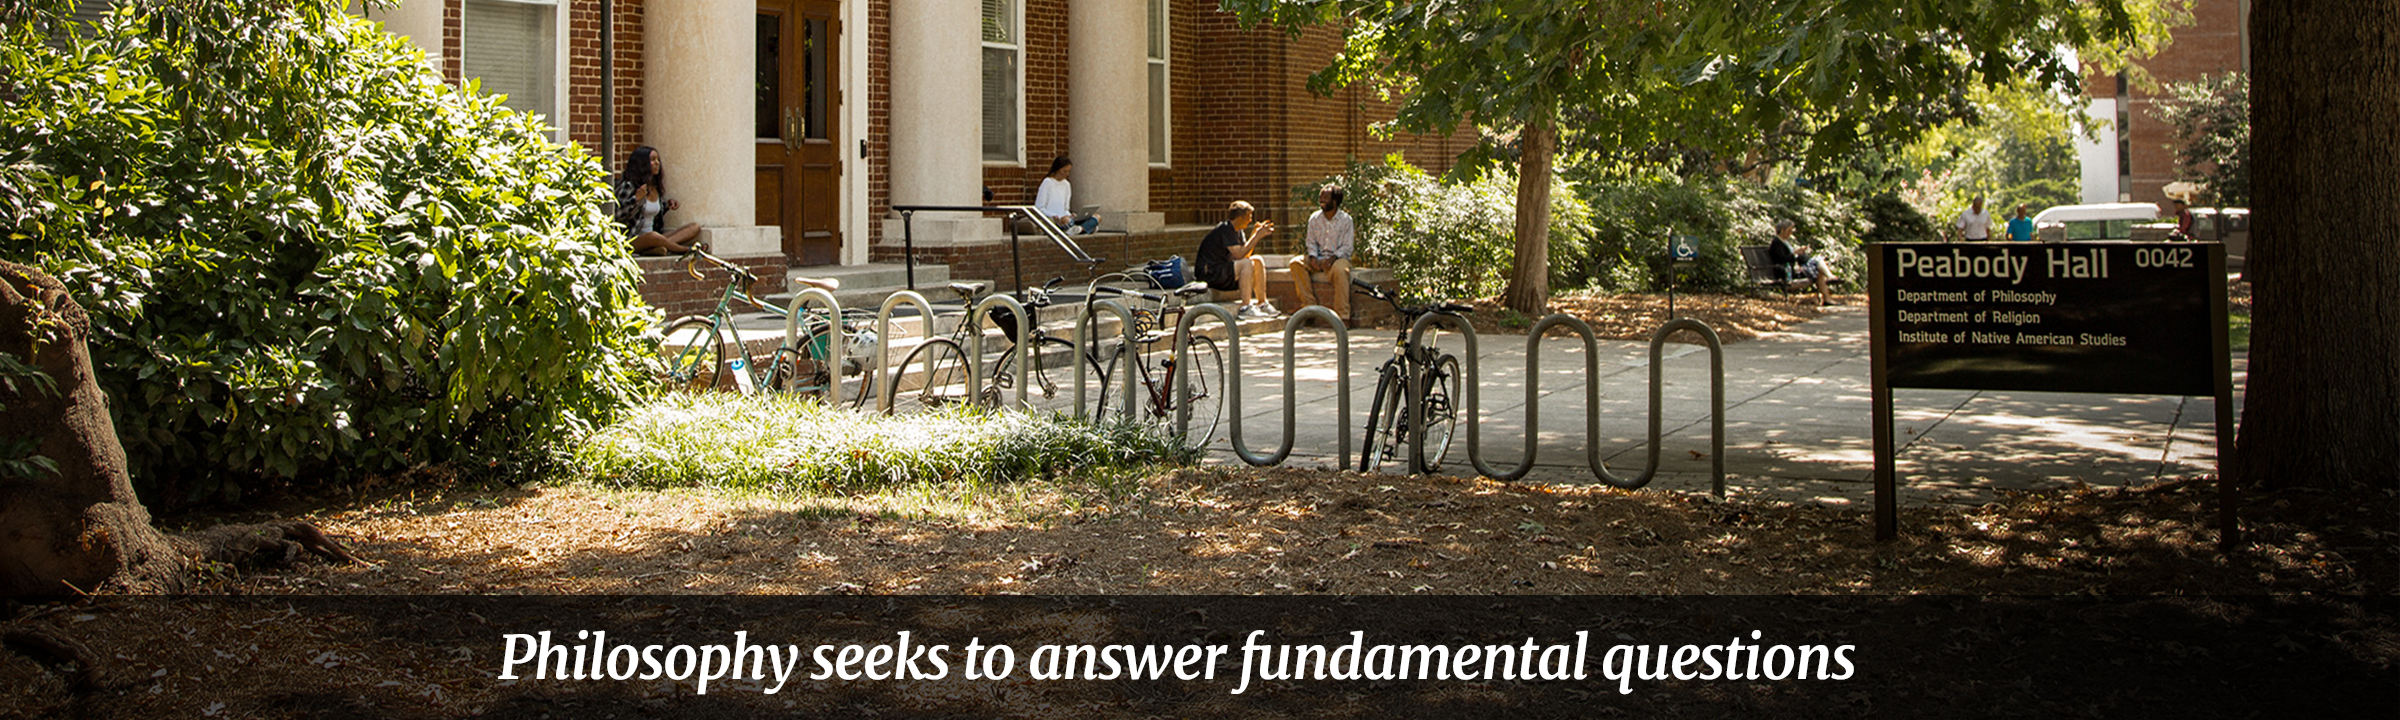
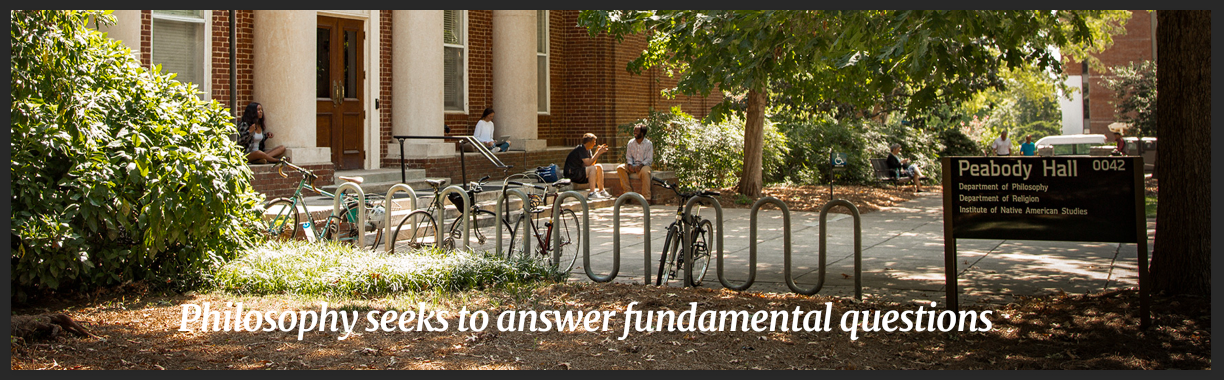
This tutorial will teach you about layers and how to build this very simple banner image using layers.
What are Layers?
Layers are just canvases for you to place images, illustrate or type on. Each new photoshop file starts with a single layer - the background layer. If you were to build your image with just one background layer, and all your changes happen on that layer, you can't easily undo mistakes because if you delete the one layer, all your previous work is also deleted.
For example, what if you were illustrating a complicated image. After 15 or 20 minutes of illustrating, you realize you made a mistake - how would you remove just that mistake without losing all of your work. If you draw each really important section on it's own layer, you can just delete the affected layer.
Photoshop does have a multiple undo option so you can technically undo an unlimited number of your changes, but even that isn't always sufficient because if you undo all your work to get back several steps in your process, you still have lost some the work you did previously and must redo it.
Some helpful guides or resources to review before starting this process.
- Guide to image sizes
- UGA Branding Typography Guidelines
- UGA Branding Color Guidelines
- Installing Typefaces/Fonts
Steps
Step 1: Create a New Photoshop Image
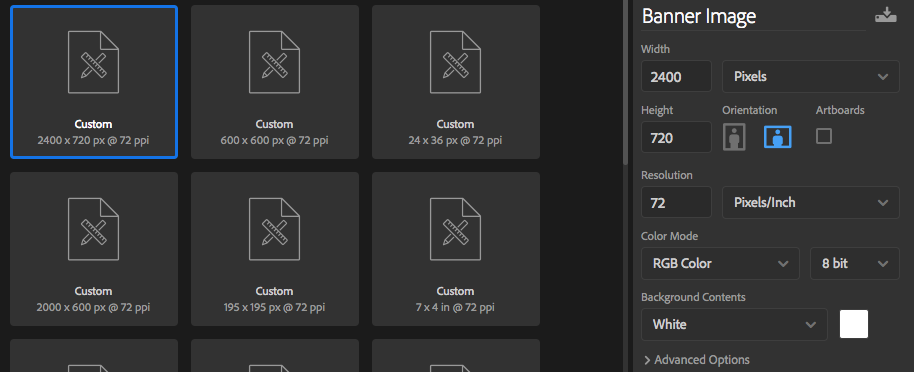
Select "File > New" from the top menu, and set the image size to 2400 pixels wide x 720 pixels high
Step 2: Insert a Photograph Element
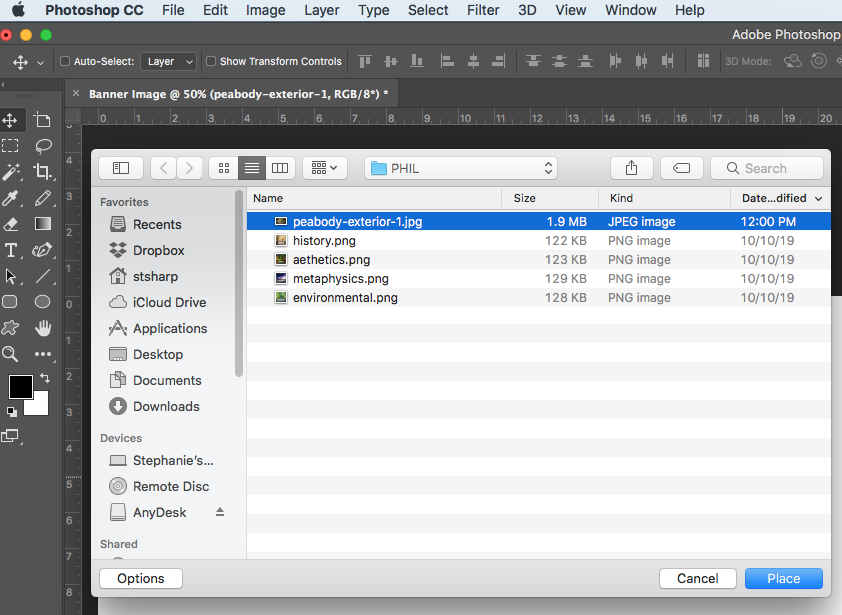
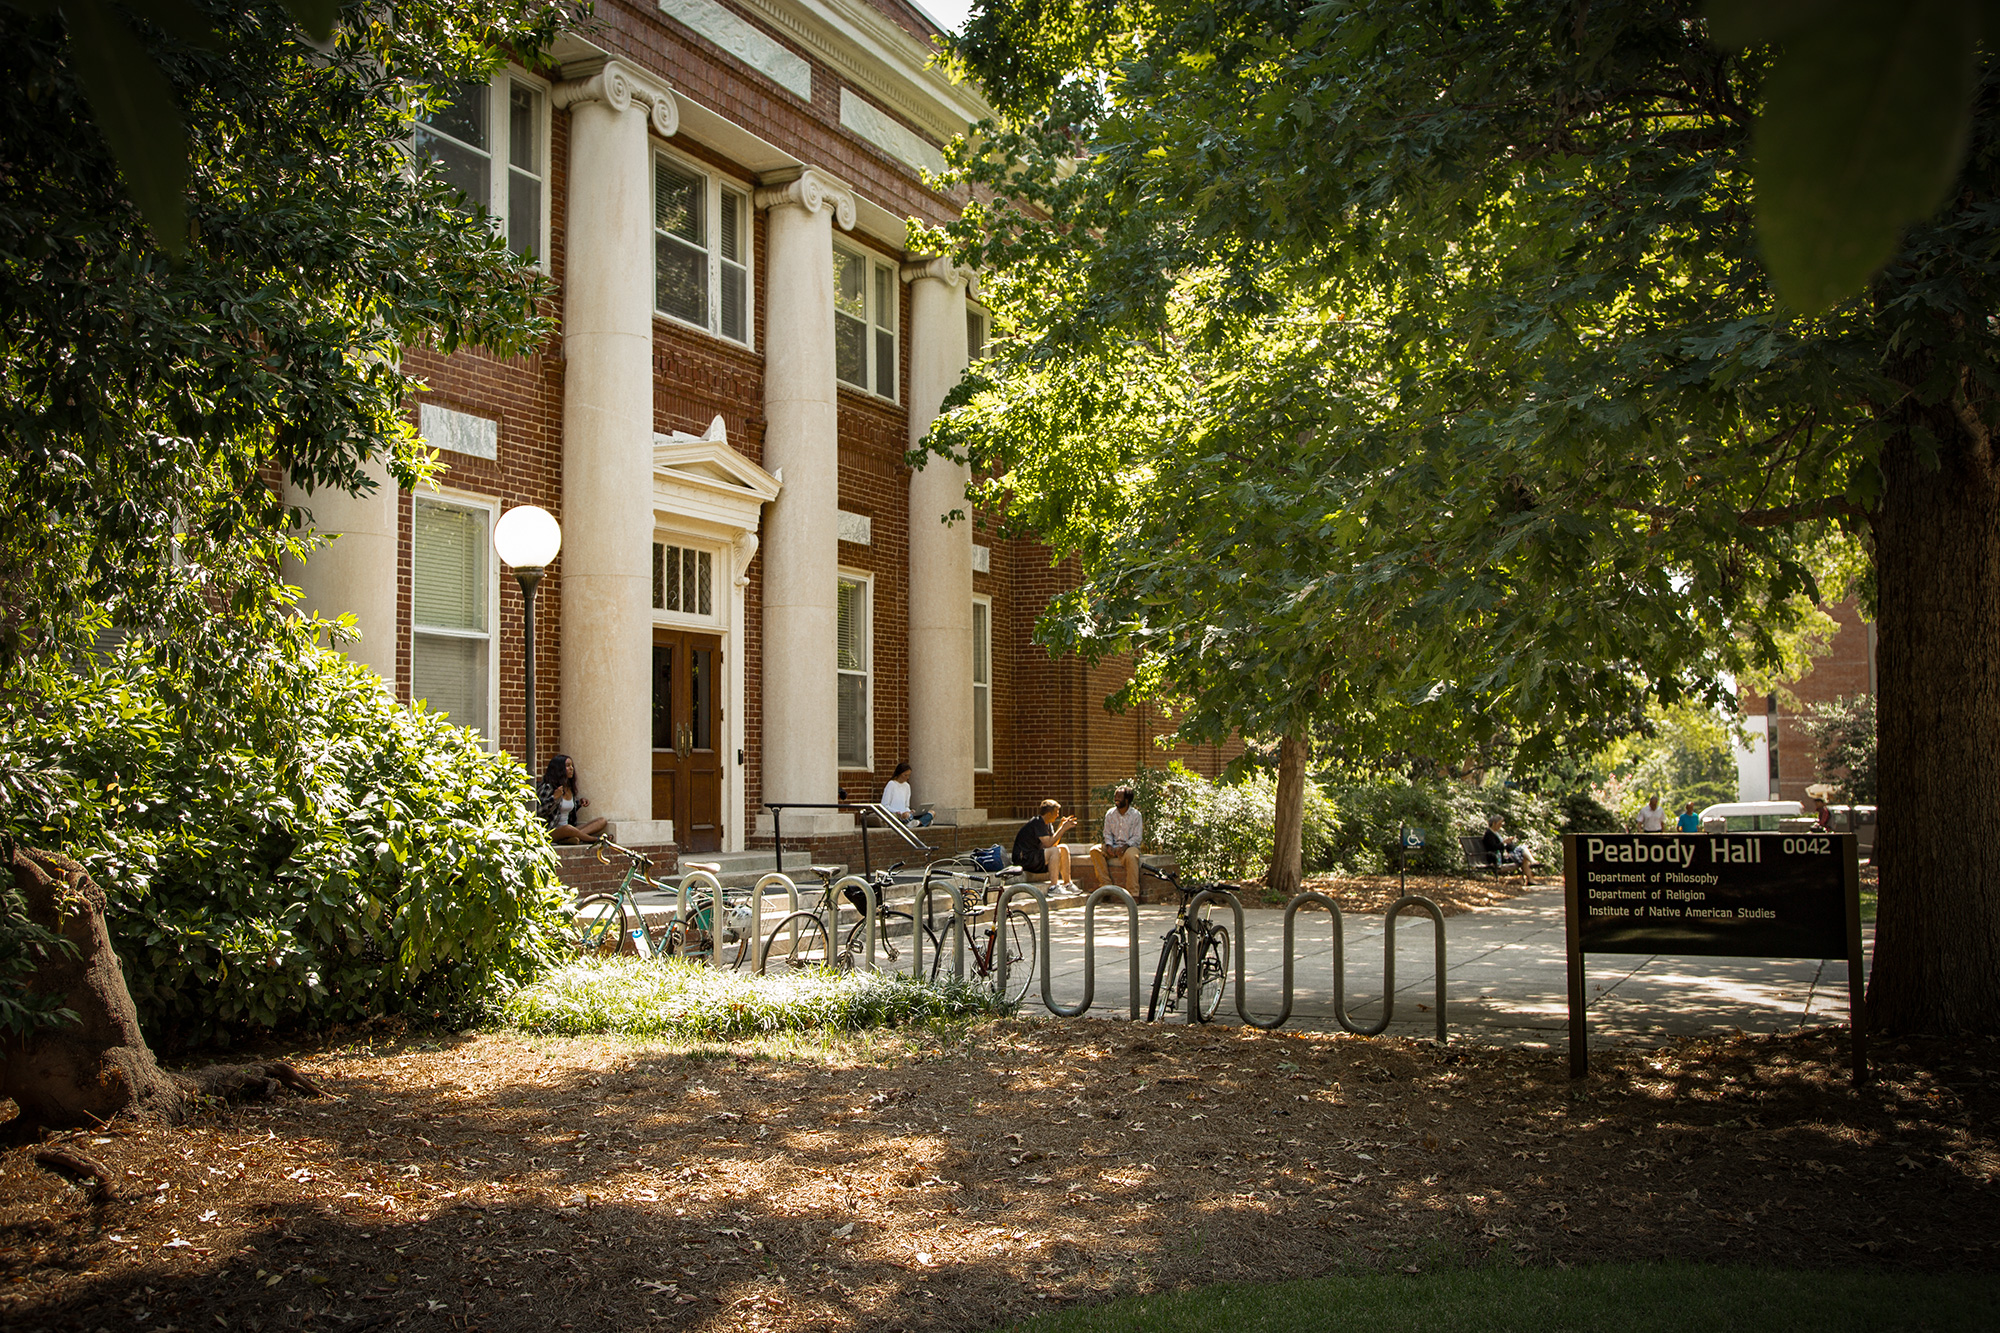
Let's place a photograph into our photoshop document. Click the word "file" on the menu bar, then click "place embedded" from the drop down menu that is exposed. Image of Peabody Hall you can use today if you do not have one of your own.

Locate the image you want to embed from your file finder, select and click the "place" button.
Step 3: Adjust the Size of the Photograph
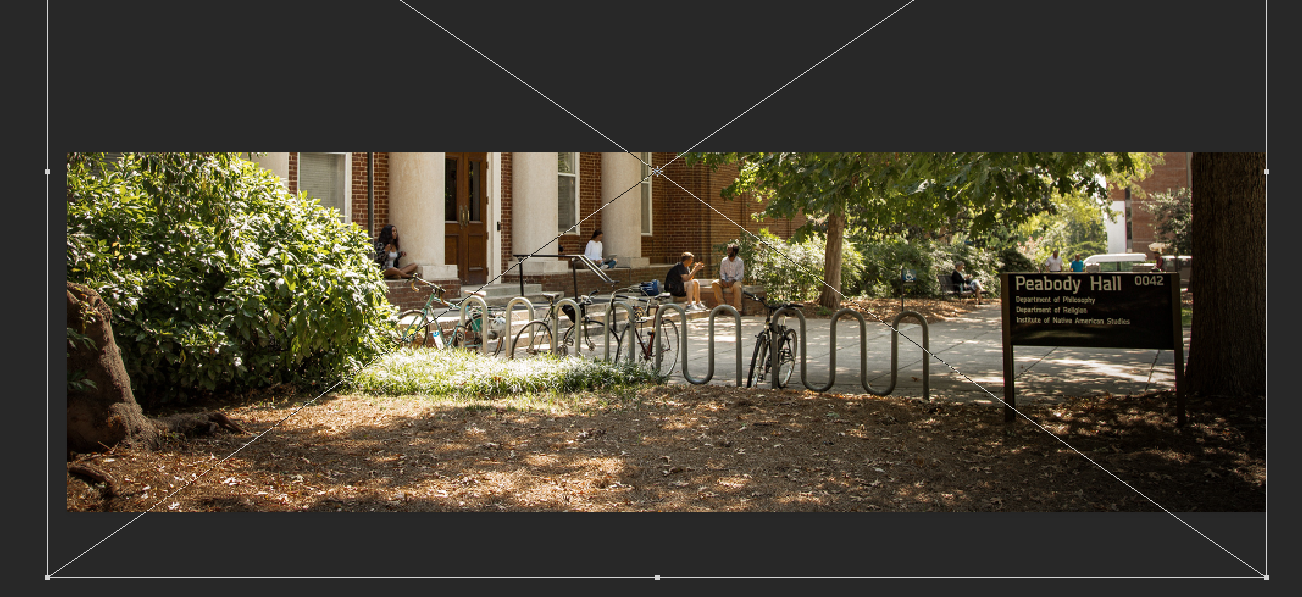
After you have embedded the image, it will have a big X over it that represents the scale of the image. You can adjust the size of it by clicking on the corners and dragging inward or outward depending on if you want the image to get smaller or larger. If you hold your shift key while dragging, it will control the proportions of the image. You can also click and drag from within the image to change the position of the image on the document.
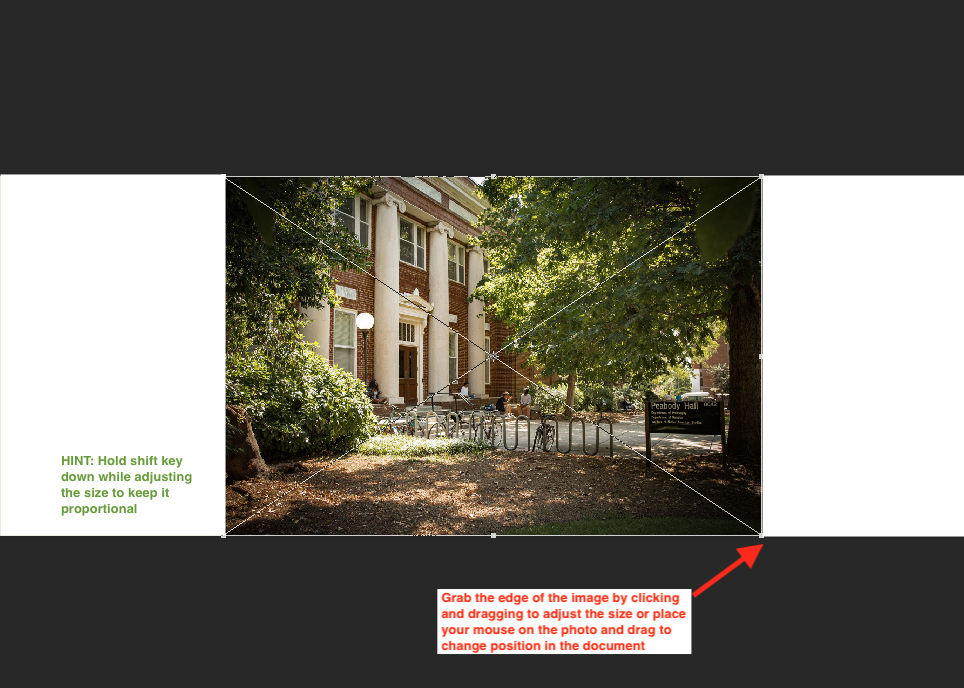
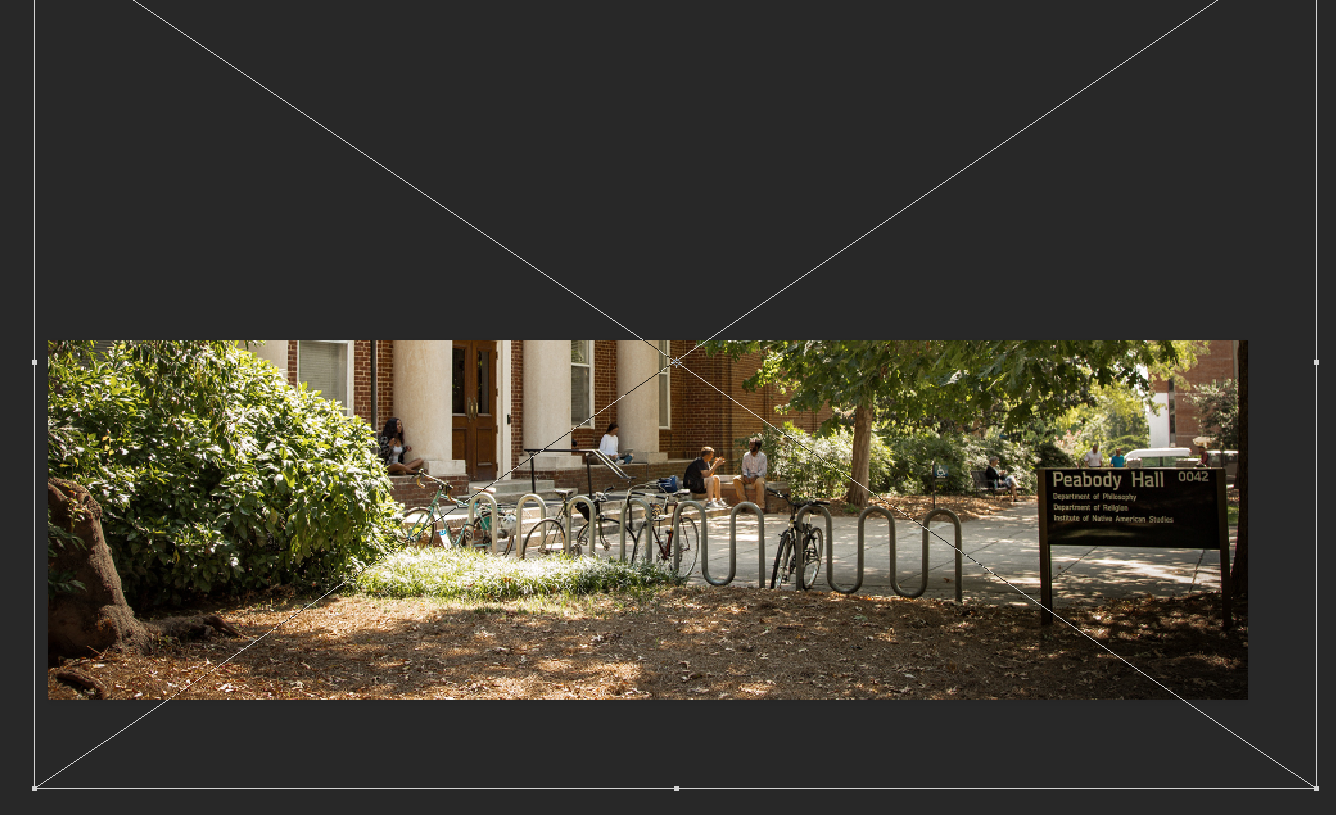
In this example I am going to stretch the image to the full size of the banner image because I want the image to be the full width. This means the image will be larger than the canvas window.
Step 4: Accept the Size and Position of the Image
If you are happy with the size and placement of the image, simply click your "enter" key on your keyboard. you will notice the big X goes away. You can still change the position and size of the image later.

Step 5: Adjust the Position of the Photograph (optional)
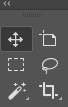
If you do not like the placement of the image, you can still adjust the photograph position a little more. Click the "move" tool in the toolbar. It looks like a cross.
After you have selected that tool, place your mouse over the image, click and drag. You will see the image position move. Alternatively you can just use the arrow keys on your keyboard to move the image in slight increments.
Step 6: Adjust the Size of the Photograph (optional)
If you do not like the size of the image, you can still change the size. This time we will use the menu options for this change. Click the word "edit" on the menu bar, then click "transform", then click "scale".
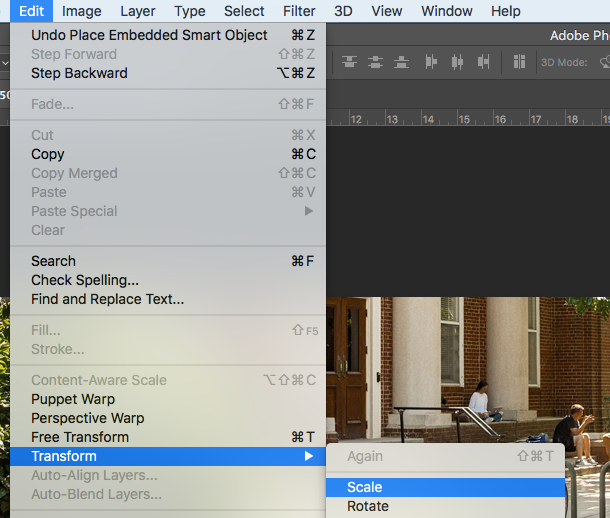
You will notice the big X show up again and you can make more size adjustments now. Adjust the size and click "enter" on your keyboard to accept the new size.
Step 7: Add Some Text
Let's add some text to accompany the image. Select the "text" tool from the toolbar. It looks like the letter "T".

You can click anywhere on the image to add text but if you want to control the size of the text block, click and drag to the size you want the text block. You will see a dotted line surrounding the text area and a blinking cursor once you release the mouse. You can immediately start adding text.

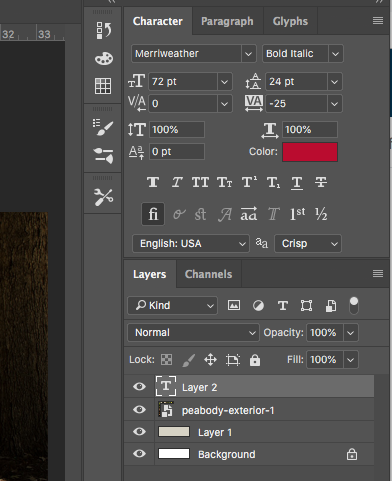
Notice the character palette to the right to choose the font and size of text. You may want to reference the UGA Type Guide to use approved fonts. I'm going to use Merriweather font, size 72, and Bulldog Red Color (from the UGA Color Guidelines). If you don't have the approved UGA typefaces installed on your machine, follow this tutorial for installing them.
Wow that red is not readable on the background. Let's change the color to white now.

Go to your layers palette and double click on the little "T" icon for the text layer you just added.
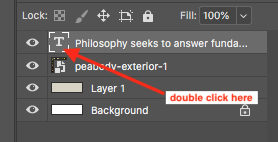
You will notice the text on the layer is editable again because it is highlighted.

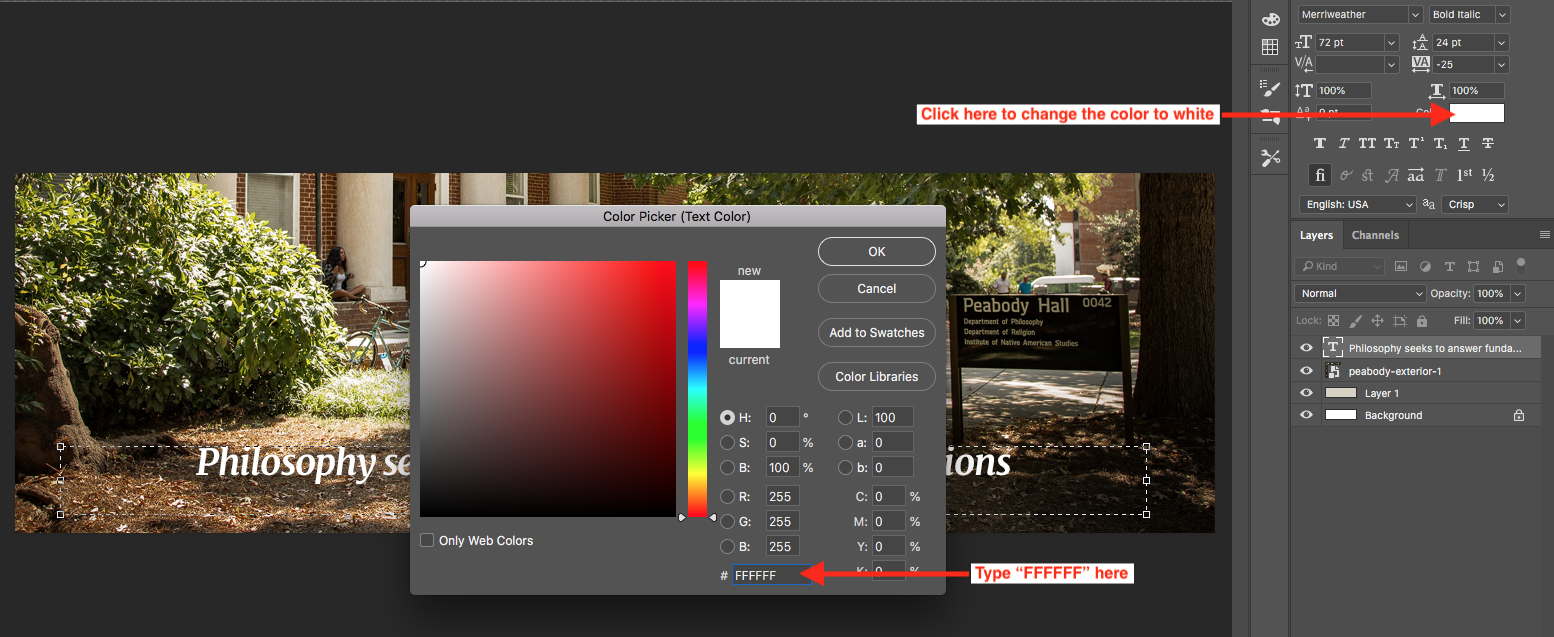
Let's change the color to white. Click the color swatch in your character palette to the right and select white from the color picker or type hex-code FFFFFF in the hex field.
That is much better. But it could still be better. We will add a color bar behind the text to make it a bit more readable.
Step 8: Create a New Layer
Now we will create the black bar layer that goes under the text. Simply click the "new layer" icon in the bottom of you layers palette. It looks like this: ![]()
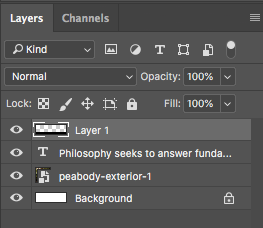
Now you will see a new layer called "Layer 1" in your palette. (see below)
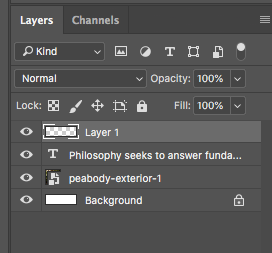
You can tell which layer you are on, by noting the lighter gray highlight of the selected layer. It is important to note that photoshop will sometimes automatically create new layers each time you draw a new shape or add a new text element.
I am going to use the marquee tool which looks like a square with dashed outline.

I place my cursor on the canvas where I want the bar to begin and click and drag the size of the box to the other side where I want it to stop. You will see a blinking dashed outline for the area you chose to select.

Now that this area is selected, we are going to fill that selection with black.
Step 9: Add Color to Your Box
Check your layer palette to make sure you still have your new Layer 1 highlighted. While we are Layer 1, let's add a color of black on the layer. First let's choose a color to add. Click on the "color" selector tool from the tool bar. The color square to the left is the foreground color and the one to the right is background color.
See below.
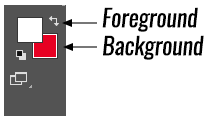
Select the foreground palette by clicking on it, and then a color picker will come up. Choose the color you want to use by clicking in the color picker OR type a hex-code in manually. Refer to the UGA Branding Color guidelines for hex-code color options. After you choose your color or manually enter it, click the OK button.

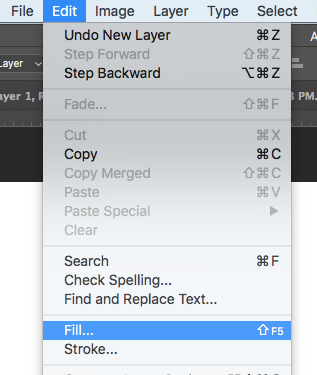
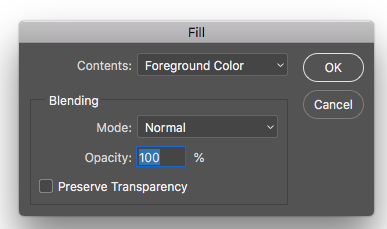
Next, select "Edit > Fill" from the top menu, then choose "foreground color" from the pop up window.
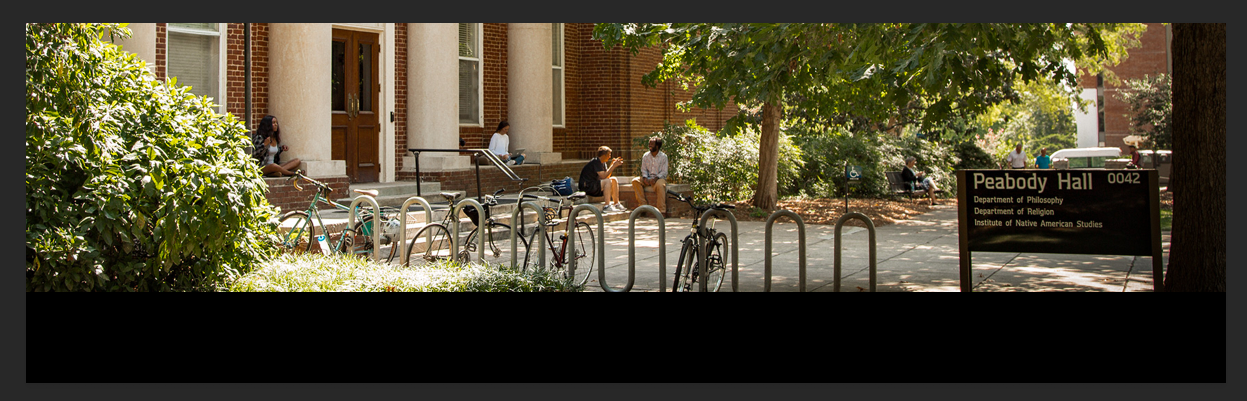
Uh oh, the black bar is covering the white text layer. Now you are going to see the power of layering.
Step 10: Change the Order of the Layers
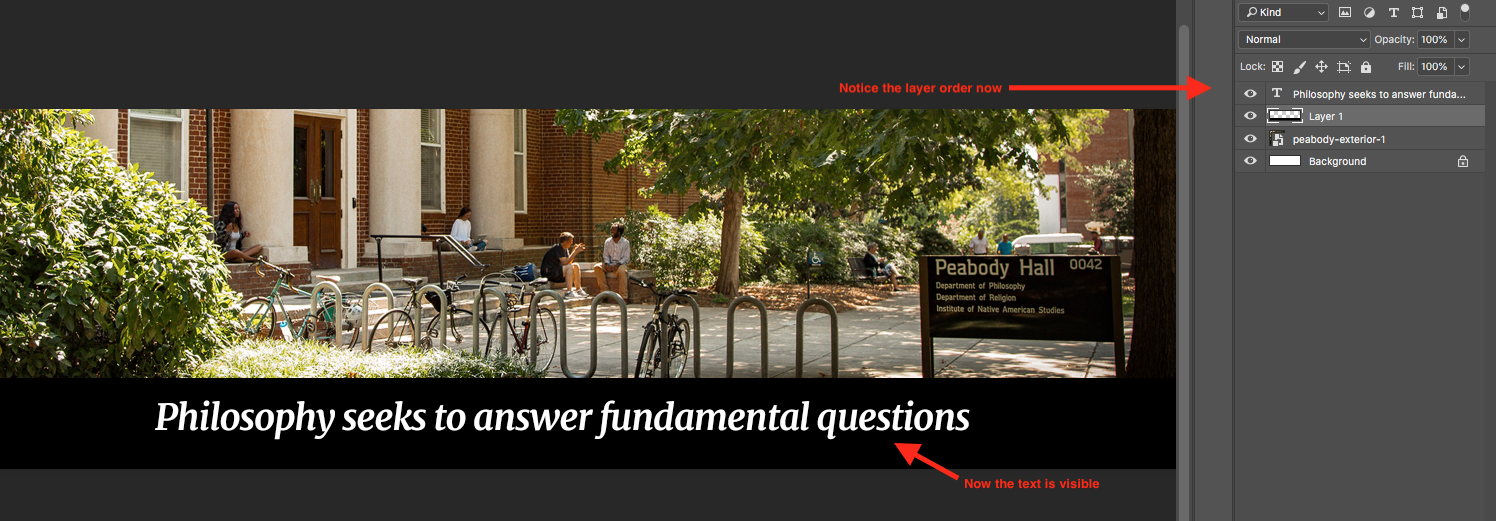
Because the new layer is covering the text layer, we just need to change the order of the layers in the layer palette. You will notice that the new layer, Layer 1, is at the top of the layer palette. The order of these layers is how they are presented on the canvas. We just want to click and drag layer 1 so that it is under the text layer in the layer palette.
After you do this, your layer palette will look like this and the white text should be visible.
Step 11: Change Opacity of Black Bar
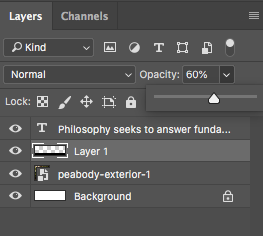
There is still some improvement we can make. Maybe it will look better if the black bar is slightly transparent so you can see part of the photo behind. This is easy. Simply adjust the opacity using the layer options.
Adjust the "opacity" scale by clicking the little arrow next to the word and change to 60%
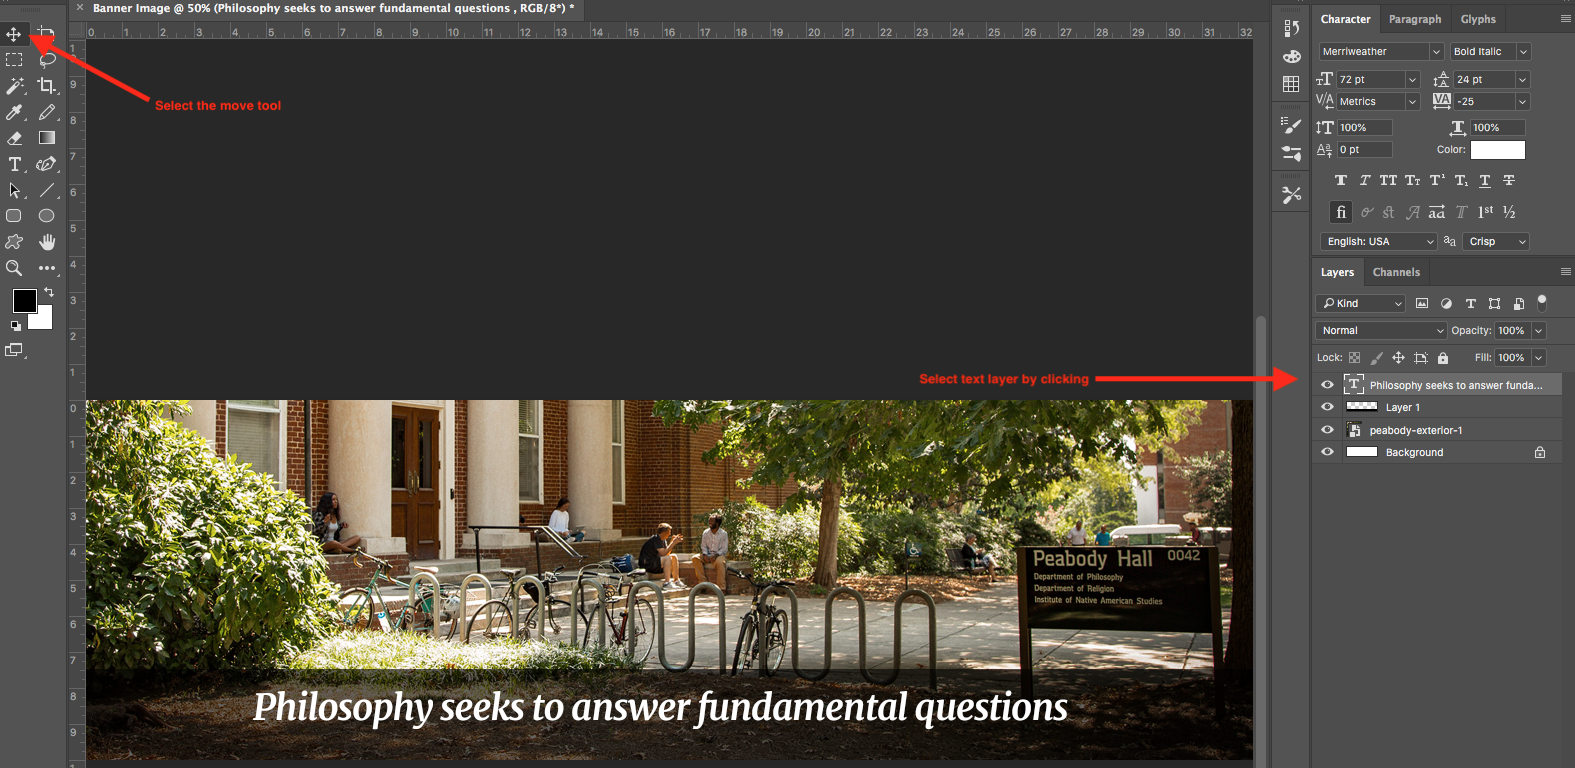
Step 12: Adjust Final Text Position
I'm not totally happy with the text position because its not equidistant from all sides. I'm going to choose the text layer from the layers palette, then click the move tool on the tool bar, then use my arrow keys to move it to the exact location I want it.
Step 13: Save Your Work
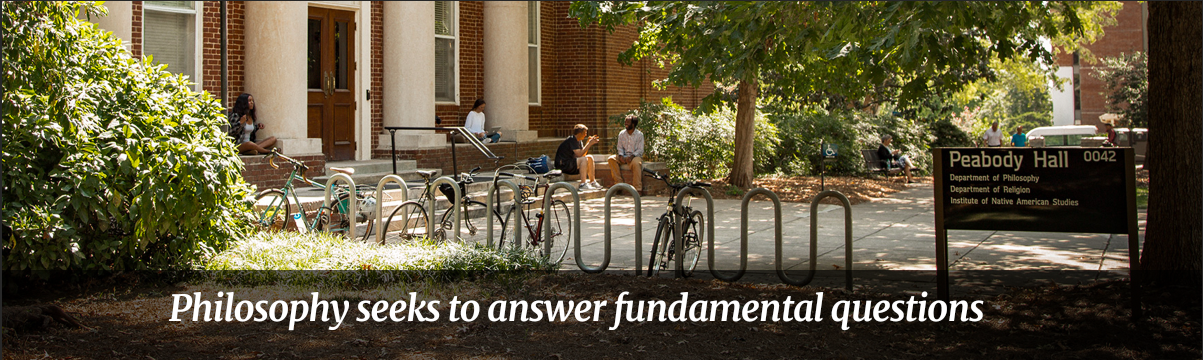
Voila! My image is completed.
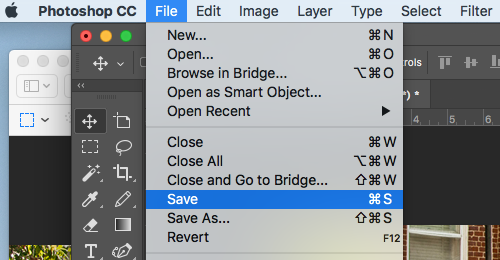
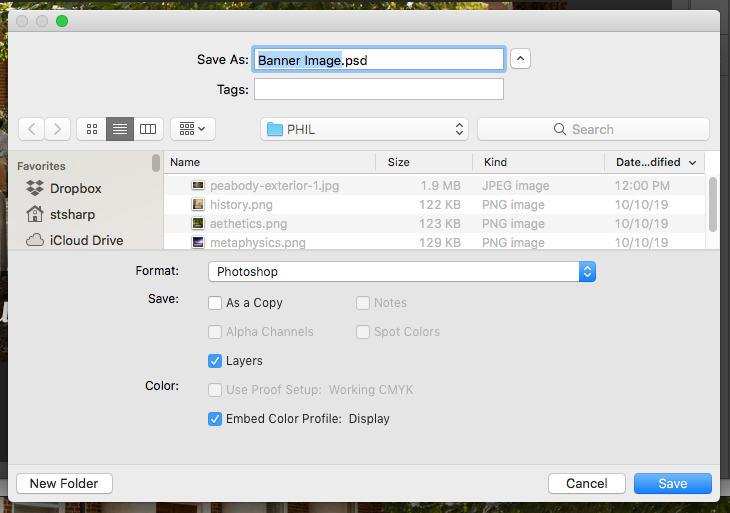
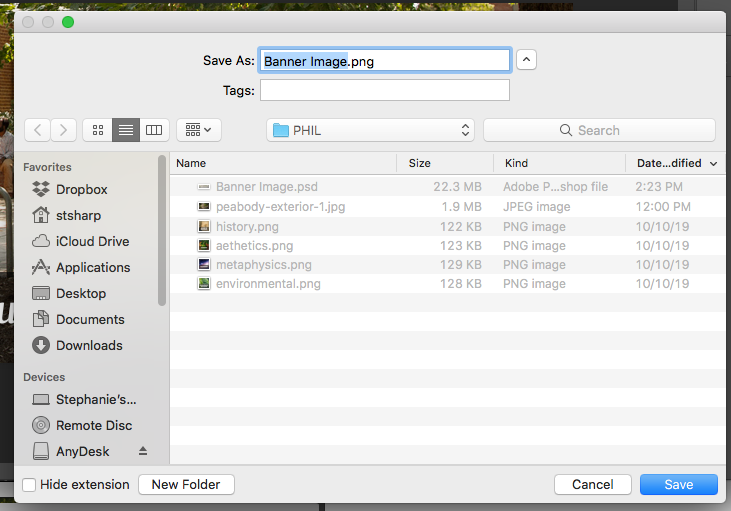
Now I just need to save my work so I can use this same template to drop in other images and change the text. Select "File > Save" from the top menu, then choose where to save your file and click "save". This file will be a PSD file which is only editable in photoshop.
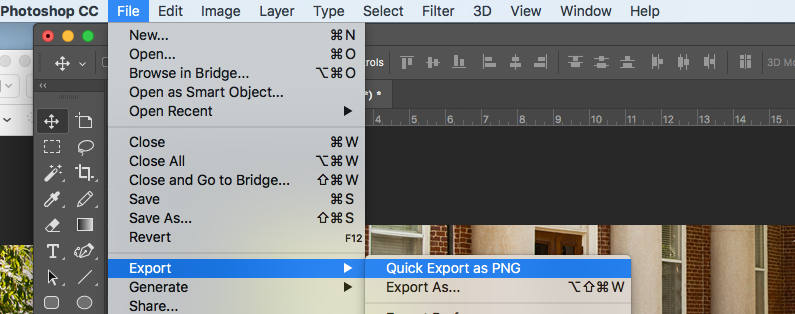
Step 14: Export to a PNG to Use on Your Website
Select "File > Export > Quick Export as PNG" from the top menu, then choose where to save your file and click "save".
Step 15: You Are Done
You are free to place this image on your web site as a slide. Of course this tutorial image is using a photo that doesn't belong to you and text that is likely not relevant to you so repeat this exercise with your own images and text.
To manage any part of your web site, you will have to be logged into the Drupal CMS. If you need help logging in, please review this login help document.
Monday - Friday 8:00 a.m. - 5:00 p.m. Homepage & Directory Service Offerings Franklin OIT Status http://status.franklin.uga.edu/ Receive or Discontinue Status and Service Updates from Franklin OIT UGA/EITS Systems Status Pages https://www.facebook.com/uga.eits USG Systems Status PageContact the Franklin OIT Help Desk
Hours of Operation
Website Information
Systems Status Information
