Create a Special Section
- Lauren Blais (Unlicensed)
- Del Gray
- Michael Brewer
This is an advanced topic. You will need to possess a good understanding of HTML, and have significant experience with Drupal content editing.
Permission Level
Level 3 or Higher - See permission level document for details

Overview
This page is part of a series of how-to's on creating a special section for your site, such as one used for a conference, study abroad program, or other reason.
These steps cover creating basic pages and putting them in the menu. If you need additional help on these topics, please see our Drupal Support page.
Table of Contents
Just like we would for any other section of your site, we'll create a landing page and put some pages under it. In this example, we'll imagine we need to create a section for an upcoming conference.
Step 1: Create a Landing Page
So let's create the landing page for our conference. We'll put it in the menu and make sure it shows up where we want it to.
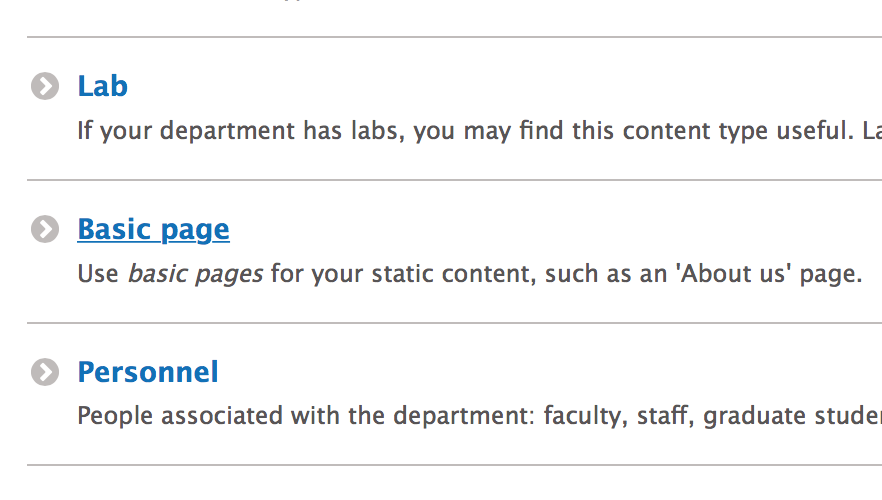
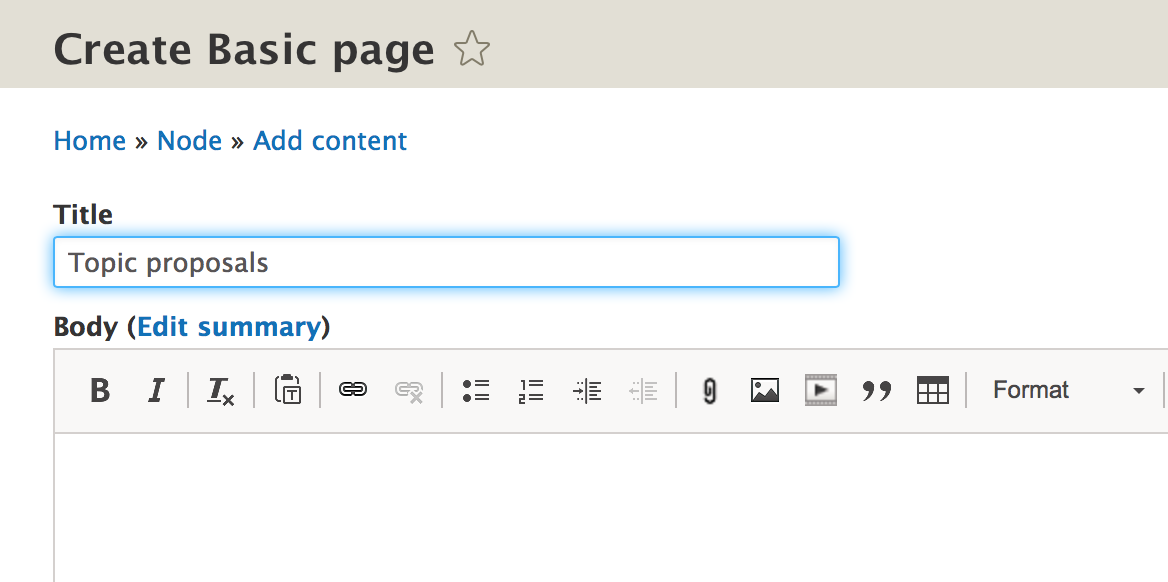
After logging into the site, go to 'Add Content' and select 'Basic Page.'
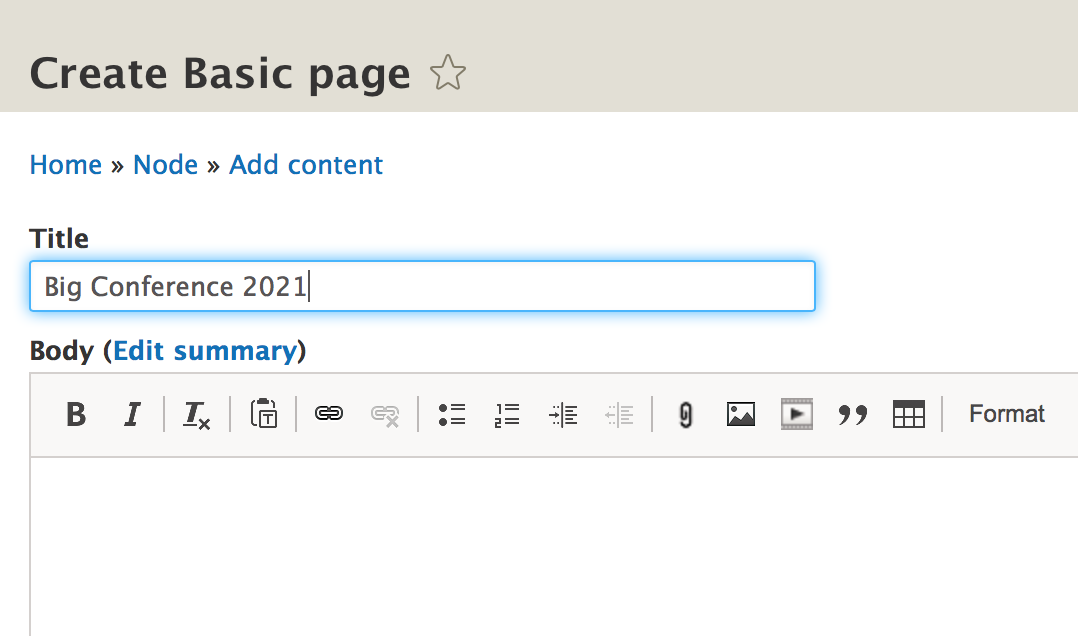
Name the page after your conference. In the example below, I've titled the landing page for my conference "Big Conference 2021."
Step 2: Place Landing Page in Menu
We'll want to put this in the menu.
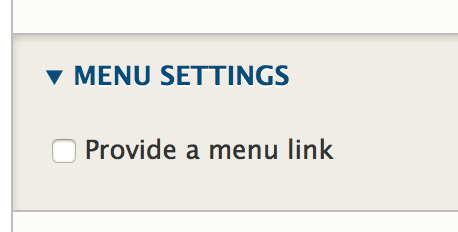
To the right, look for Menu Settings.
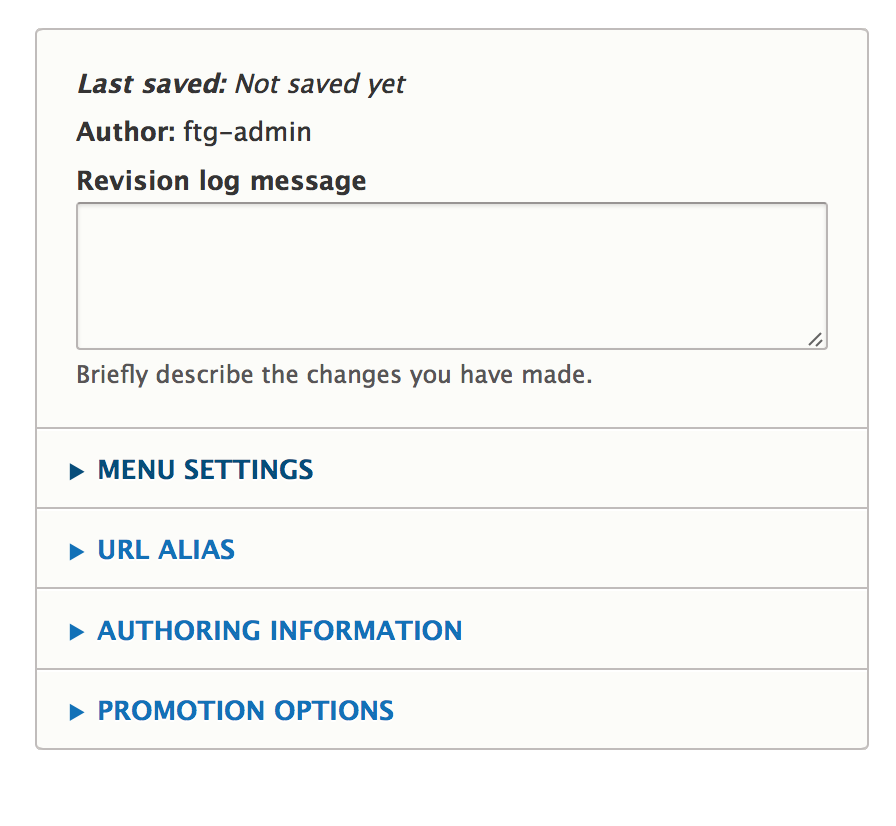
When you click this, you'll see the option to put the page in the menu. Click the checkbox.
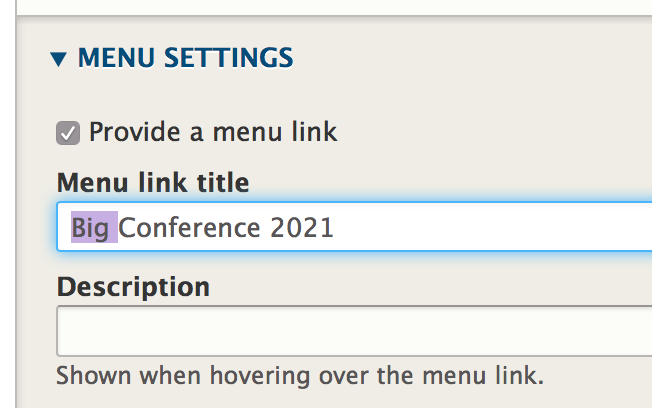
Now you can indicate if you want the menu title to be different from the page title.
This is particularly useful if you have a long page title, but don't want it to take up a lot of room in the menu. In the example below, I've taken out the word "Big" so it will appear simply as "Conference 2021" in the menu. The page title will remain "Big Conference 2021."
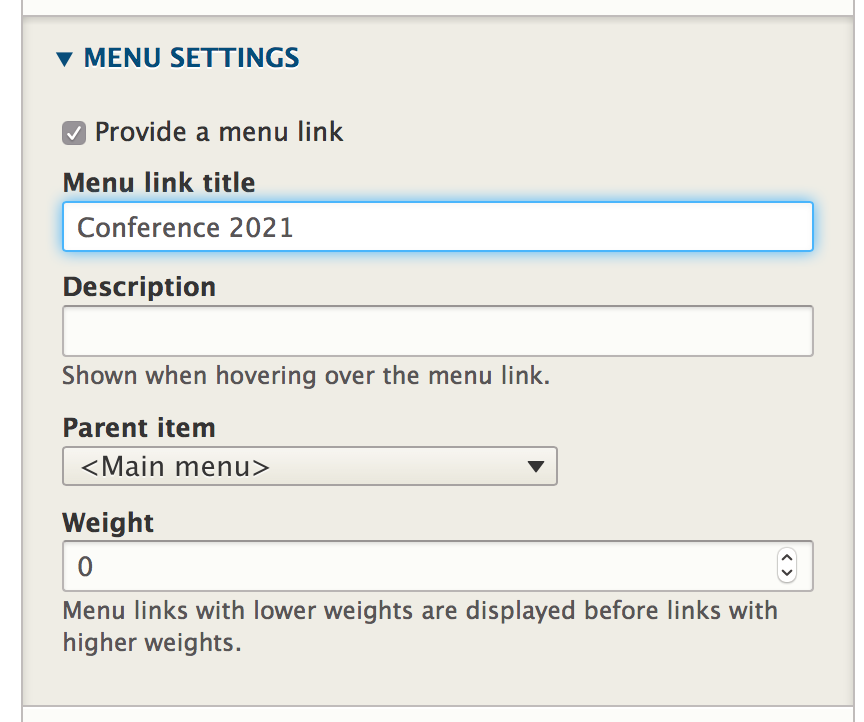
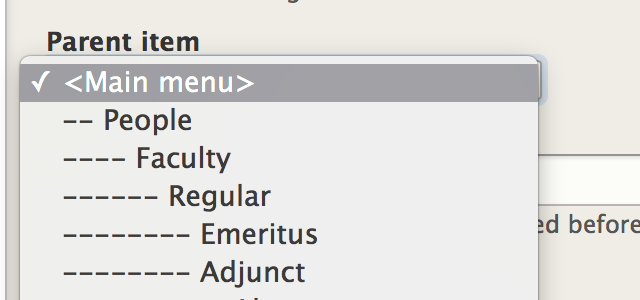
"Parent Item" lets us place the page under pages if we want.
In this example, I want my conference page to always appear at the top of the menu bar, instead of under another section of the site (though you can certainly place it somewhere else). So I will leave it at the top, in Main Menu.
For more detailed help working with menus, please see our Adding pages to the menu structure documentation.
This is all I'm going to do to this landing page for now. Later I'll add some text.
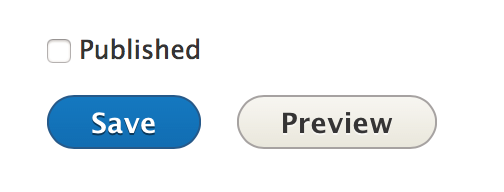
Because I'm still developing my conference pages, I'm going to make this 'Unpublished'.
My conference pages will still show up in the menu for me because I am logged in, but others won't see it. I'll click 'Save'.
Step 3: View Page
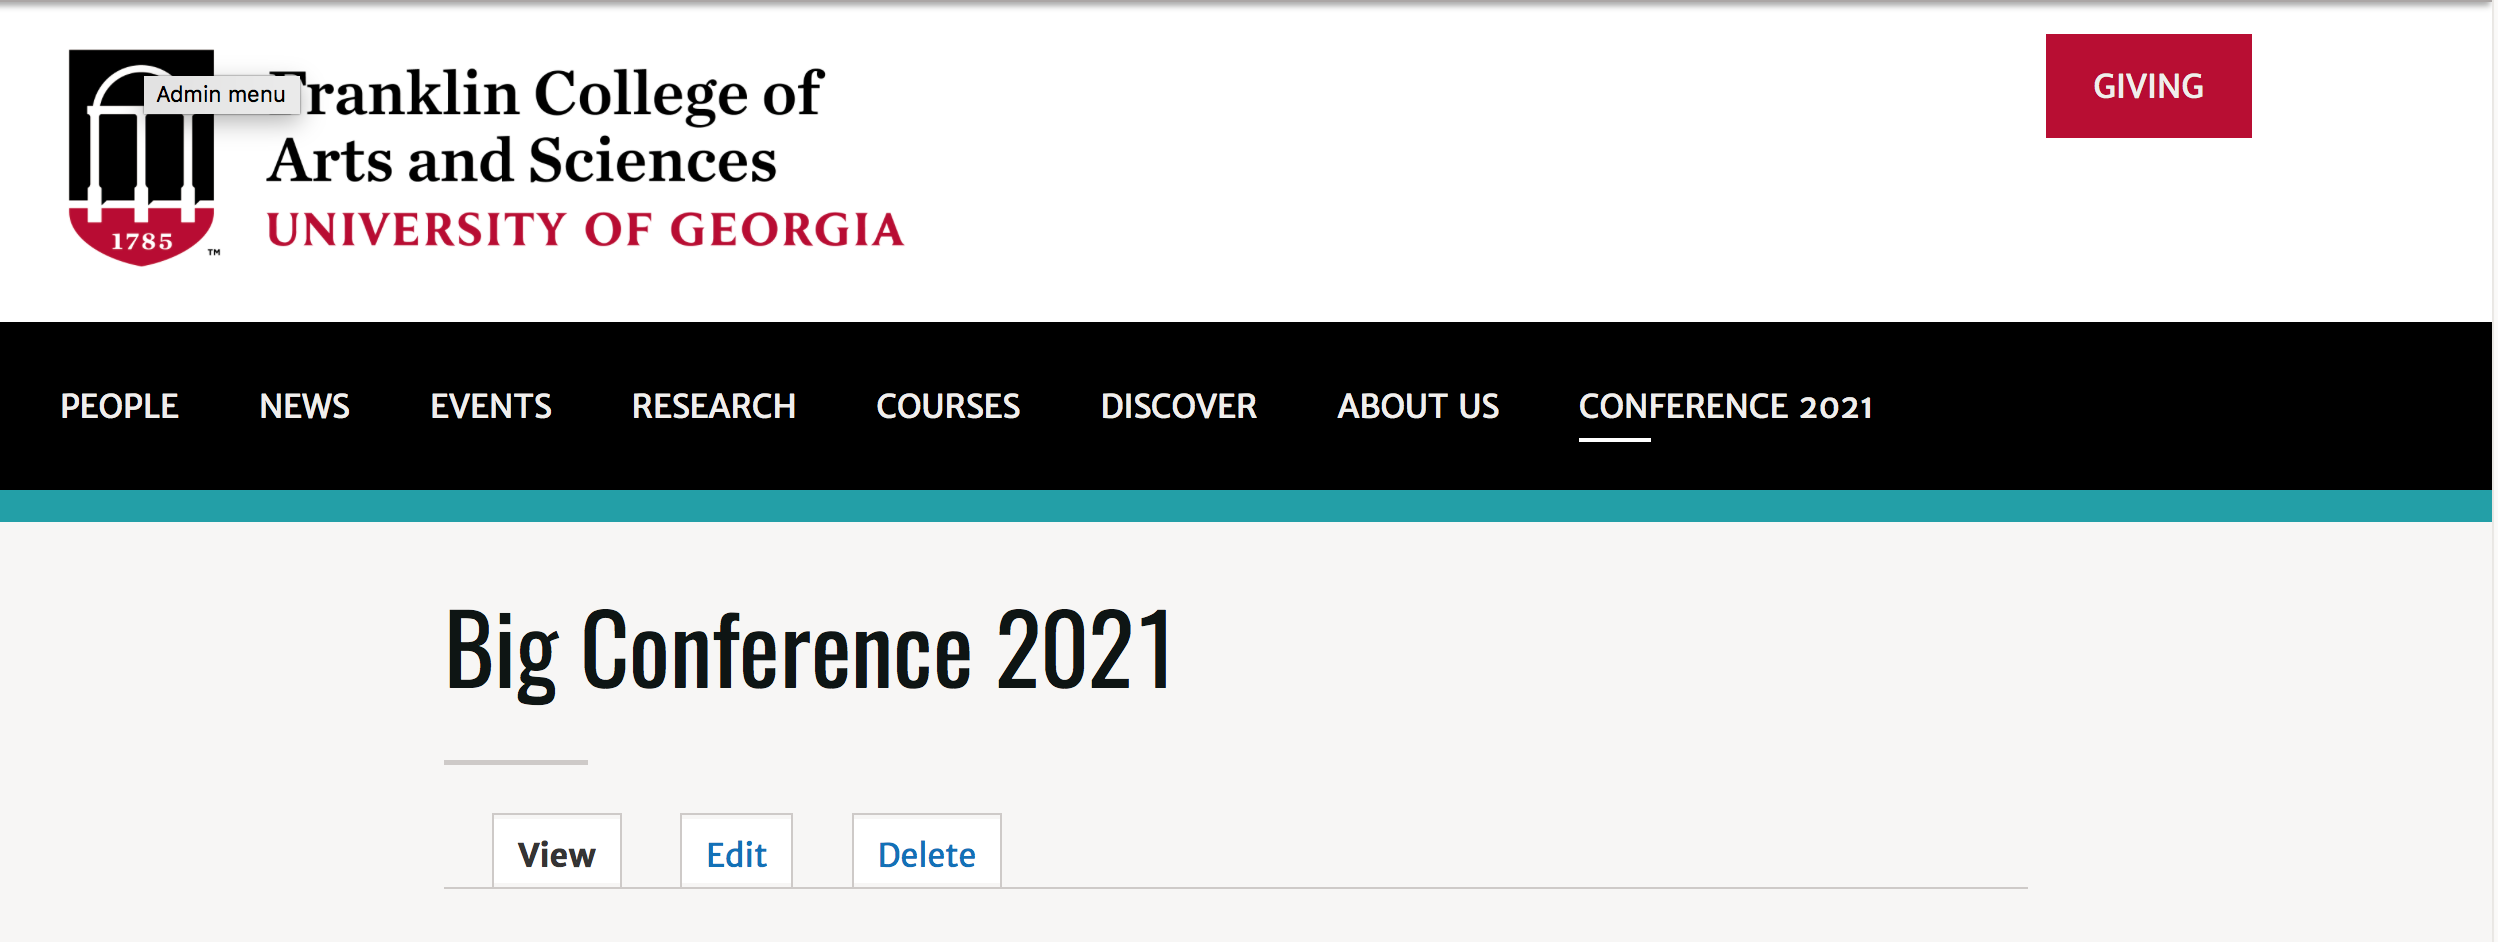
Let's have a look at our Conference page. When you save it, you should be able to see how it currently appears in your site.
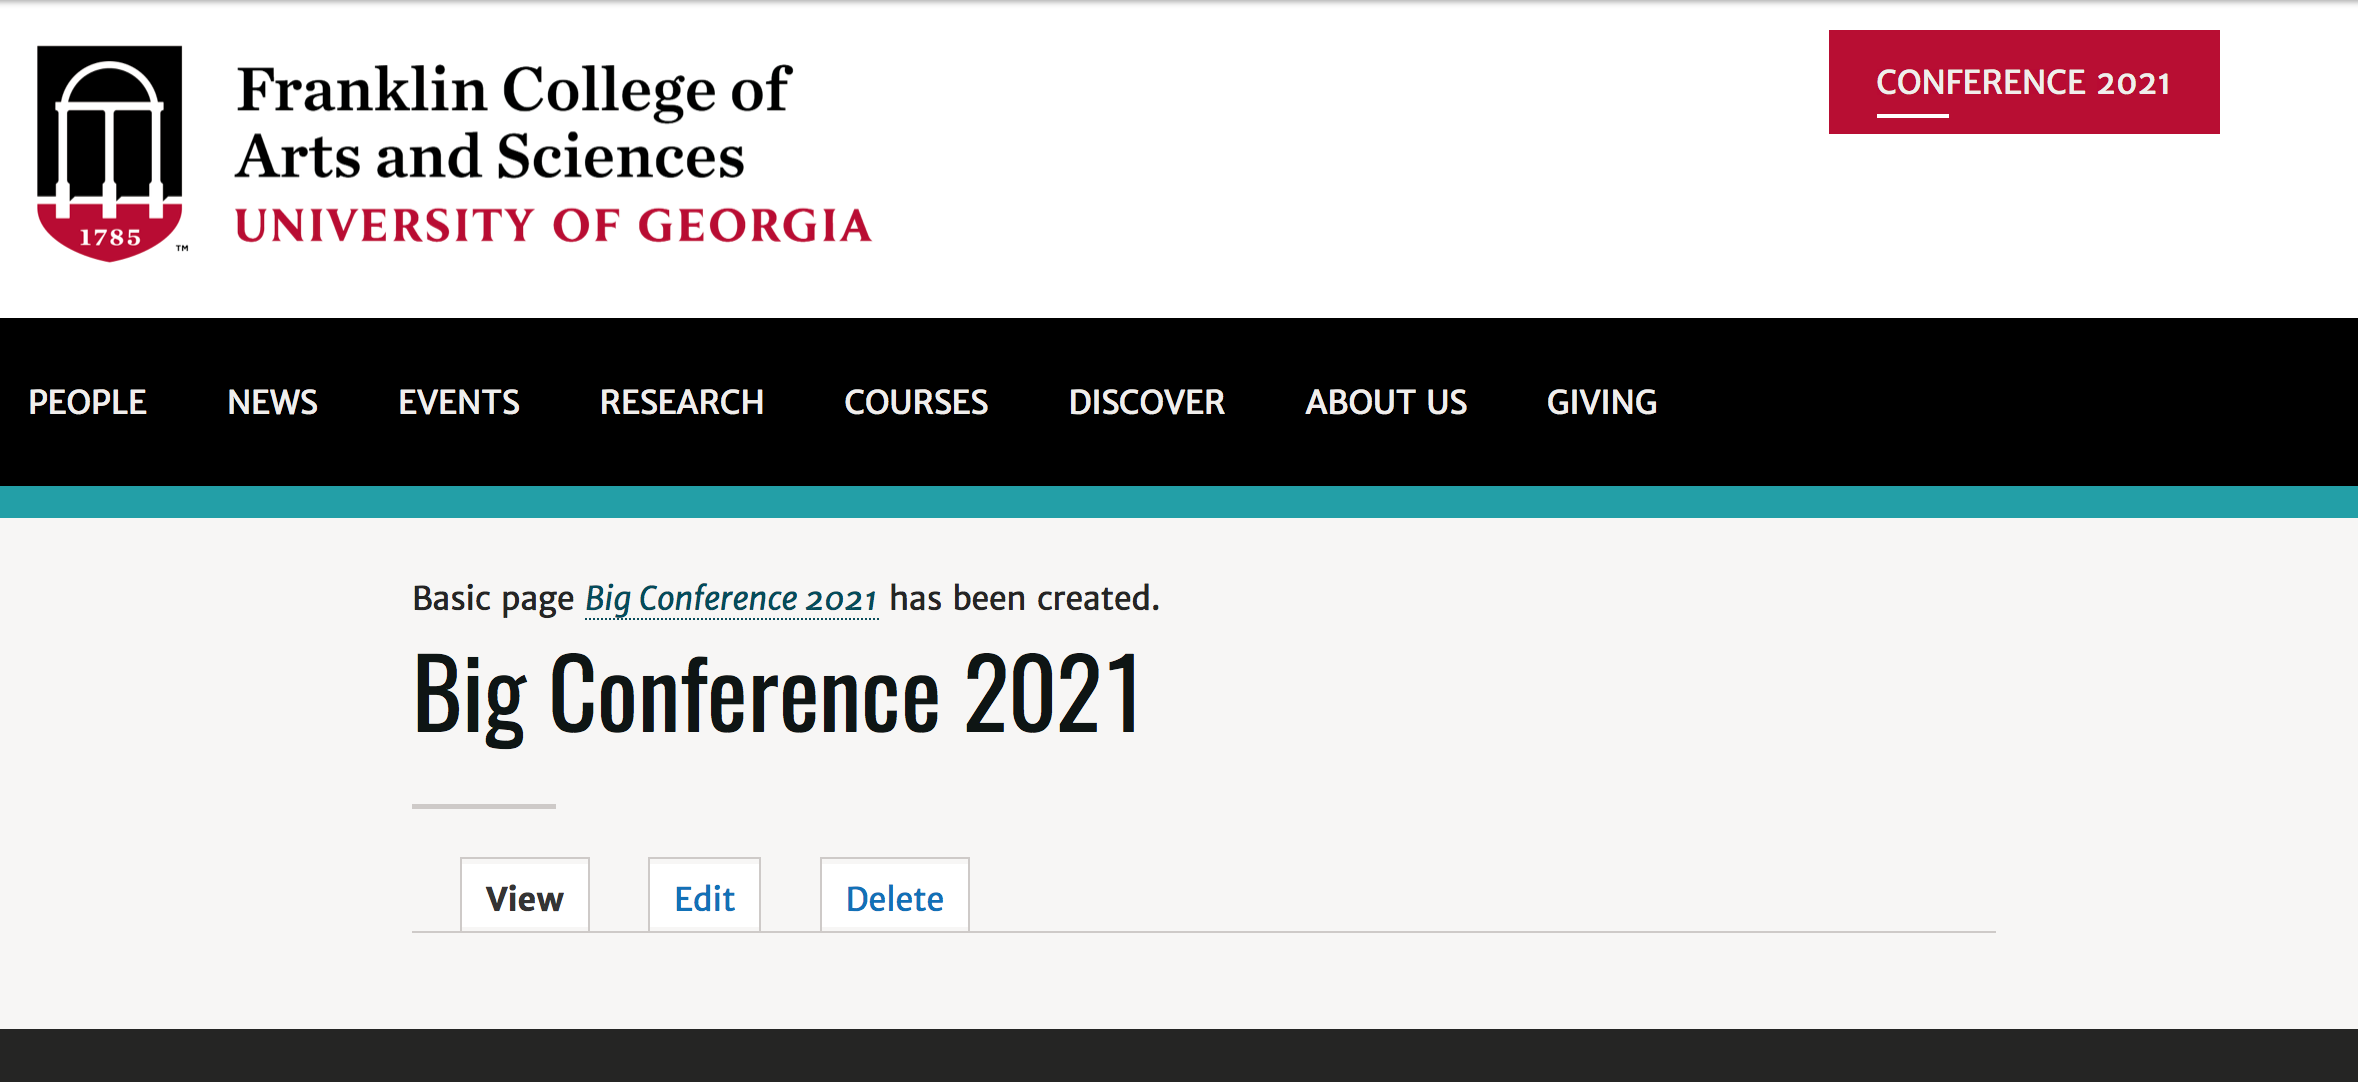
I see that it is indeed in the menu, but as the Red button. Whoops!
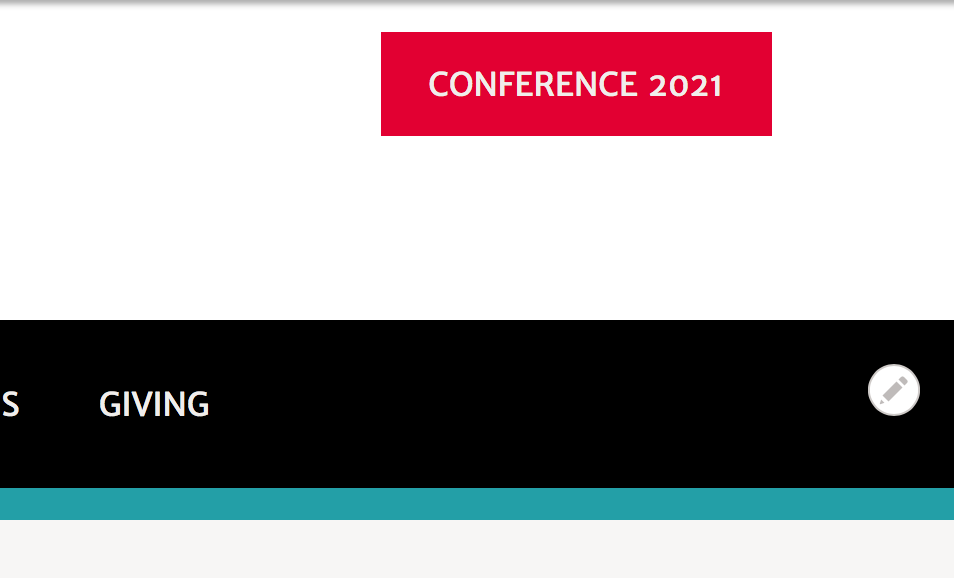
Why is this happening?
As your developer, I've reserved the last position in the menu for the "Giving" section of your site so it is that nice Bulldog/Glory-Glory red color.
So let's go into the menu and rearrange the order so that "Giving" is once again last and once again red.
Step 4: Make Your Landing Page Not Appear as the Red Button
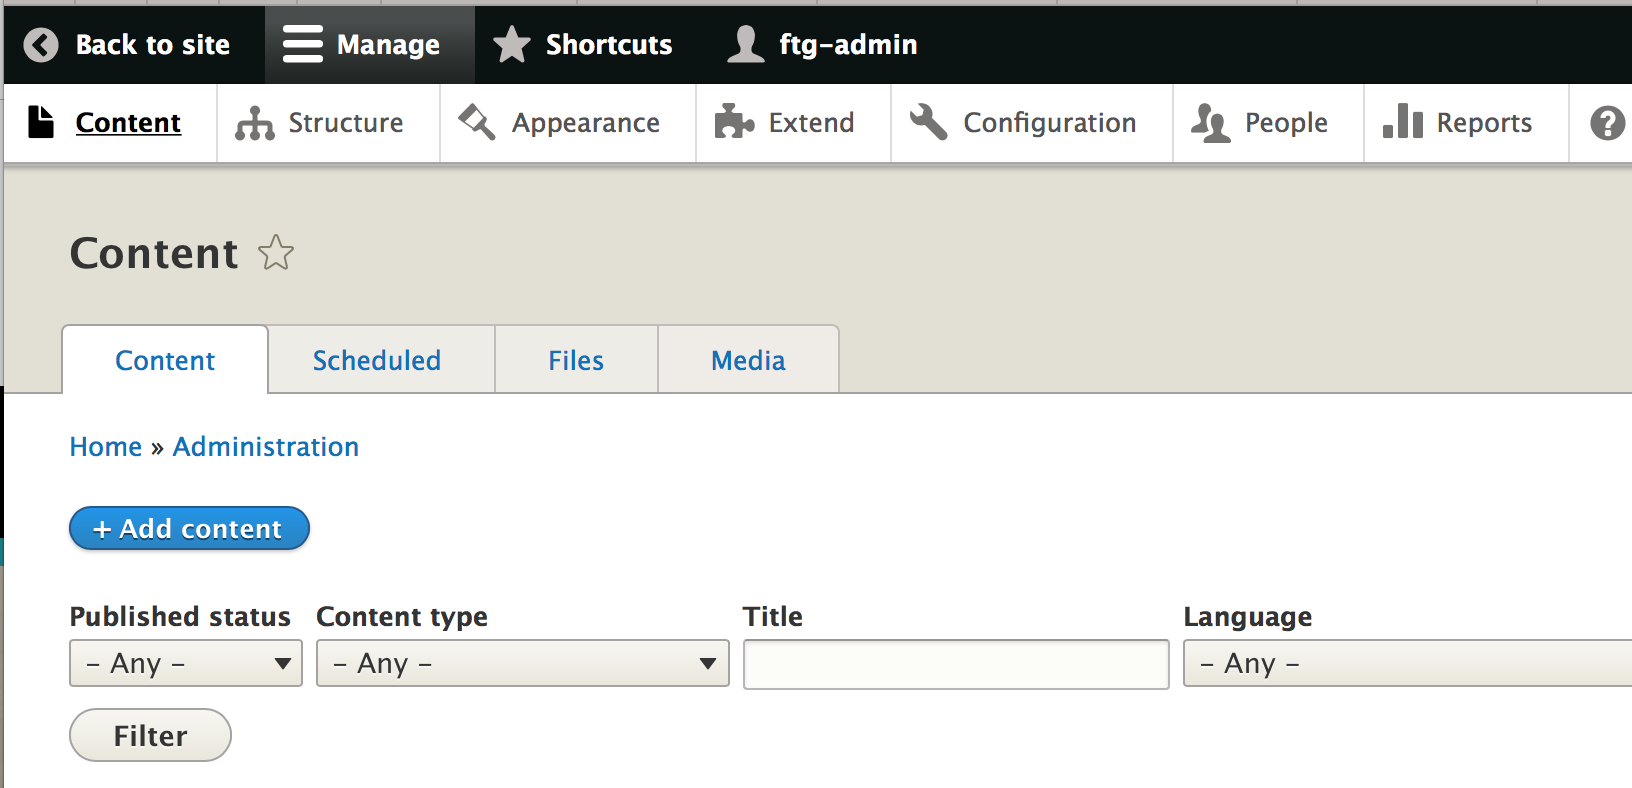
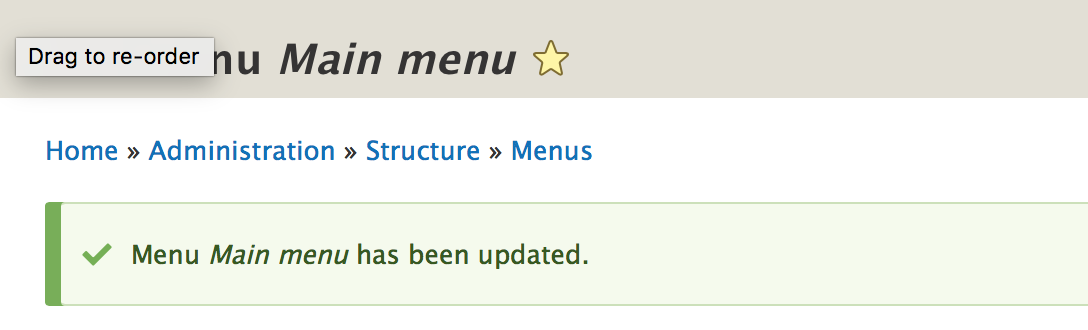
Under the admin toolbar under "Shortcuts," you'll find the "Manage main menu" link.

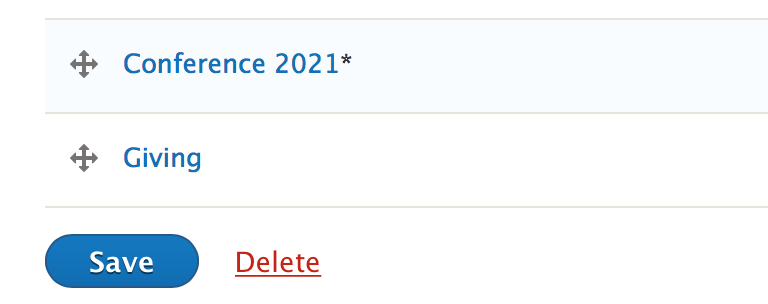
Scroll down until you find your conference page.
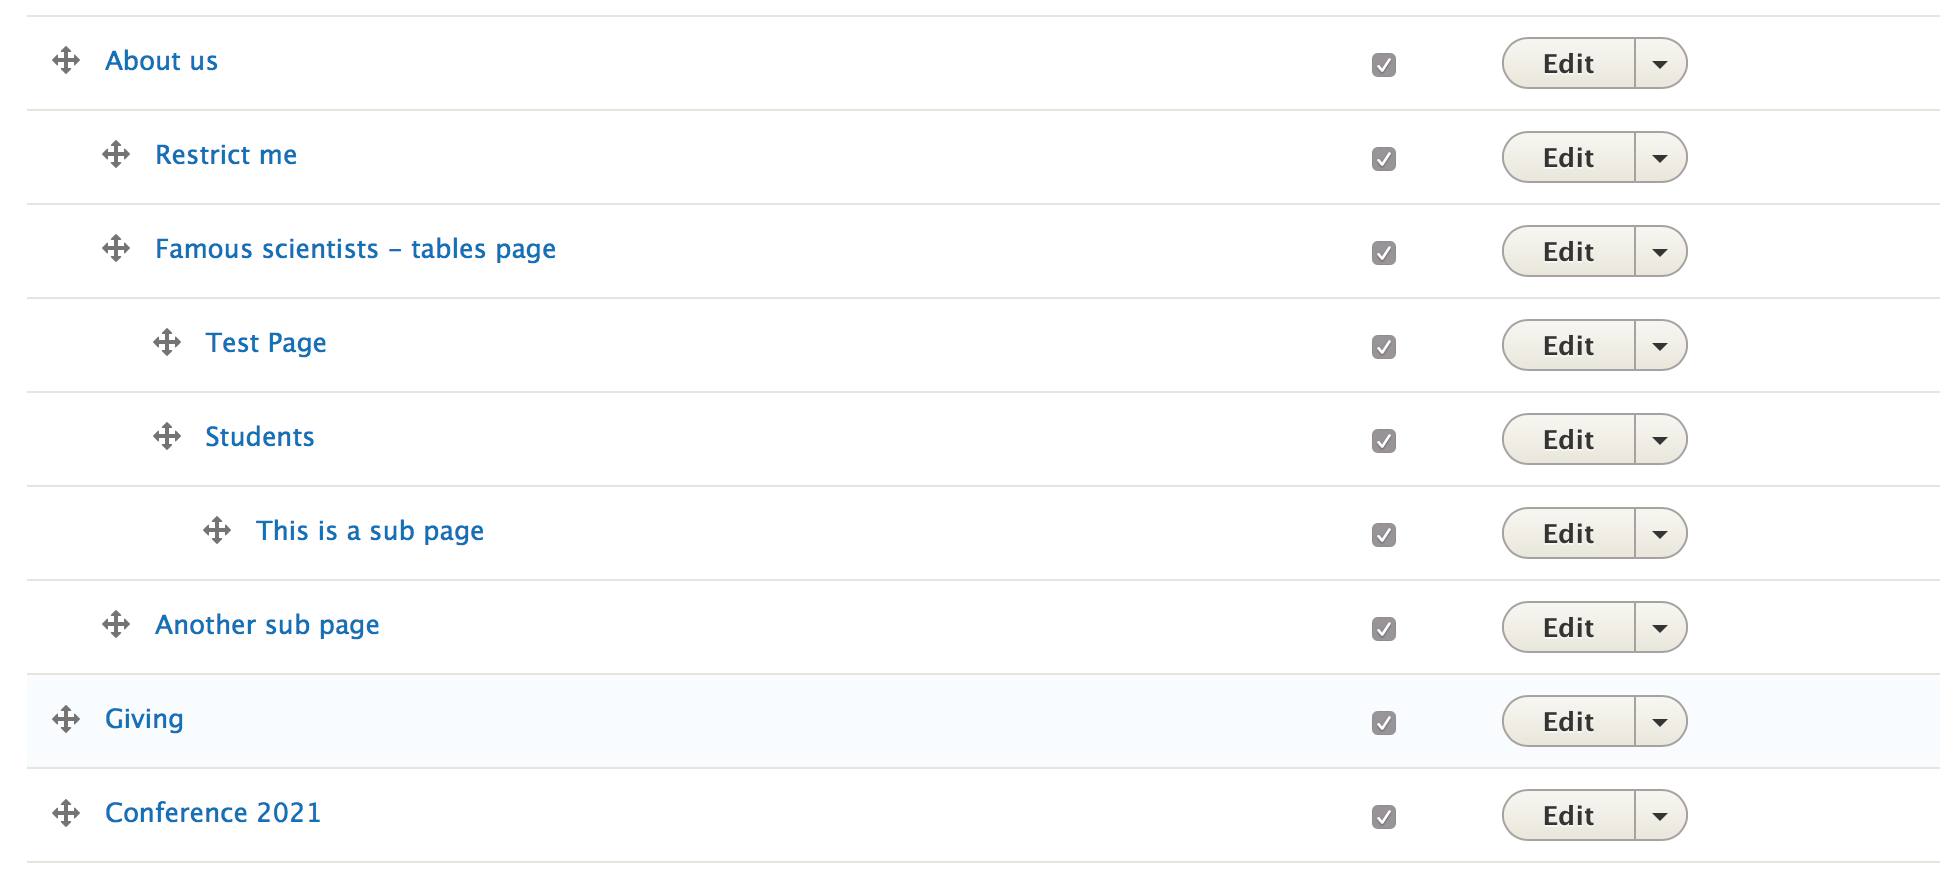
Take the plus sign and drag the page where you want it to appear in the menu structure.
Or, at the very last, drag the "Giving" link so it appears last in the menu. That's what makes it red.
Be sure to hit "Save."
Once again, for more detailed help working with menus, please see our Adding pages to the menu structure documentation.
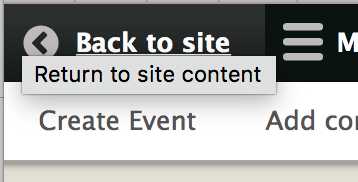
Go back to your page by clicking "Back to site."
Step 5: View Menu
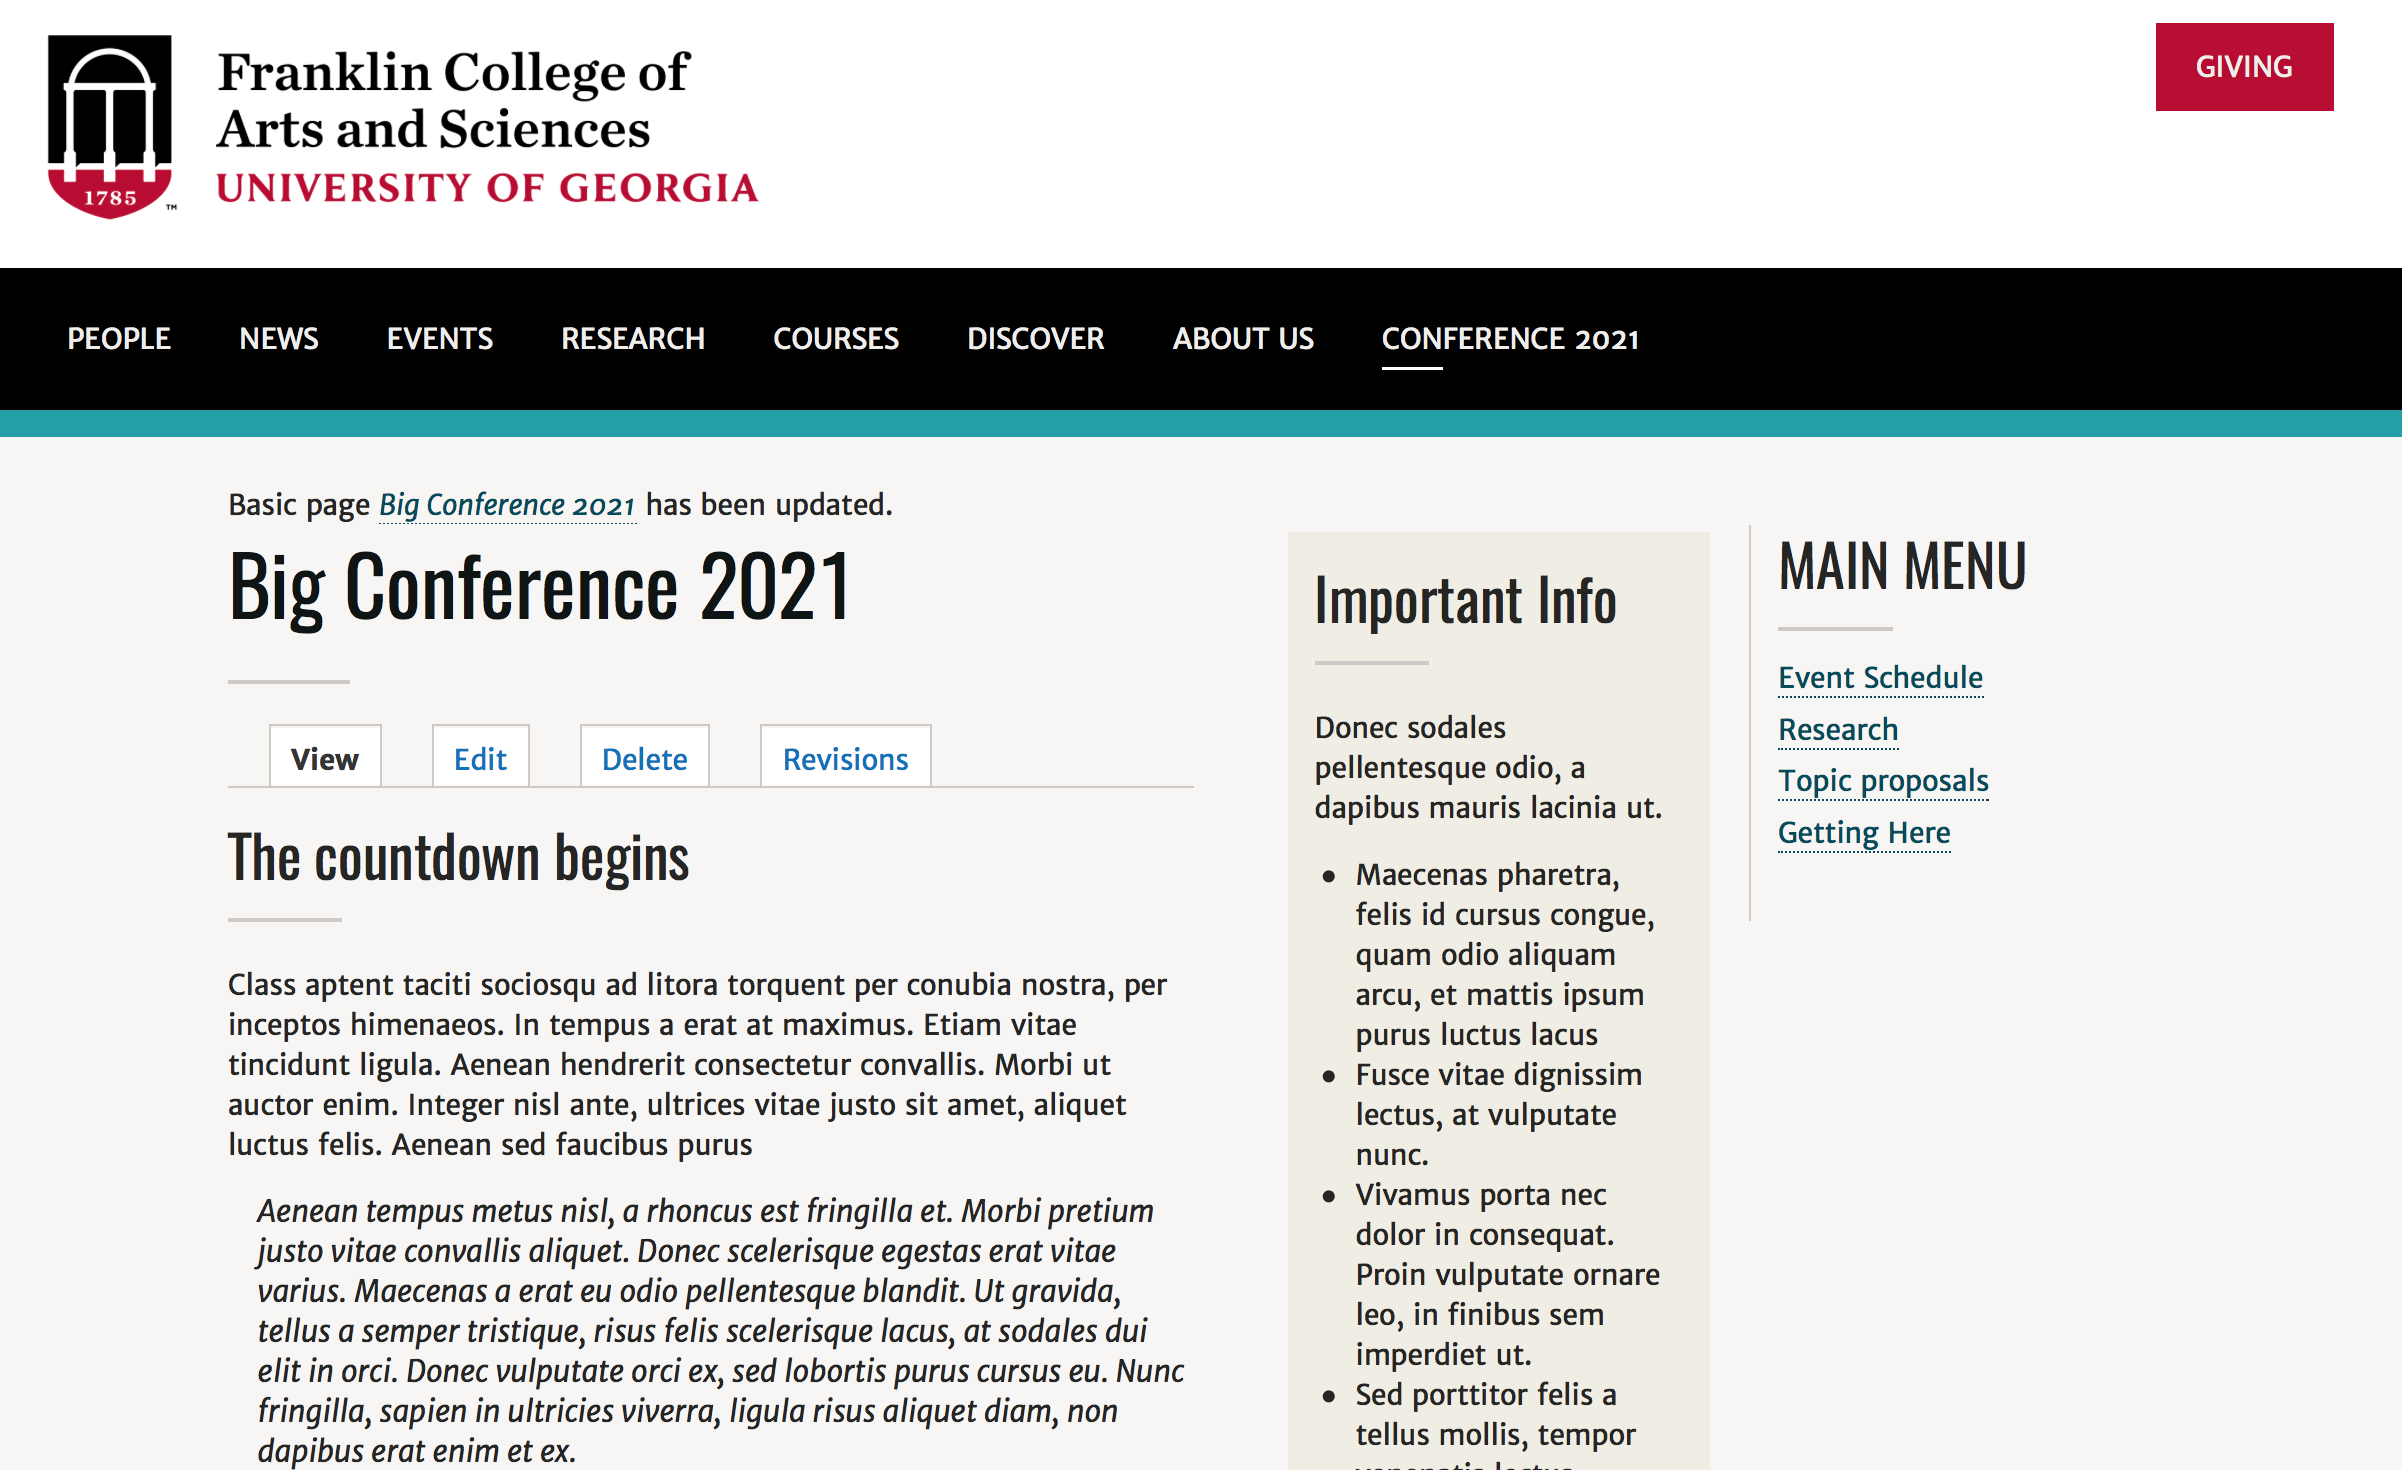
When I go back to the page, I see that the "Giving" link is once again red, and my Conference appears last (really, it second-to-last) in the menu bar.
However, when I am not logged in, I don't see the Conference link, because it is unpublished.
After you have created all your content, you can go back and check the "publish" checkbox at the bottom of all your pages.
Step 6: Create Additional Pages and Put Them Under your Landing Page in the Menu
Similar to the steps I used to create my landing page, I'm going to create Basic Pages for all my conference content, starting with "Topic Proposals."
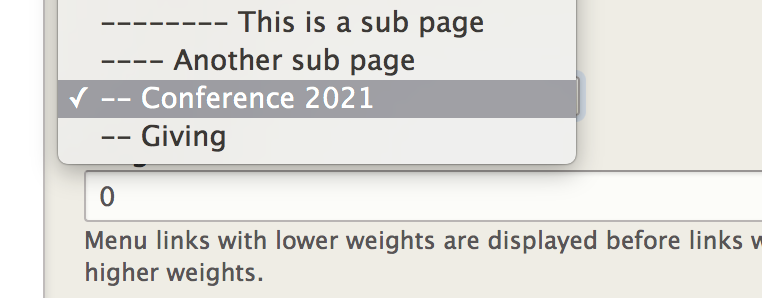
Only now when I put it in the menu, I'm going to nest it under my "Conference 2021" landing page.

Make sure you place the pages under your conference landing page!
I'm going to make this page unpublished for now too.
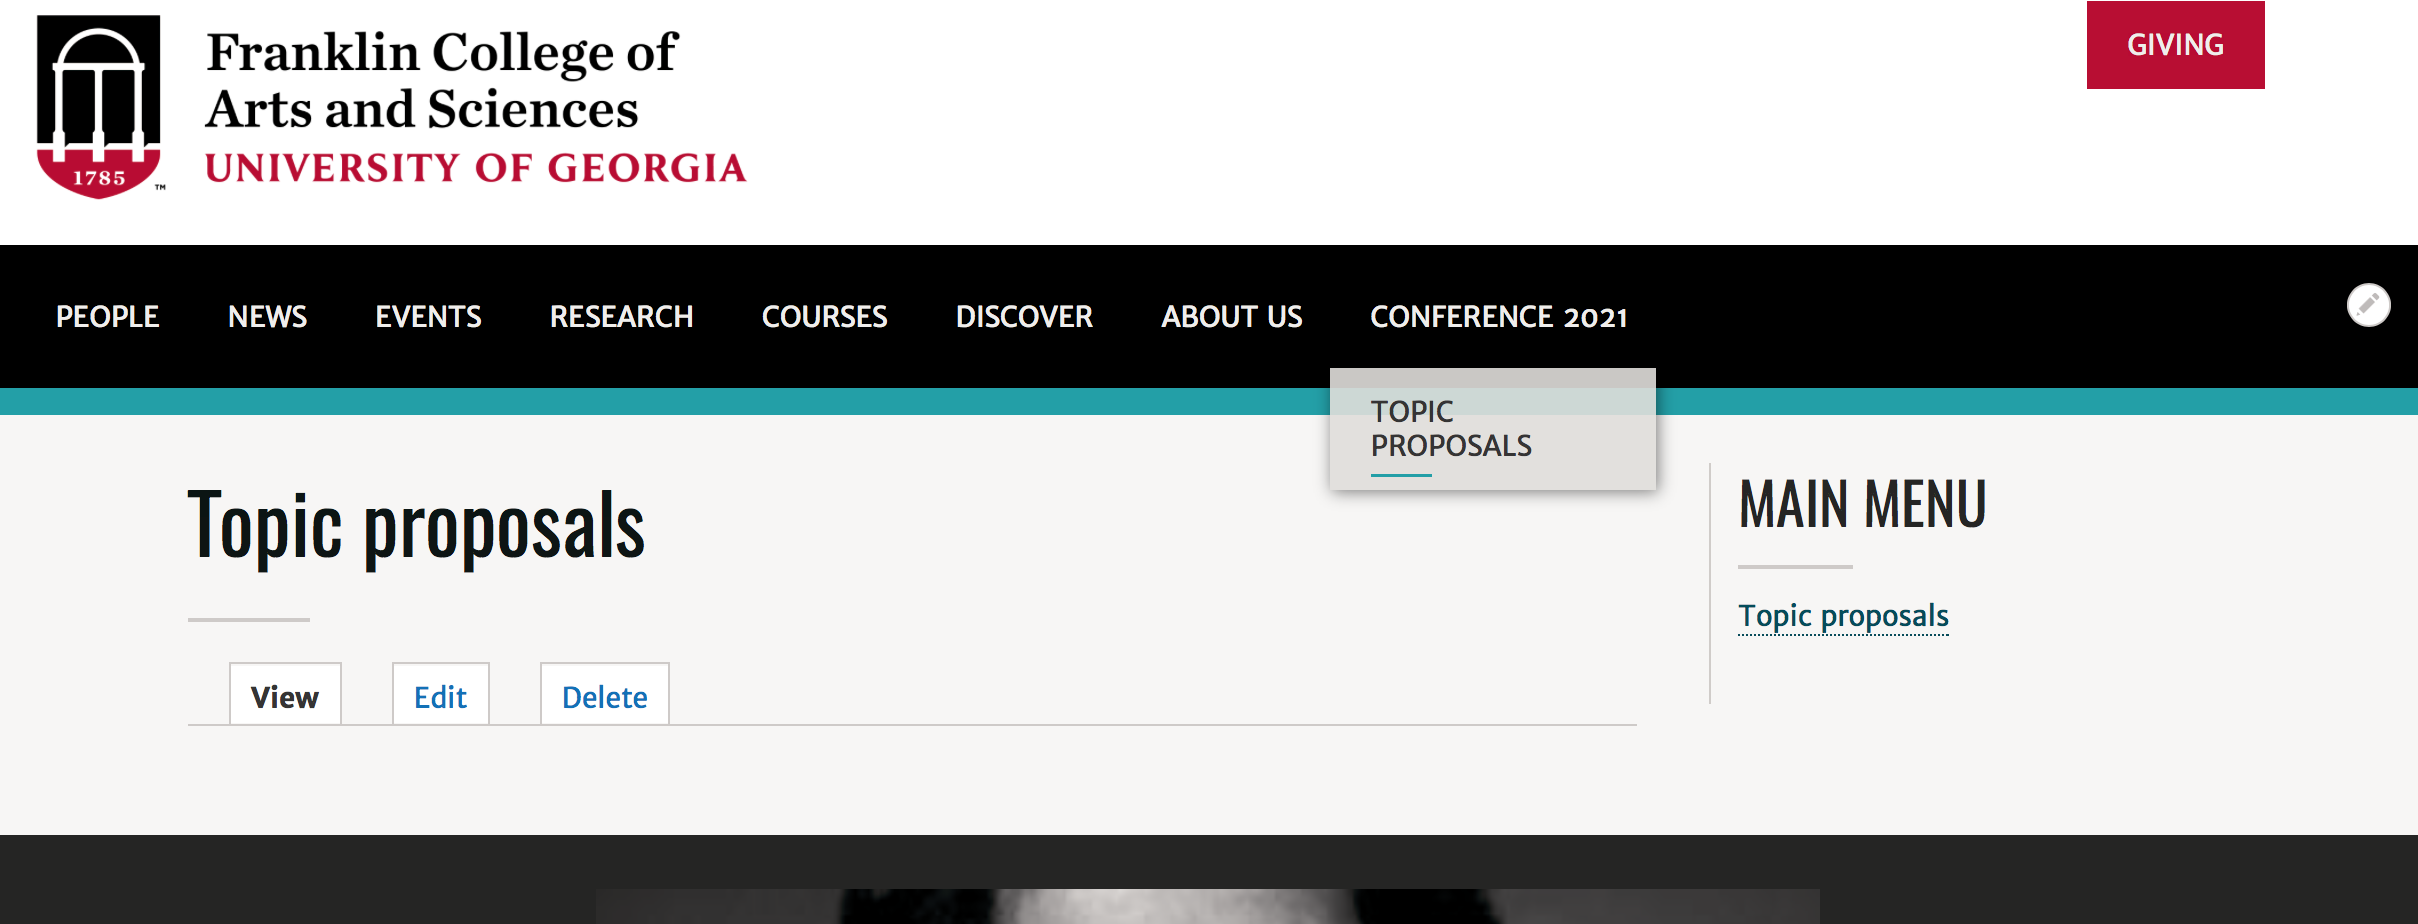
And the page appears in the conference section of my site.
Step 7: Update the url Paths of your Pages
One thing I recommend is to edit the url for your pages so that they are under a similar url. So they appear, in our example, as something like /big-conference-2021/page-name
This is not only for best practice purposes, but it is helpful for search engine optimization.
I'll show you how to update the url of your conference pages.
Here's the page I made called Event Schedule.
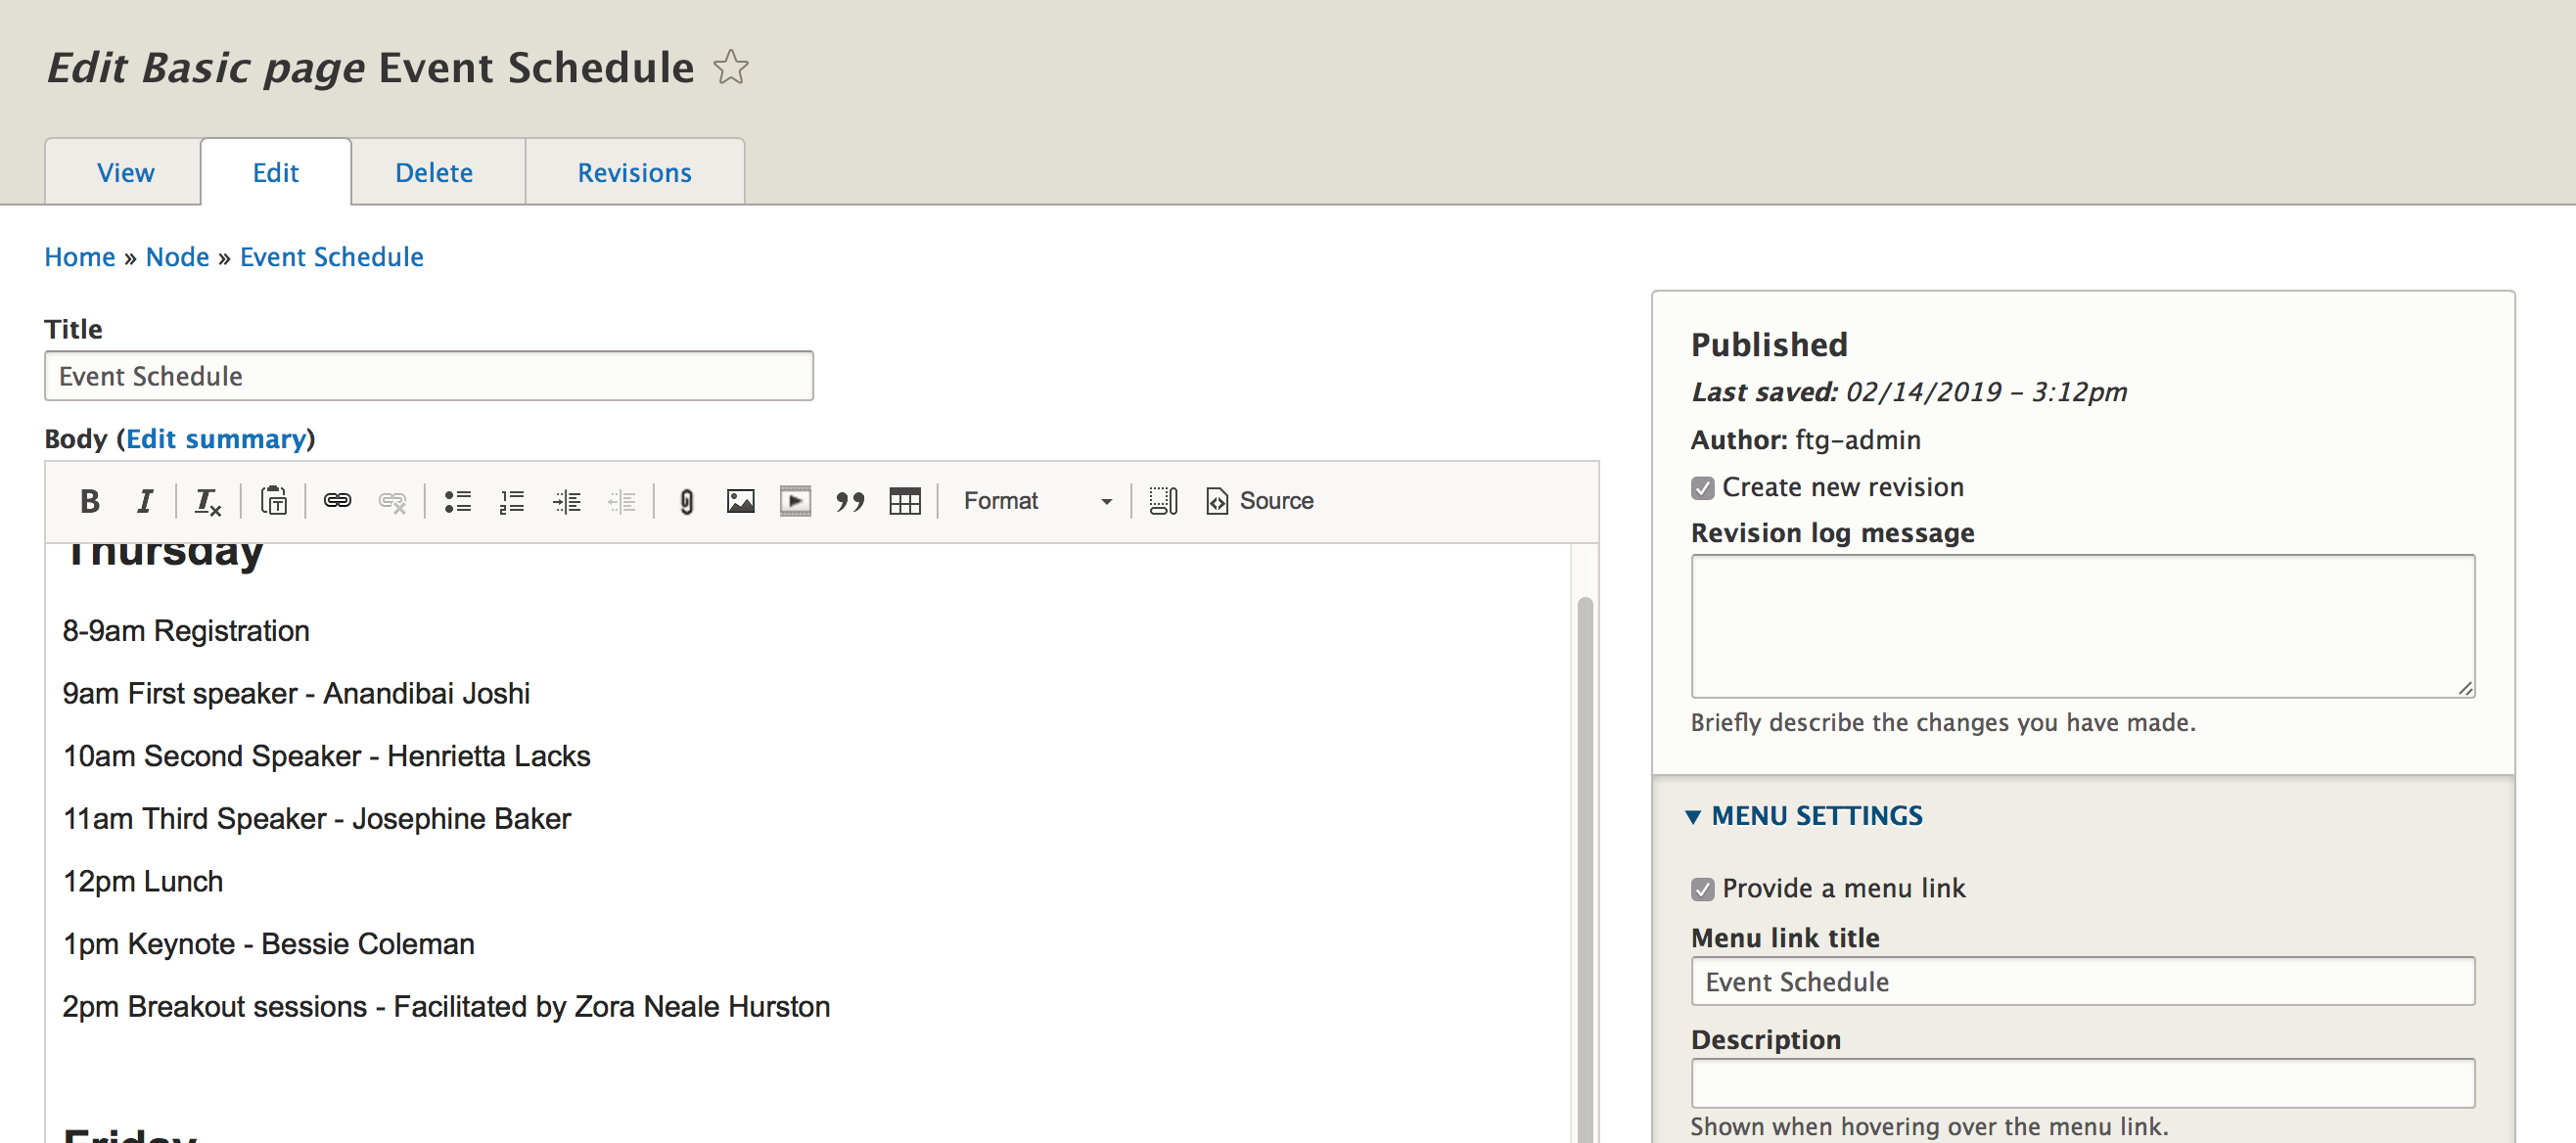
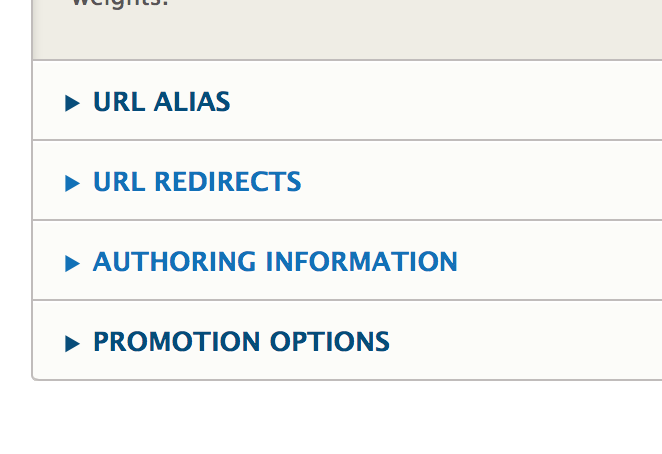
Look for the side tab that says "url alias." Click this.
Uncheck "generate automatic URL alias."
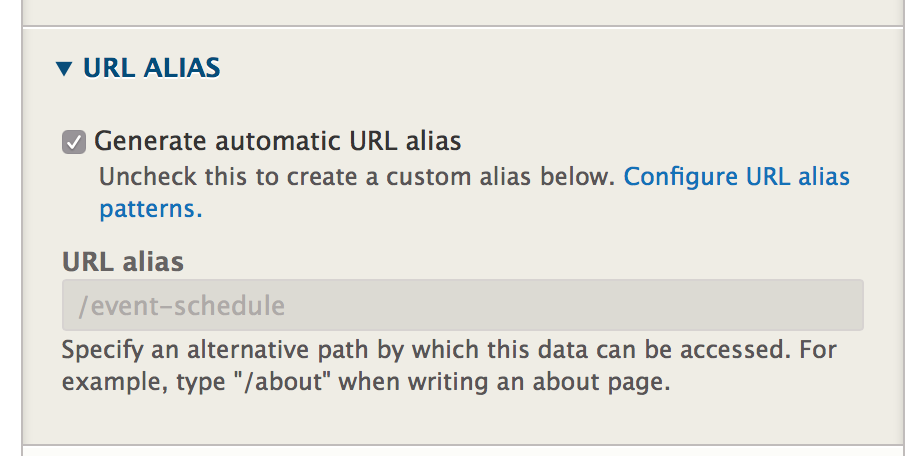
Paste the url of your landing page in front of the existing url. In our case, /big-conference-2021.

'Save' your content.
Repeat for all pages you want to appear in the conference section of your site.
Step 8: When You are Done, Check "Publish" on all Content
Once you have added all your content, remember to "publish" your pages so they appear for viewers.
If you want to take your conference section to the next level with a custom graphic that will appear over all the pages, read on.
Next... Add a banner image to your special section pages
To manage any part of your web site, you will have to be logged into the Drupal CMS. If you need help logging in, please review this login help document.
Monday - Friday 8:00 a.m. - 5:00 p.m. Homepage & Directory Service Offerings Franklin College IT News Franklin OIT Status http://status.franklin.uga.edu/ Receive or Discontinue Status and Service Updates from Franklin OIT UGA/EITS Systems Status Pages https://www.facebook.com/uga.eits USG Systems Status PageContact the Franklin OIT Help Desk
Hours of Operation
Website Information
Systems Status Information
