Create a basic page and put it in the menu
This is a beginner topic. Little to no advanced knowledge is required.
Permission Level
Level 2 or Higher - See permission level document for details
Overview
"Basic Pages" are the catchall template for content on your site. Think of it like a dinner plate: it can hold just about anything: salad, bread, veggies, protein, dessert. That being said, basic pages are best for static information that doesn't change often.
This self-help document will show you how to create a Basic page, put it in the menu and rearrange it, and then, if desired, add other pages underneath this page.
A Note - Beyond Basic Pages
We have different content templates for content such as events, news stories (articles), people, courses, research and labs. To continue with the dinner plate metaphor above, these other content templates are like a bread plate, a salad bowl, dessert plate, et. Even though a Basic Page-- your dinner plate-- could hold such information, we recommend using these special content templates when they are available for specific information.
See Welcome to your Drupal 10 Web site and Adding Content to your Website for a quick overview of these other types of content templates.
Table of Contents
Steps
Context/Example
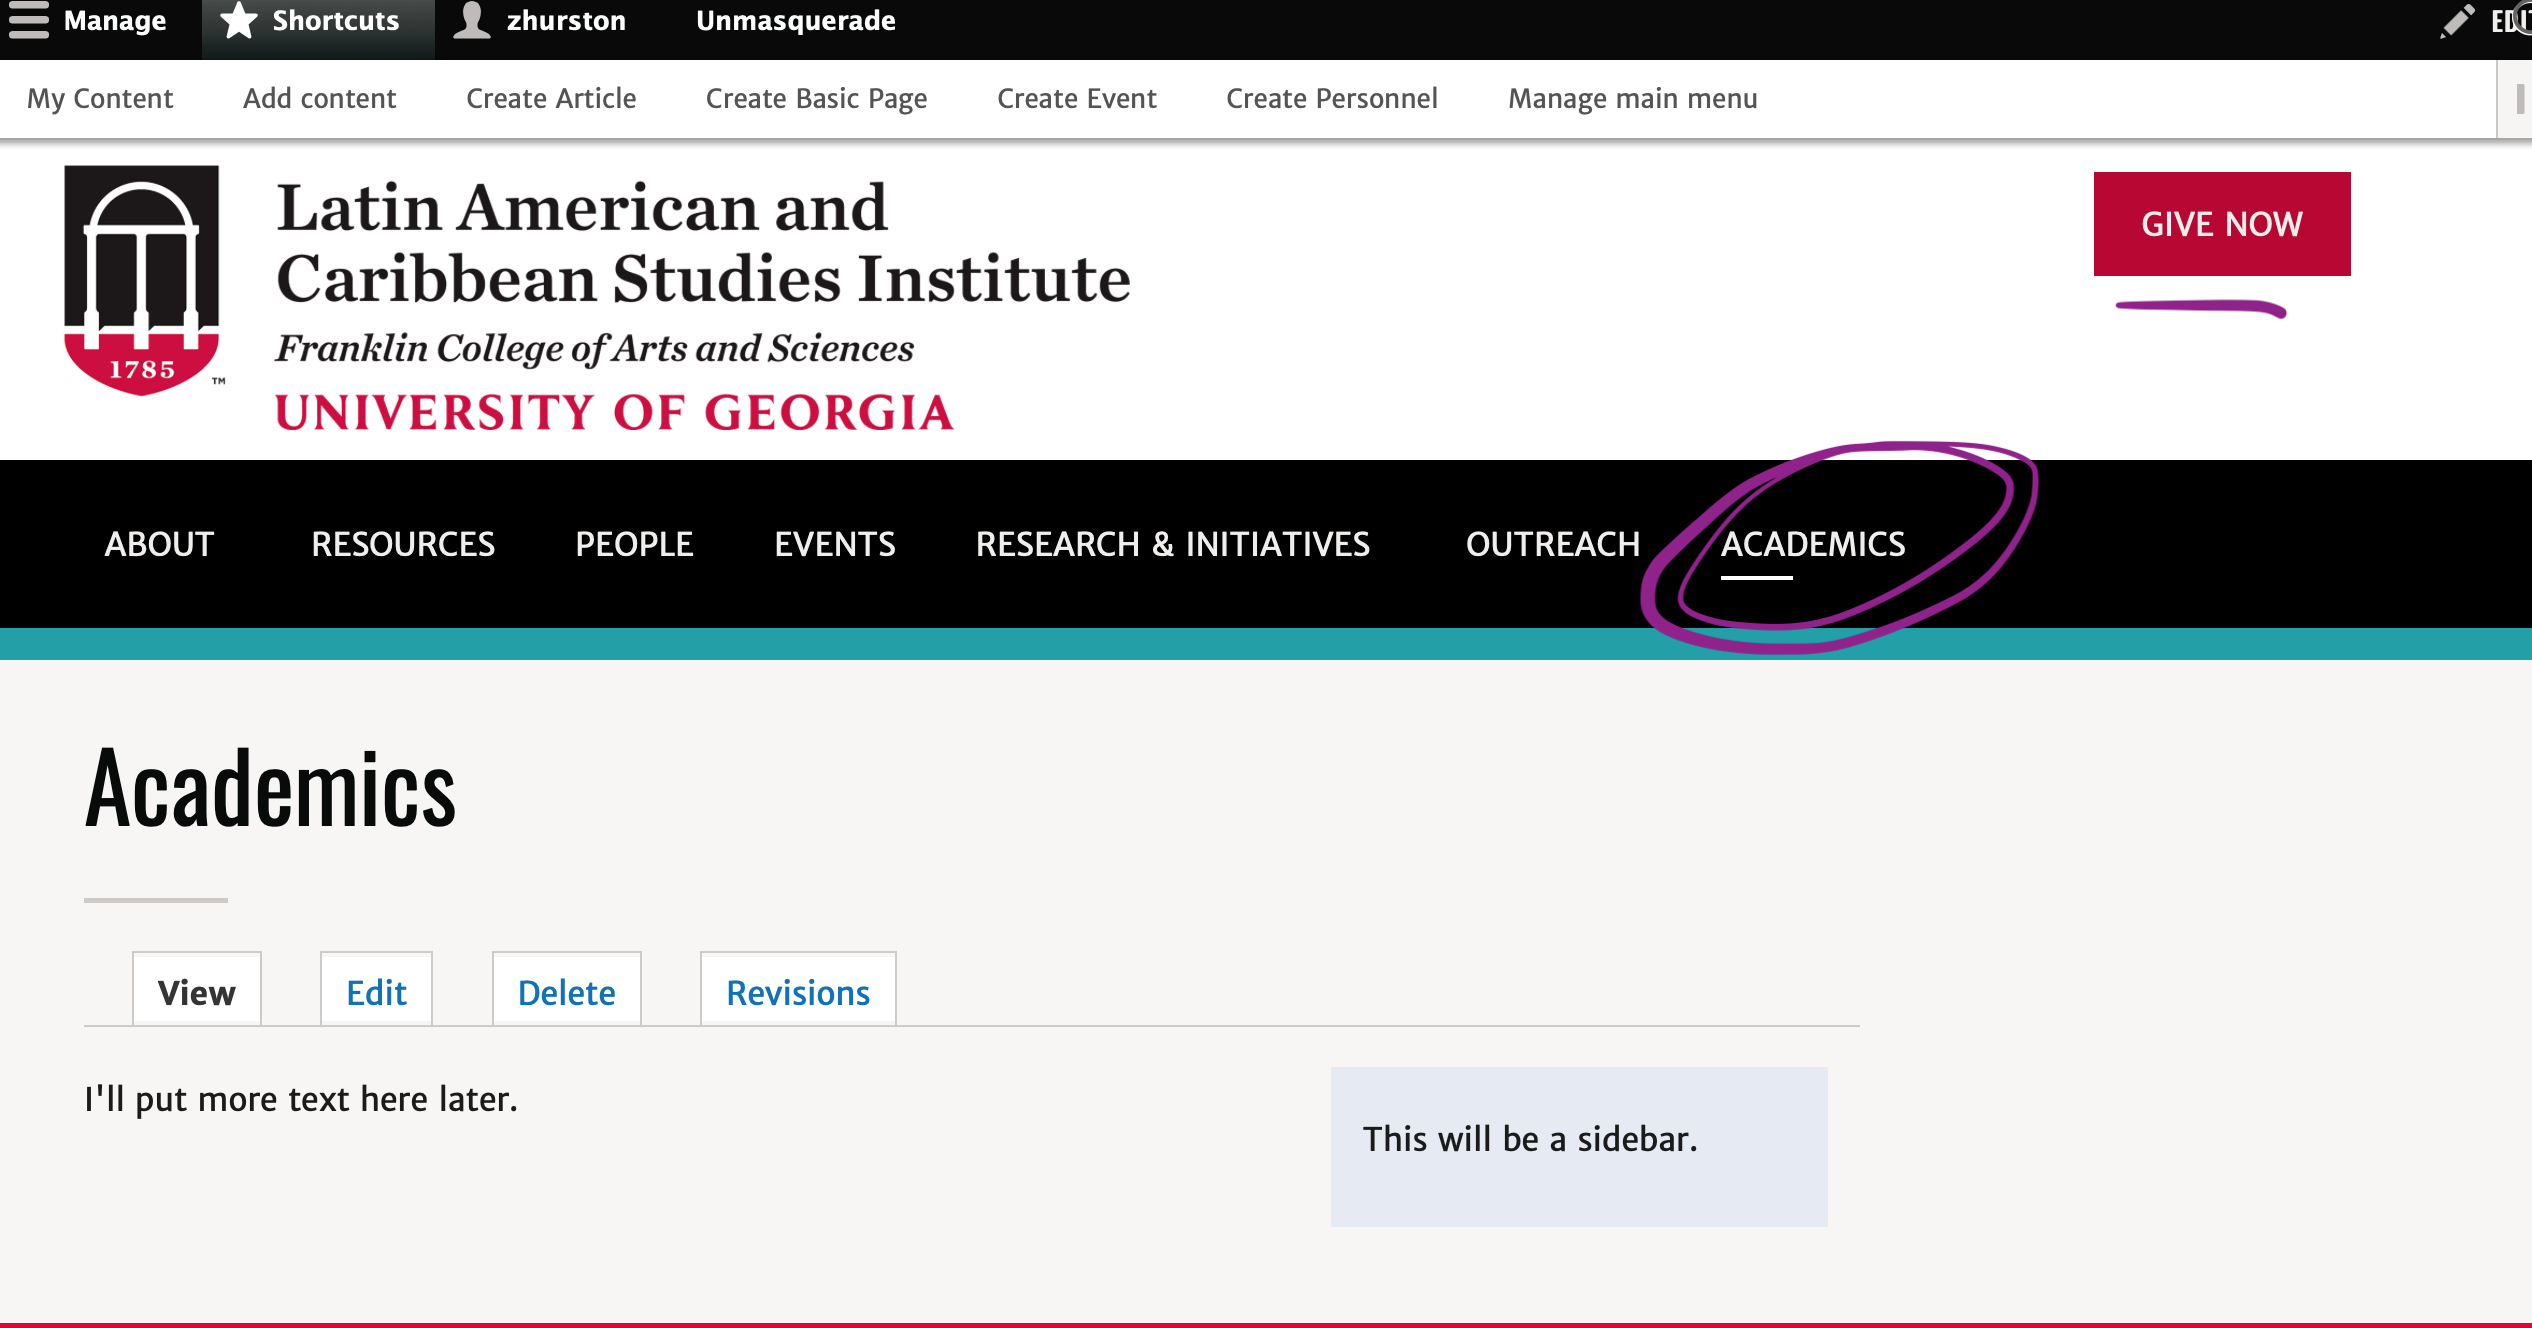
Let's imagine we want to create a section for Academics on our site.
We'll need an Academics page to appear in the main menu, and we'll want to place some pages under it.
Part One - Create a basic page
1) Log into the site
If you need help with this, see our quick document: Logging in to Your Website
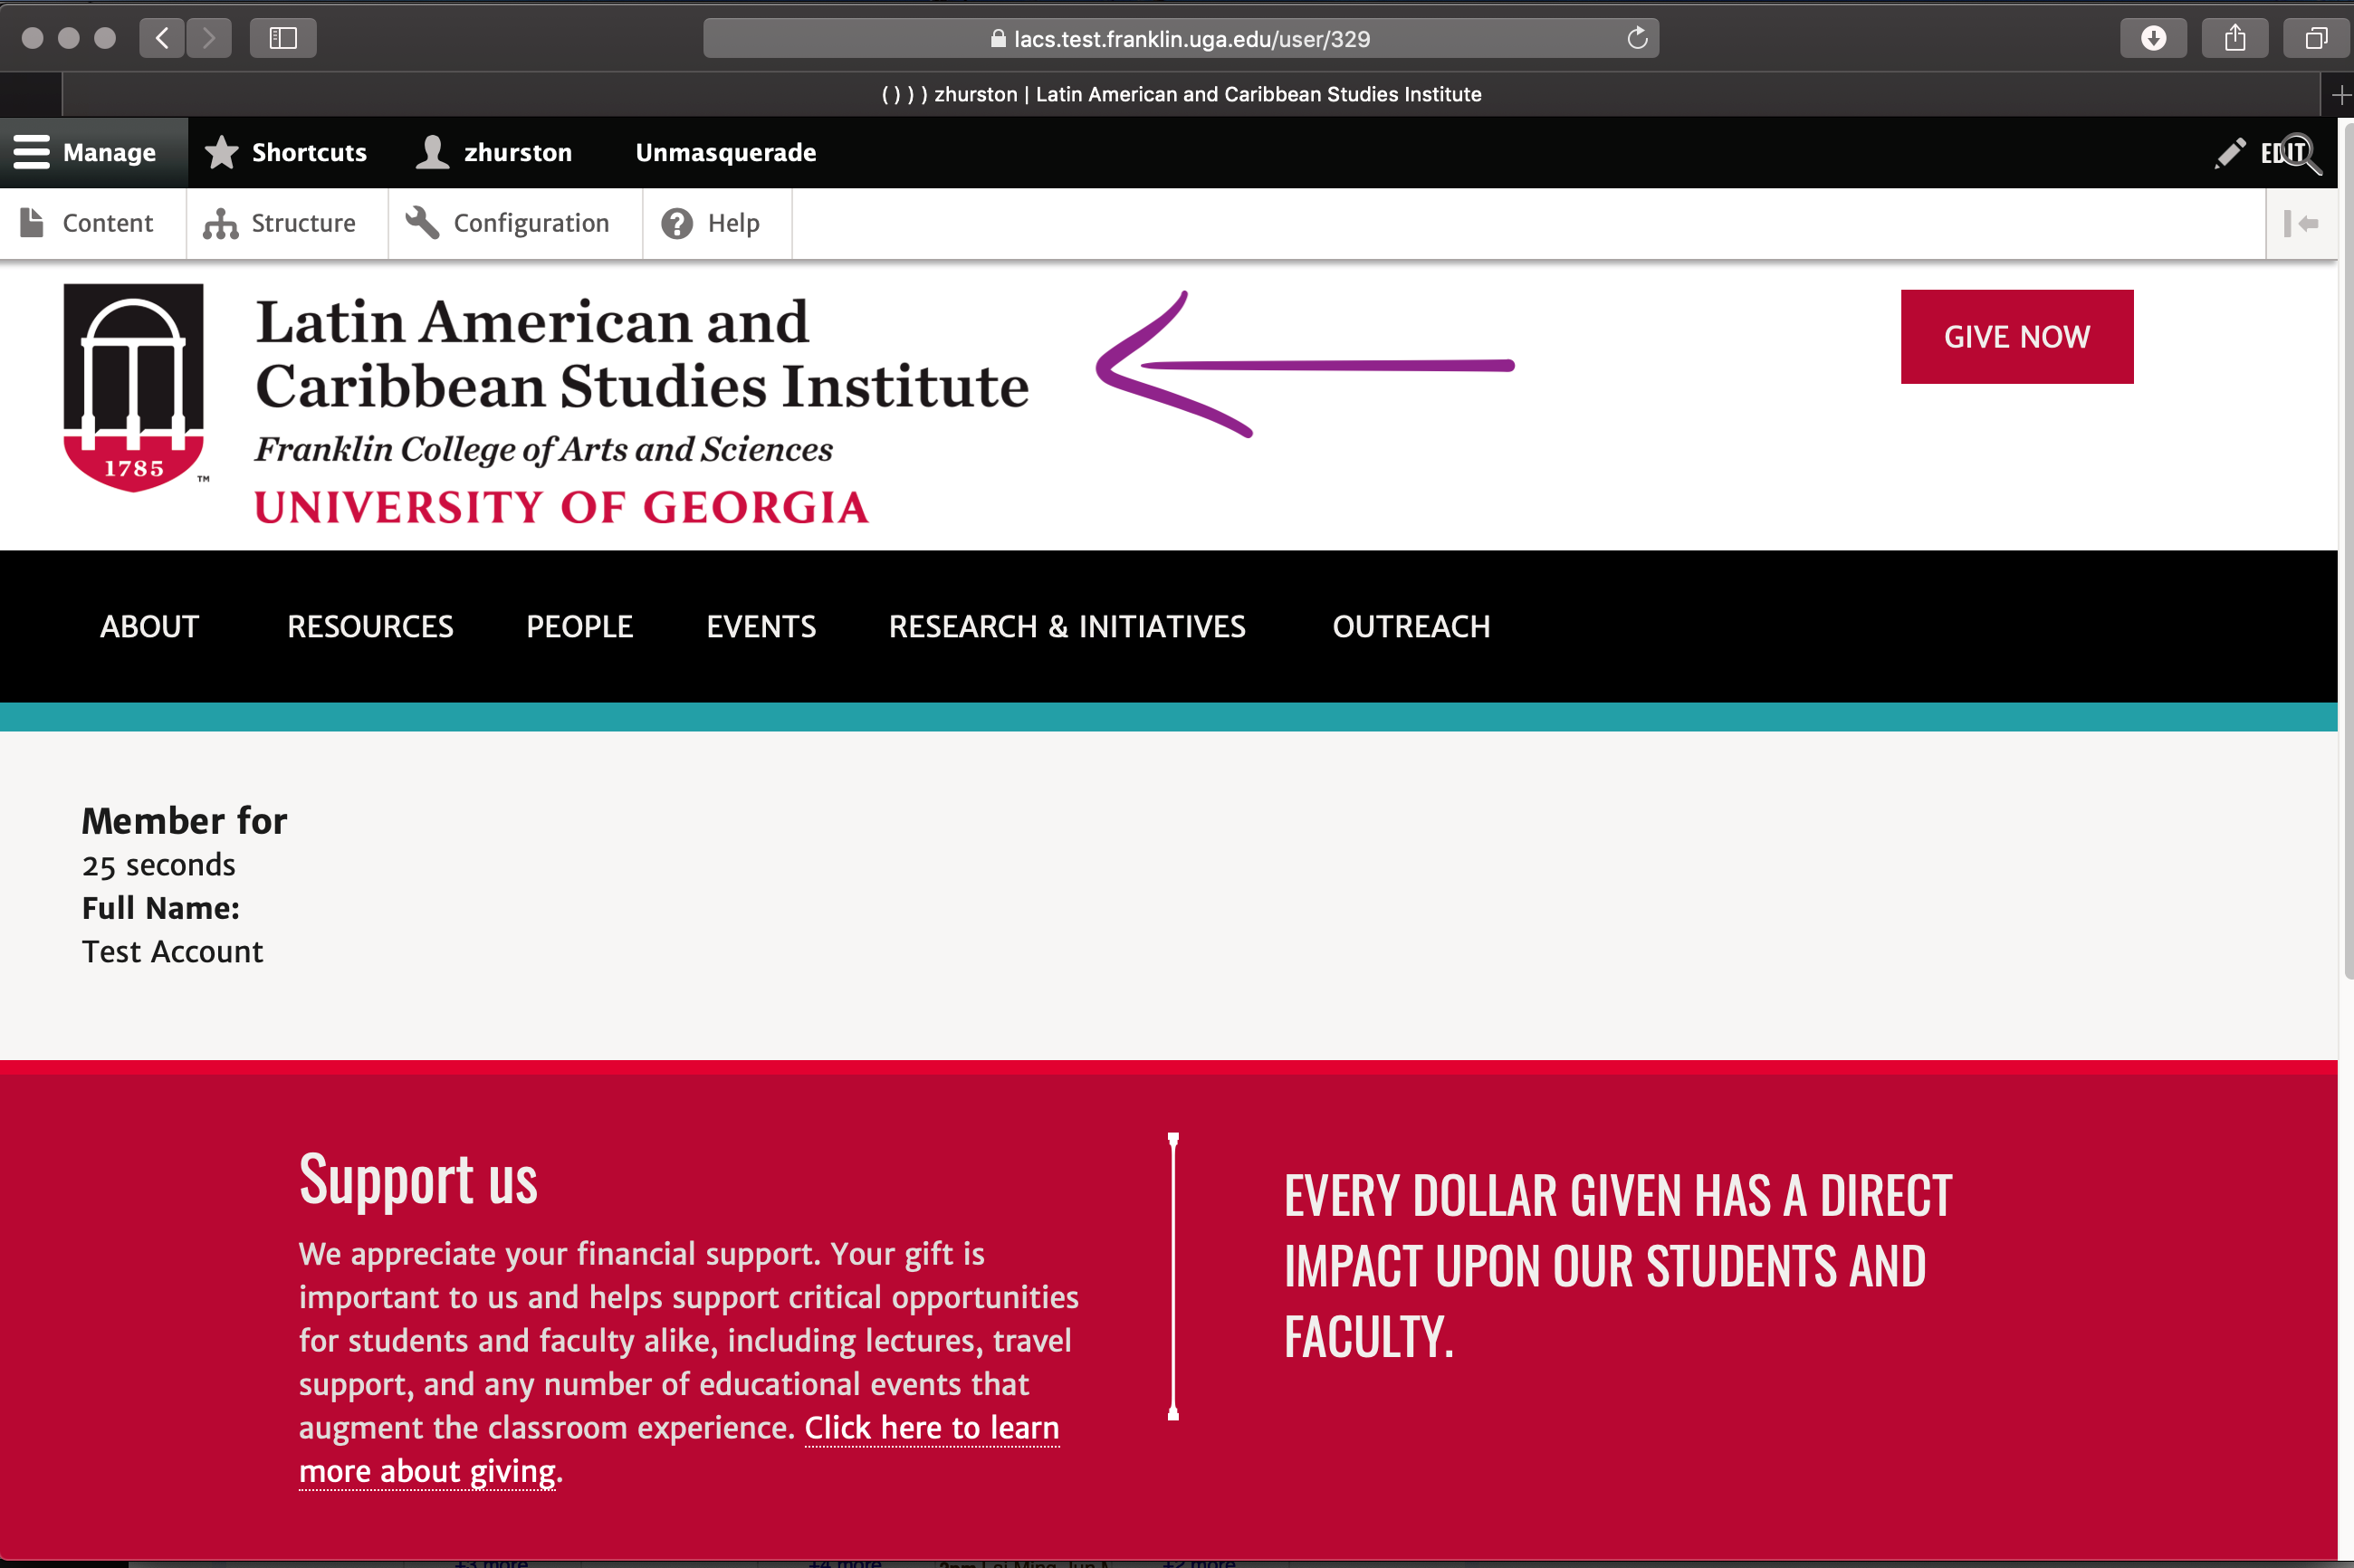
2) Go back to the front page
Click the header, the logo, of your site. This takes you back to the front page.
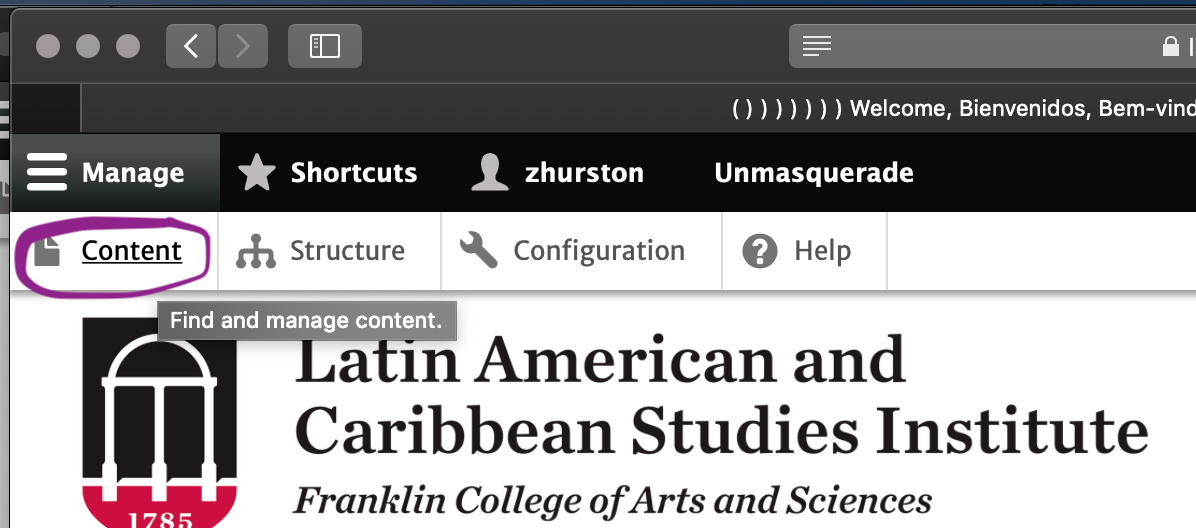
3) Go to "Content" in the Administration toolbar
Look for the black administration toolbar at the top of your website.
Underneath it, you should see a second, white toolbar with the words "content."
If you do not see "Content," click the word "Manage" in the black toolbar. Then you should see it.
Click "Content."
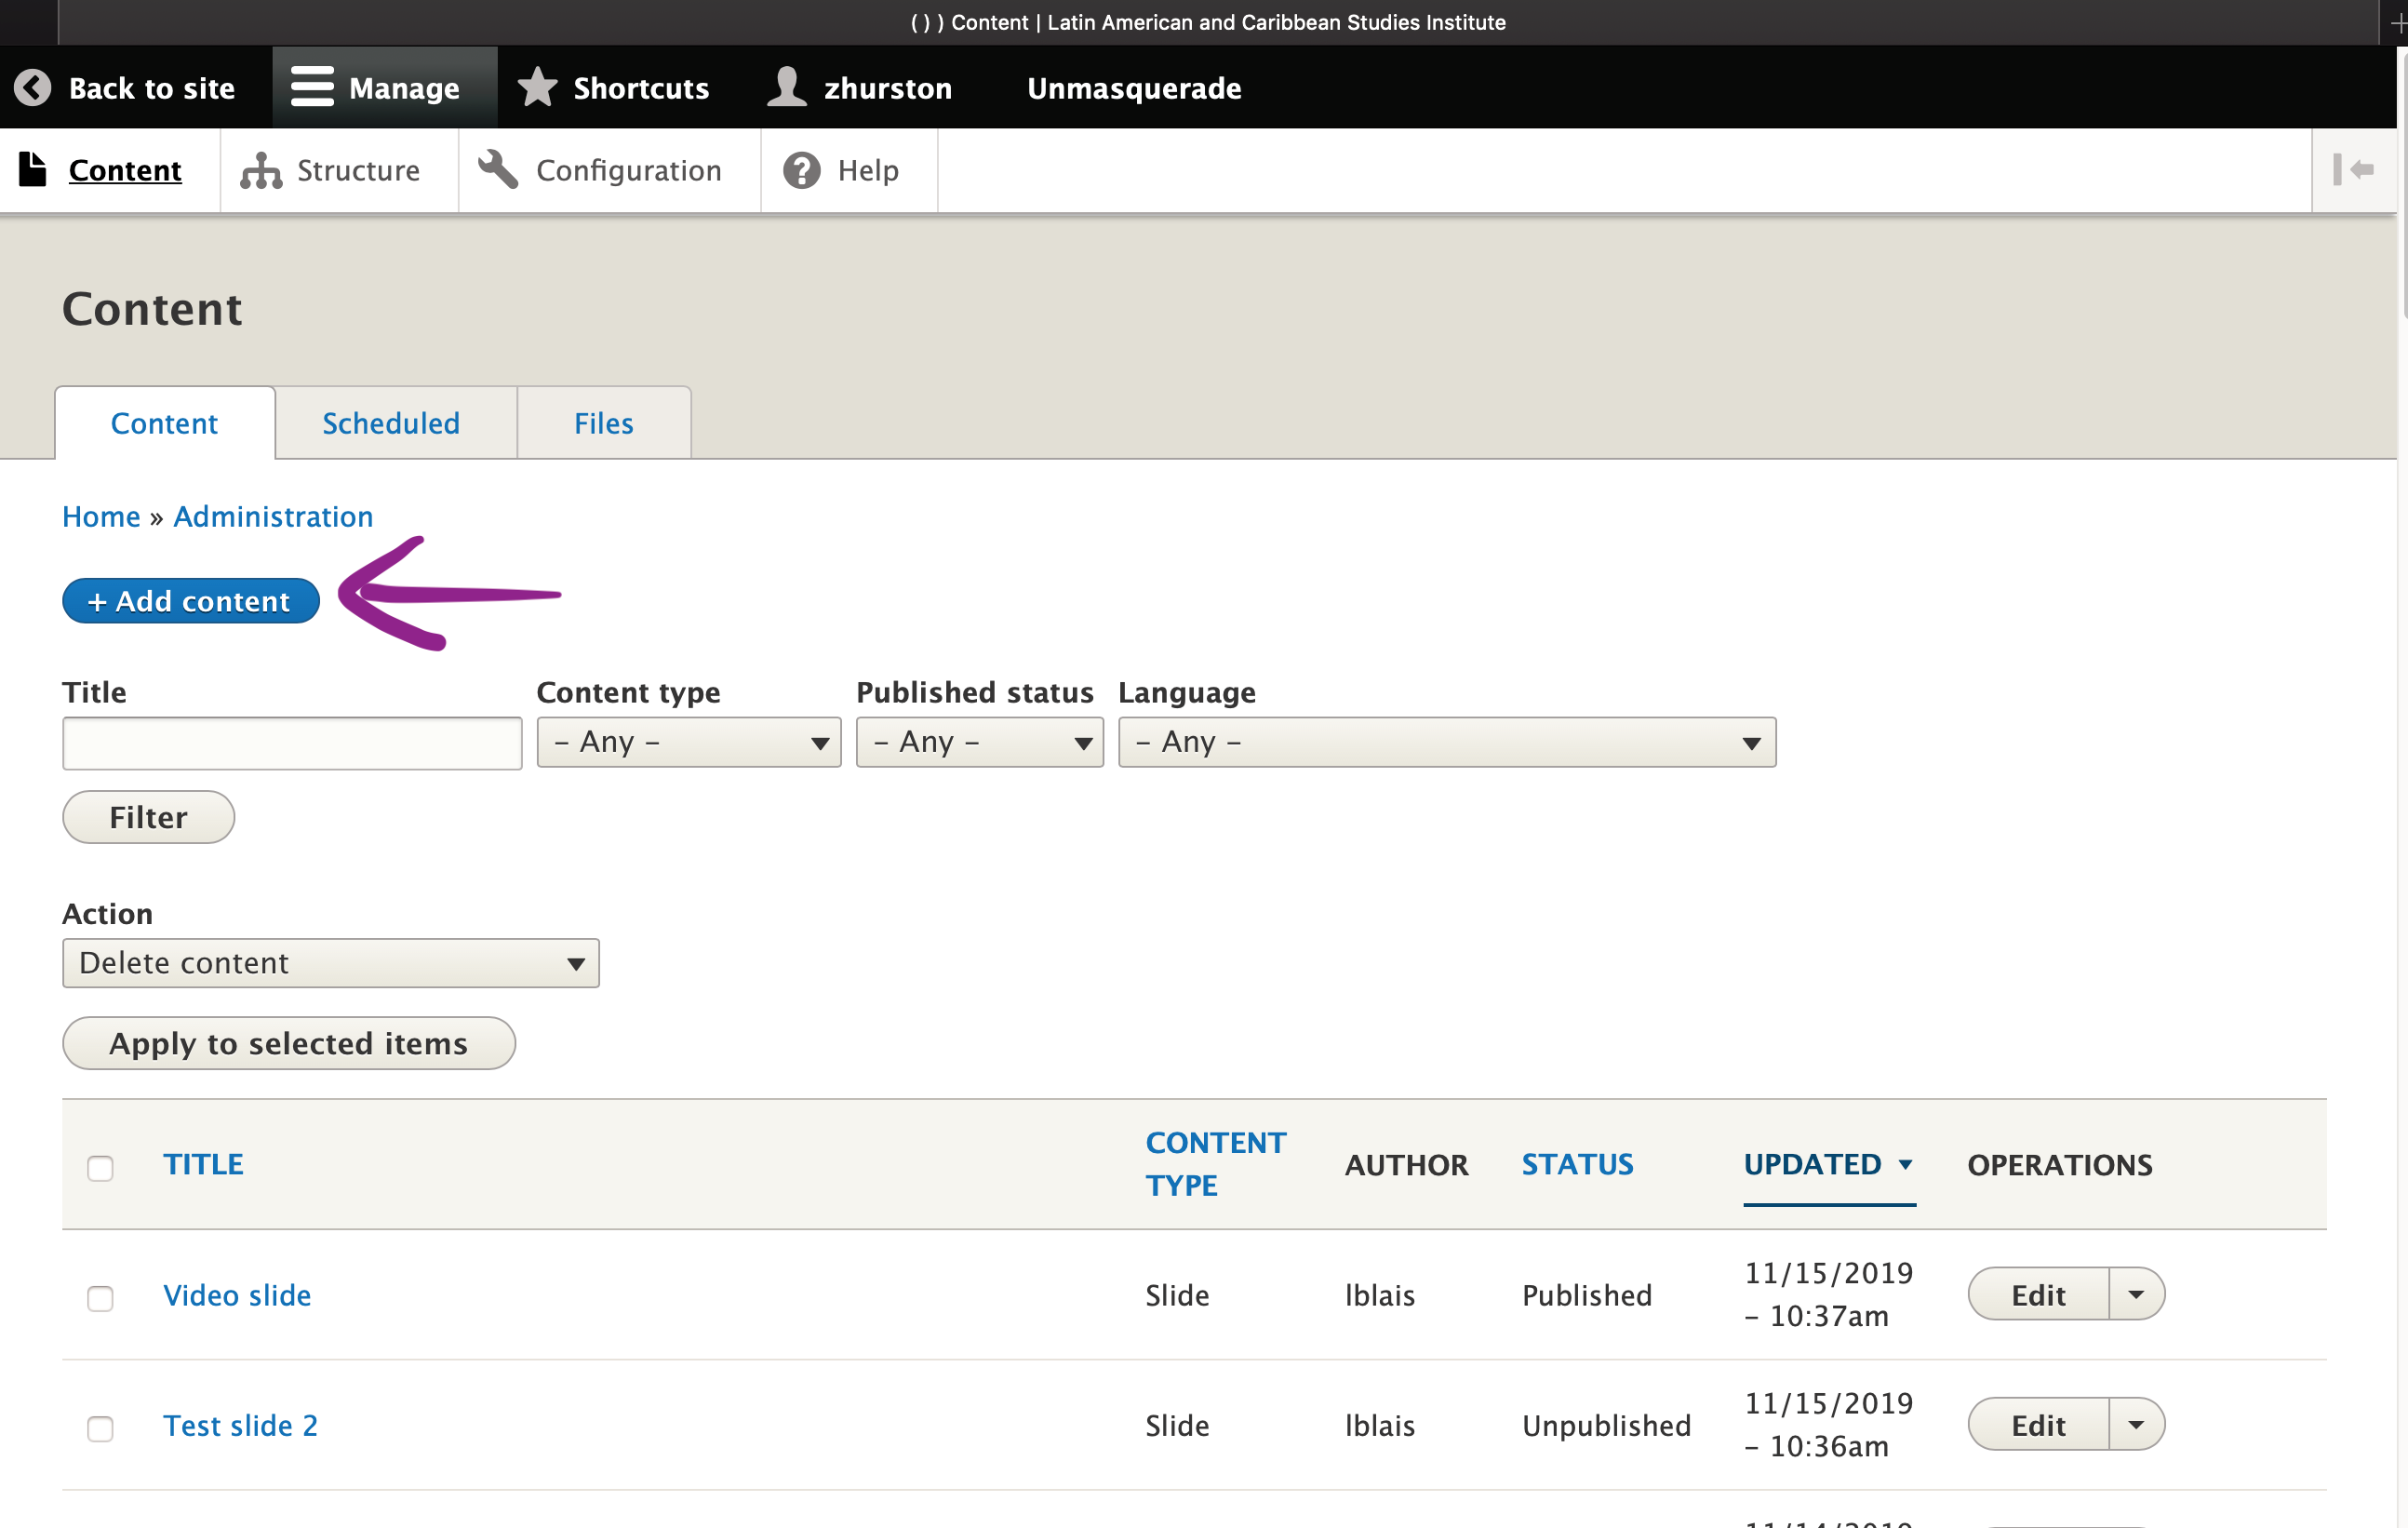
4) From the Content page, click "Add Content"
This screen shows all the content-- published and unpublished-- on your site.
Click the blue "Add content" button.
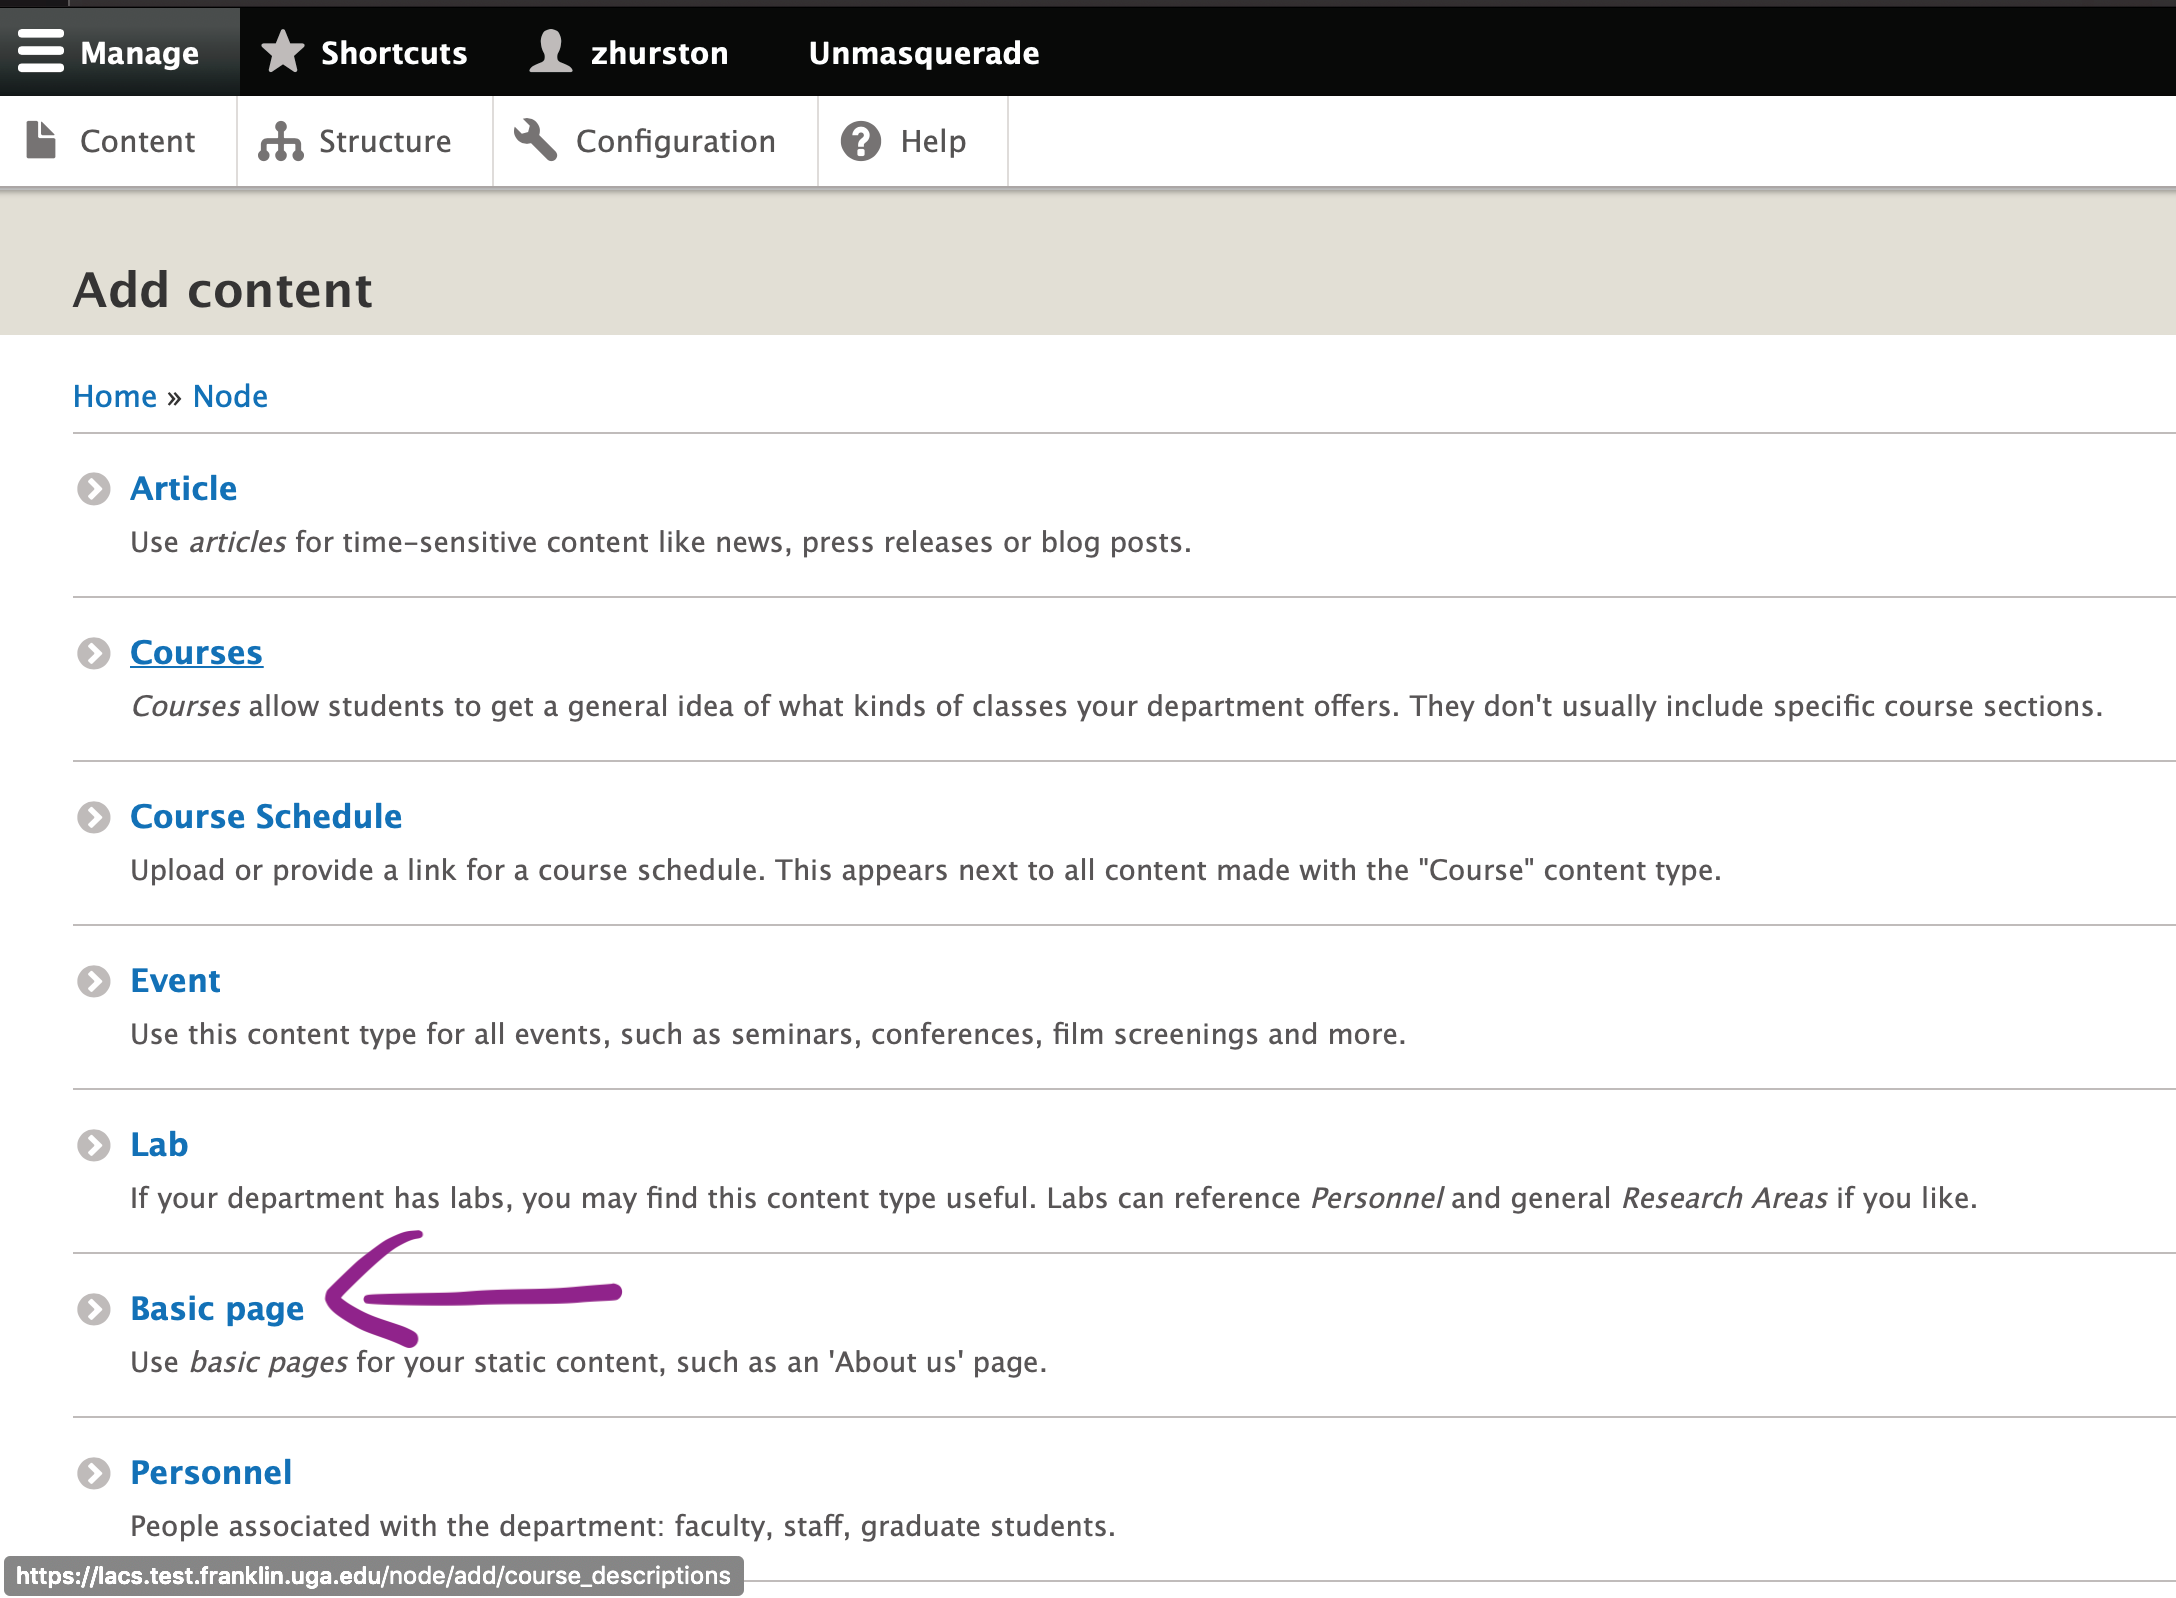
5) Select "Basic Page"
This screen is where all the content templates are.
Today, we're choosing the Basic Pages.
If you want to learn about or work with the other content templates Again, see Welcome to your Drupal 10 Web site and Adding Content to your Website for a quick overview of these other types of content templates.
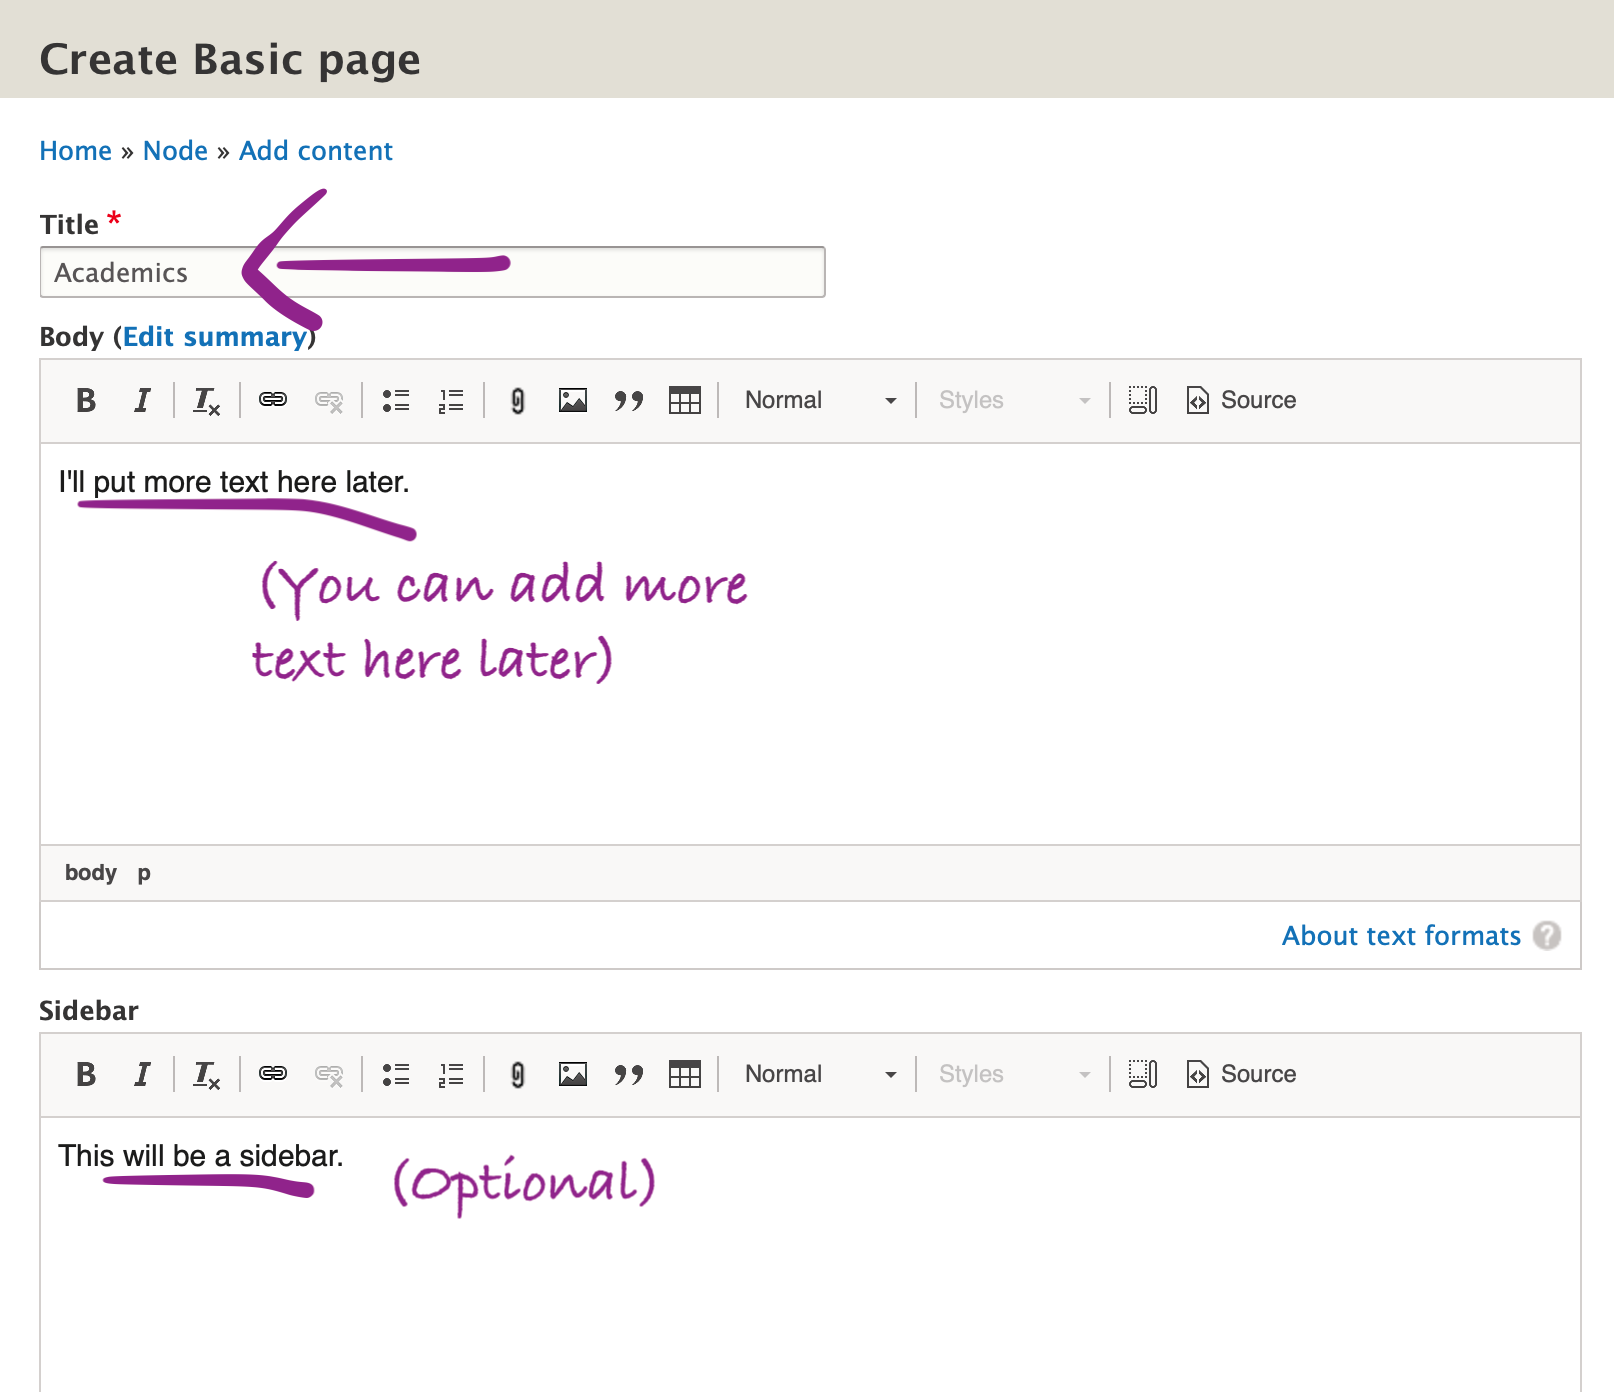
6) Add content to the fields in your page, if desired
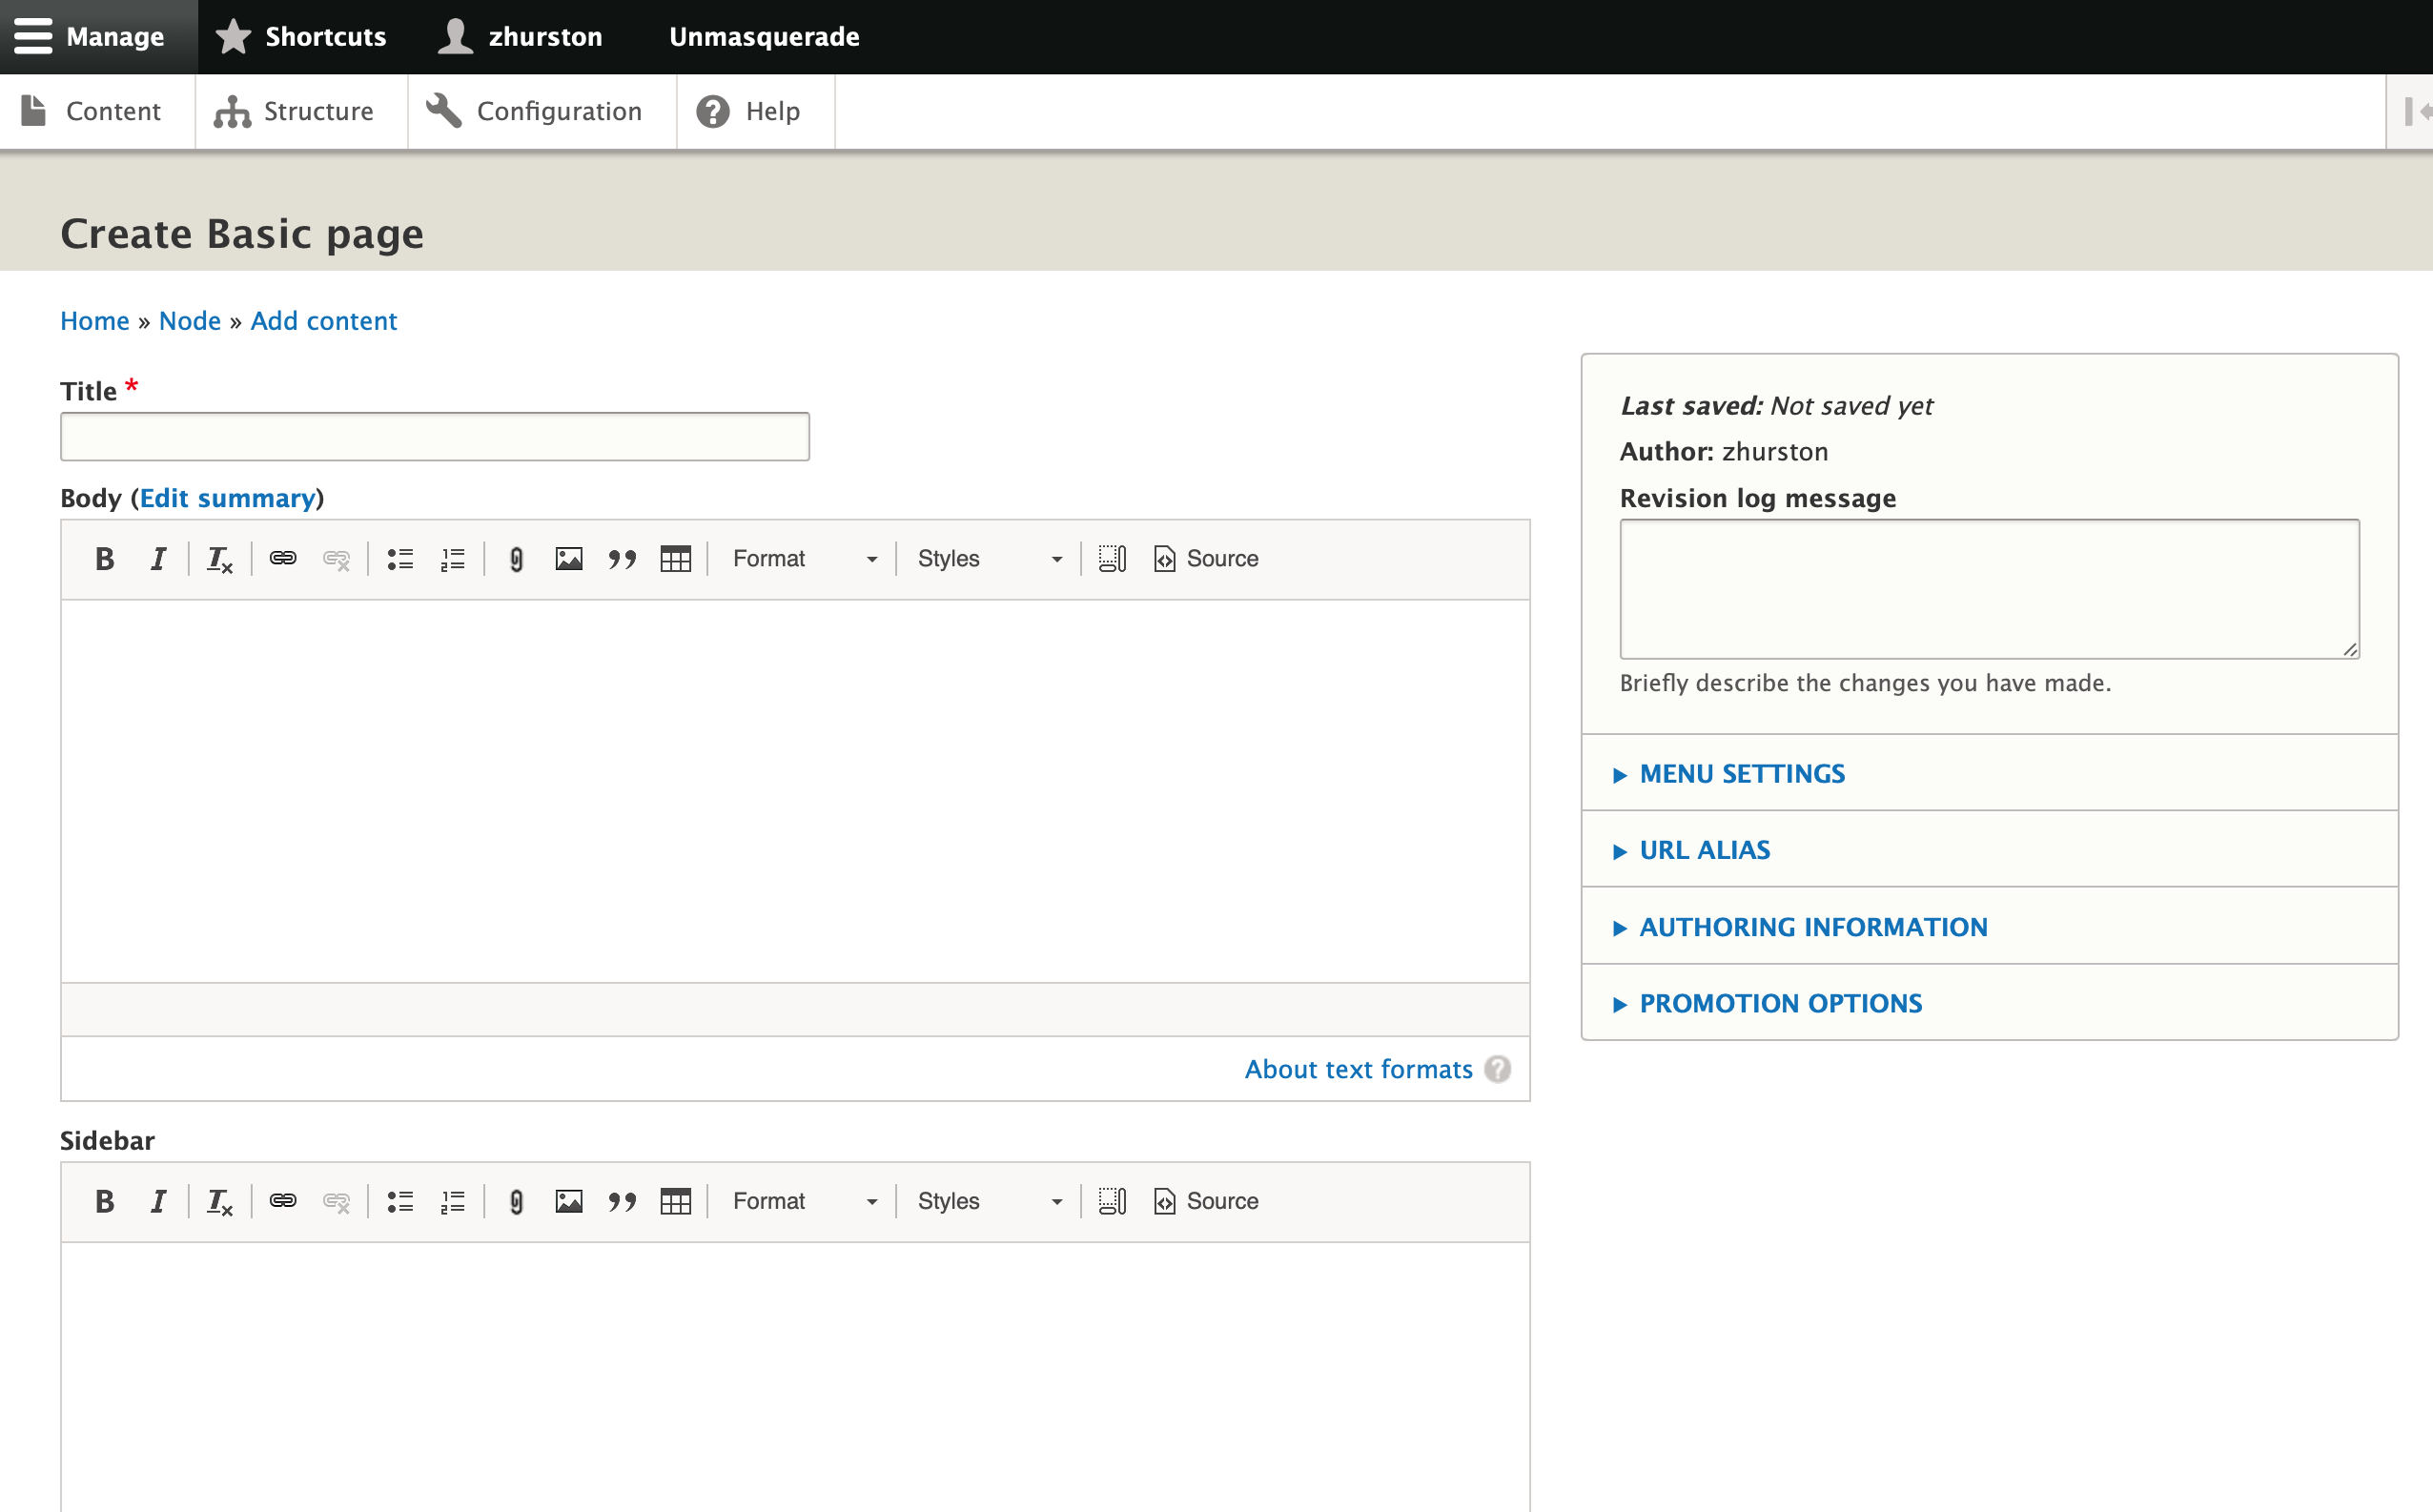
The only field that is required is "title."
You can type or paste information in the Body field.
The Sidebar field is always optional.
This is all we are going to add to our page now. If you'd like more help with creating content, see our links below. Otherwise, proceed to step 7.
7) If needed, make the page private by restricting viewing
At the bottom of the edit screen you may see an option to make the content only available to folks who are logged in.

If you don't see this option and want it, put in a helpdesk ticket to the web team.
8) Decide whether to save it, or add it to the menu (next section)

You can save your content now, but I recommend you go ahead and add it to the menu. See below.
Part Two - Add your page to the menu and rearrange it
The current document is a quick overview of how to add a Basic Page to the menu. For more detailed info and help, see our expanded document called /wiki/spaces/ARC/pages/24518794.
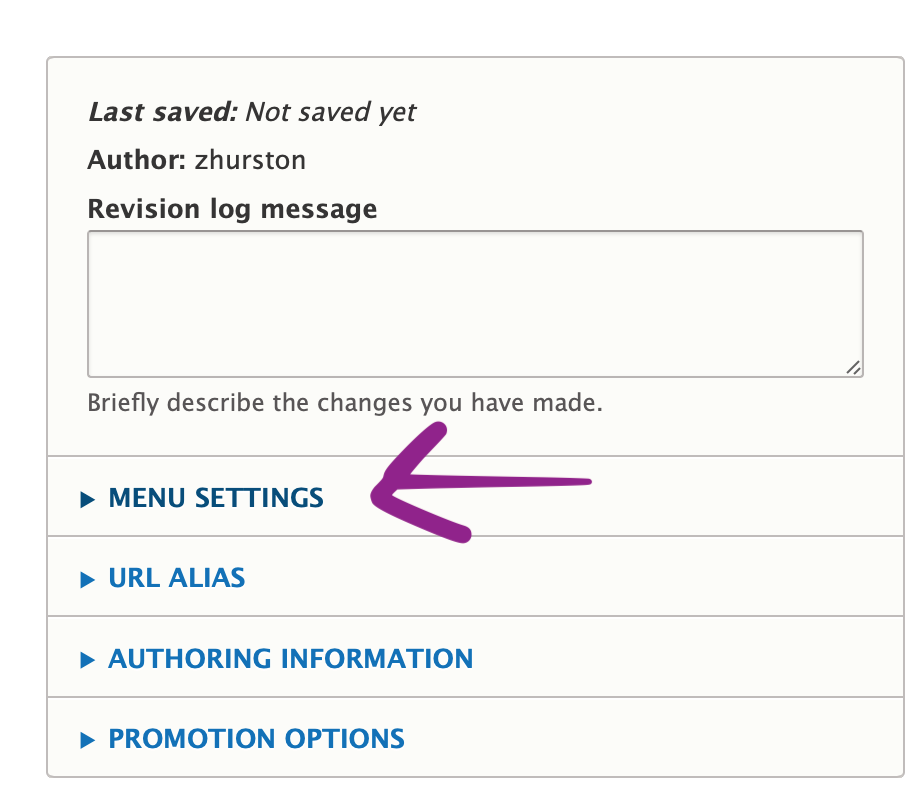
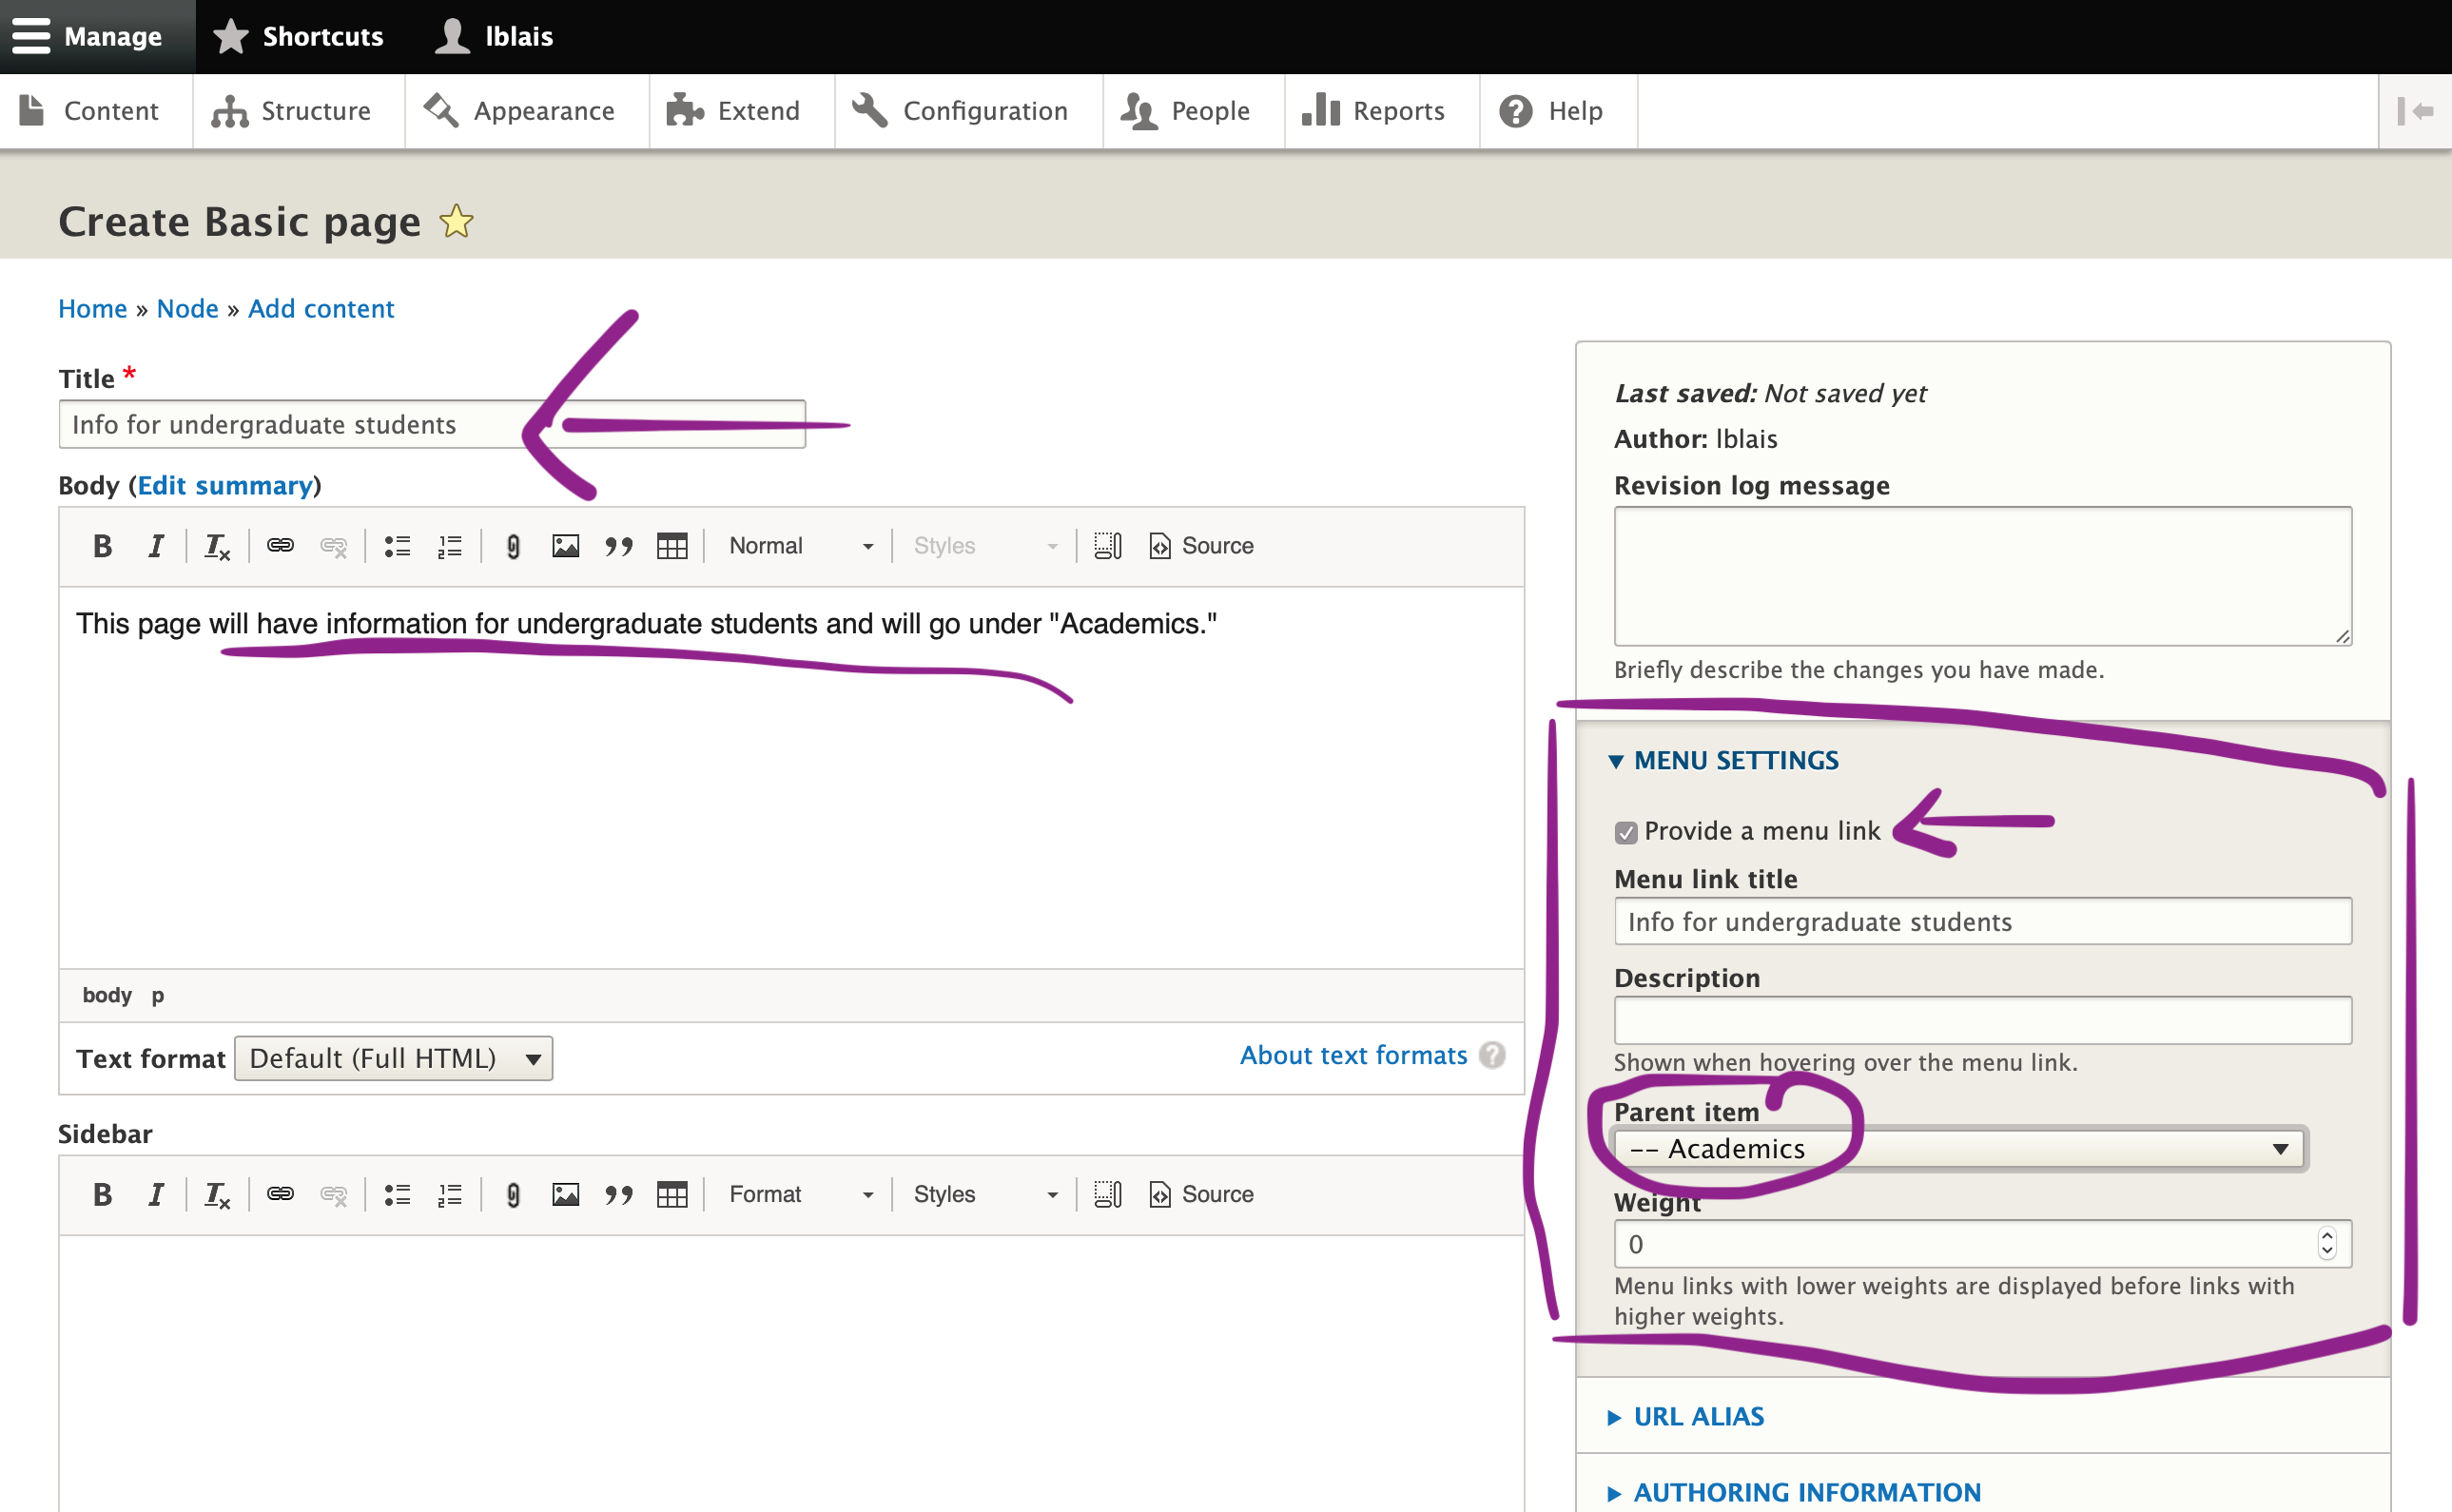
1) From the edit screen for your Basic page, look for "Menu settings"
To the right of the Title, Body and Sidebar fields are another set of fields. Click "Menu settings."
2) Click "provide a menu link"
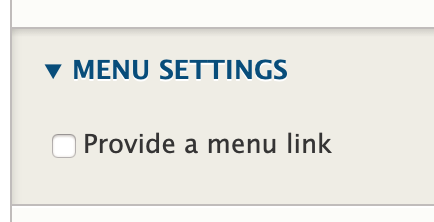
This gives you more options.
3) Tell your Basic Page where to "live" in the Menu outline
Click the drop down under "parent item" and choose where your page should appear.
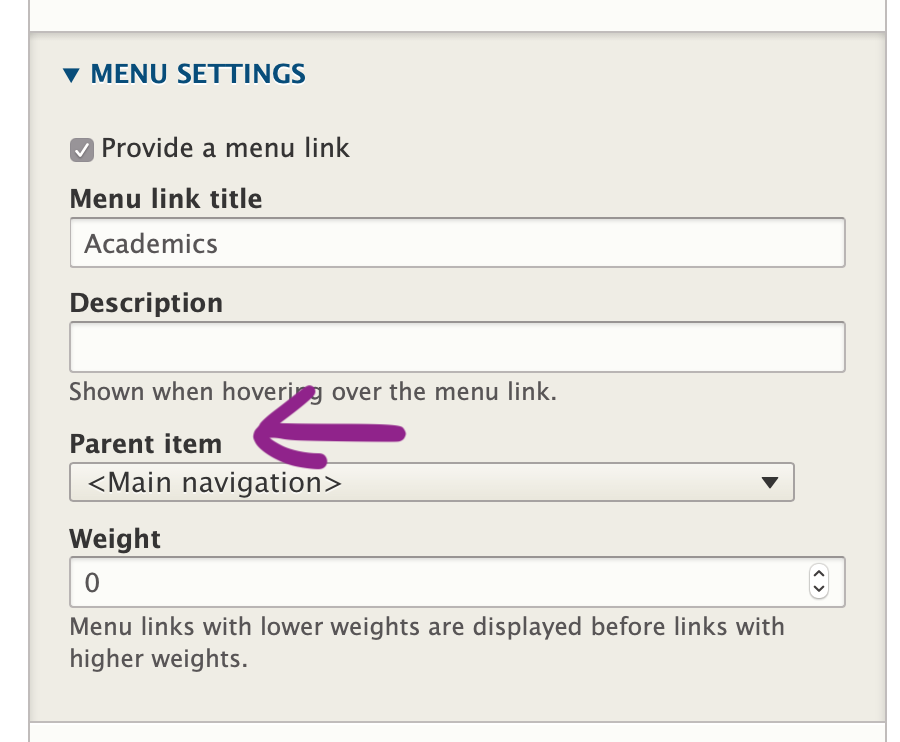
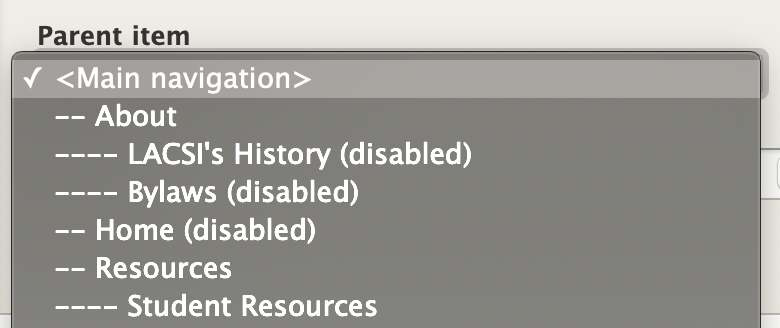
You can tell this page to appear under other pages, if you like.
If you keep it at <Main navigation> (sometimes called <main menu>), it will appear in the black main menu bar.
For this example, I want the Academics page to appear in the top of the menu, so in the black main menu bar. So I kept the option at <Main navigation>.
4) Save your Basic page
If you still want to work on your page and don't want people to see it, you can uncheck "publish."
For this example, I'm just going to make the page published, so, live.
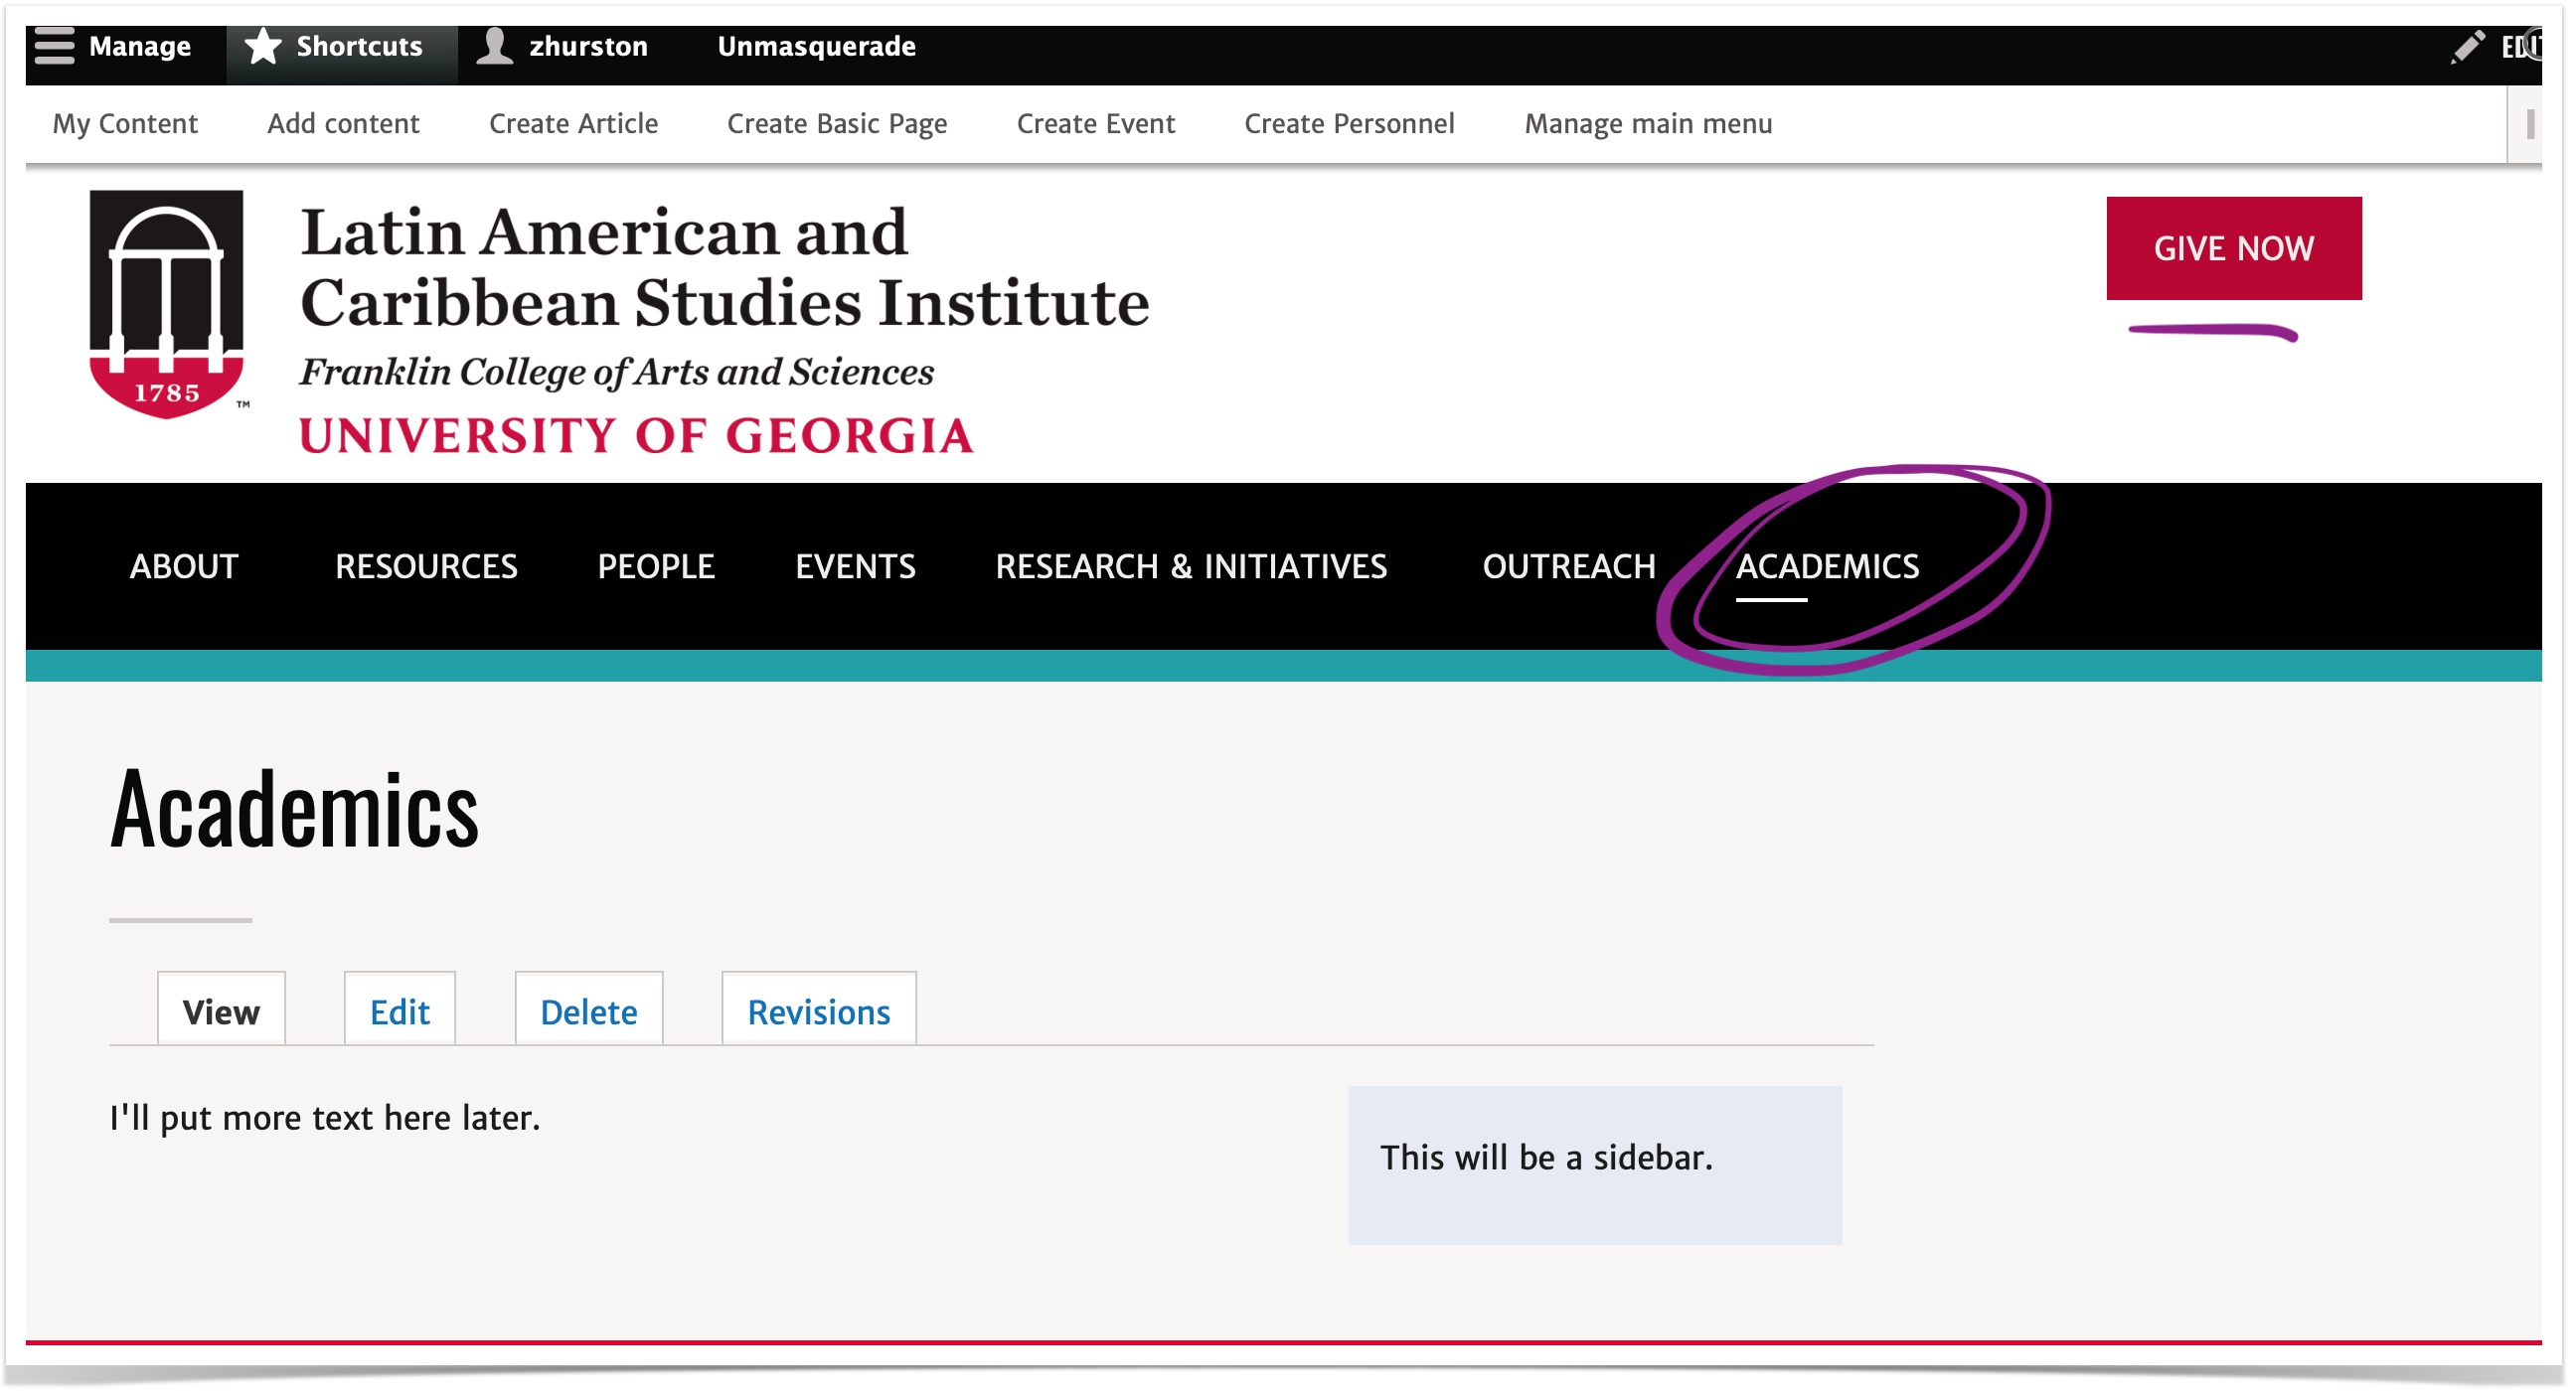
5) Look at your page
If needed, you can click on the "edit" tab to edit it.
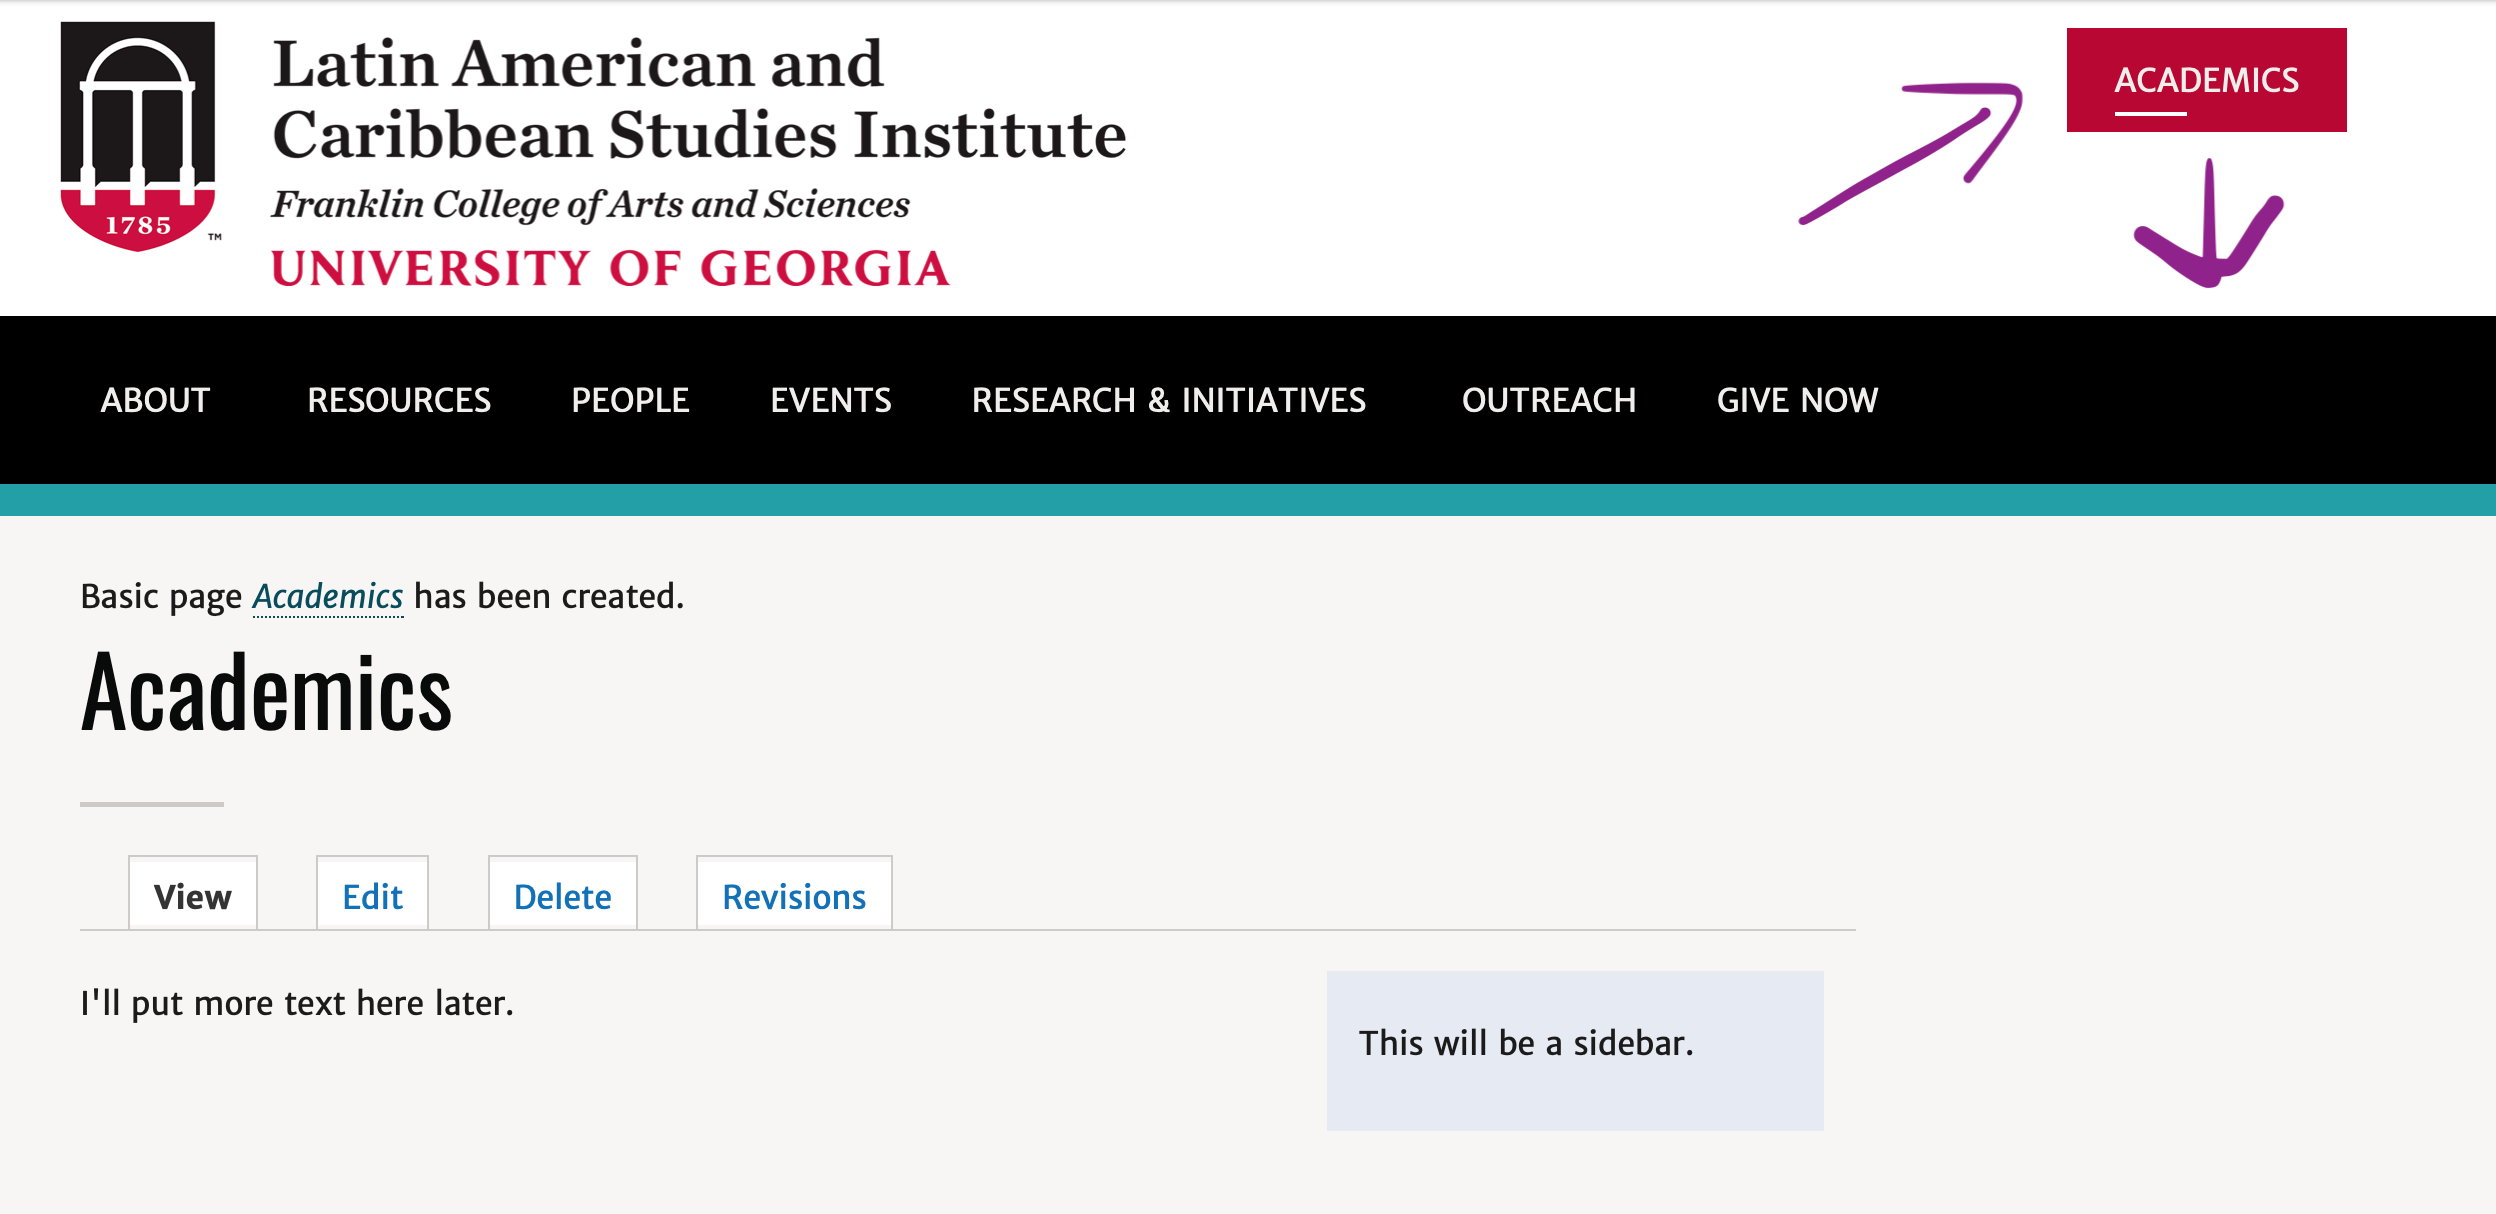
Look at the menu. We have a slight problem.
Notice my page has appeared as the Red button instead of the black menu bar.

This is because it was added to the end of the menu automatically, and the site applies a red button to the last link in the menu. Let's fix this by reordering the links in the menu.
6) Find the Main Menu administration screen.
In the black admin toolbar, click on "shortcuts" and look for "manage main menu" in the white admin toolbar.

Click "Manage main menu."
This gives you all the links in your menu.
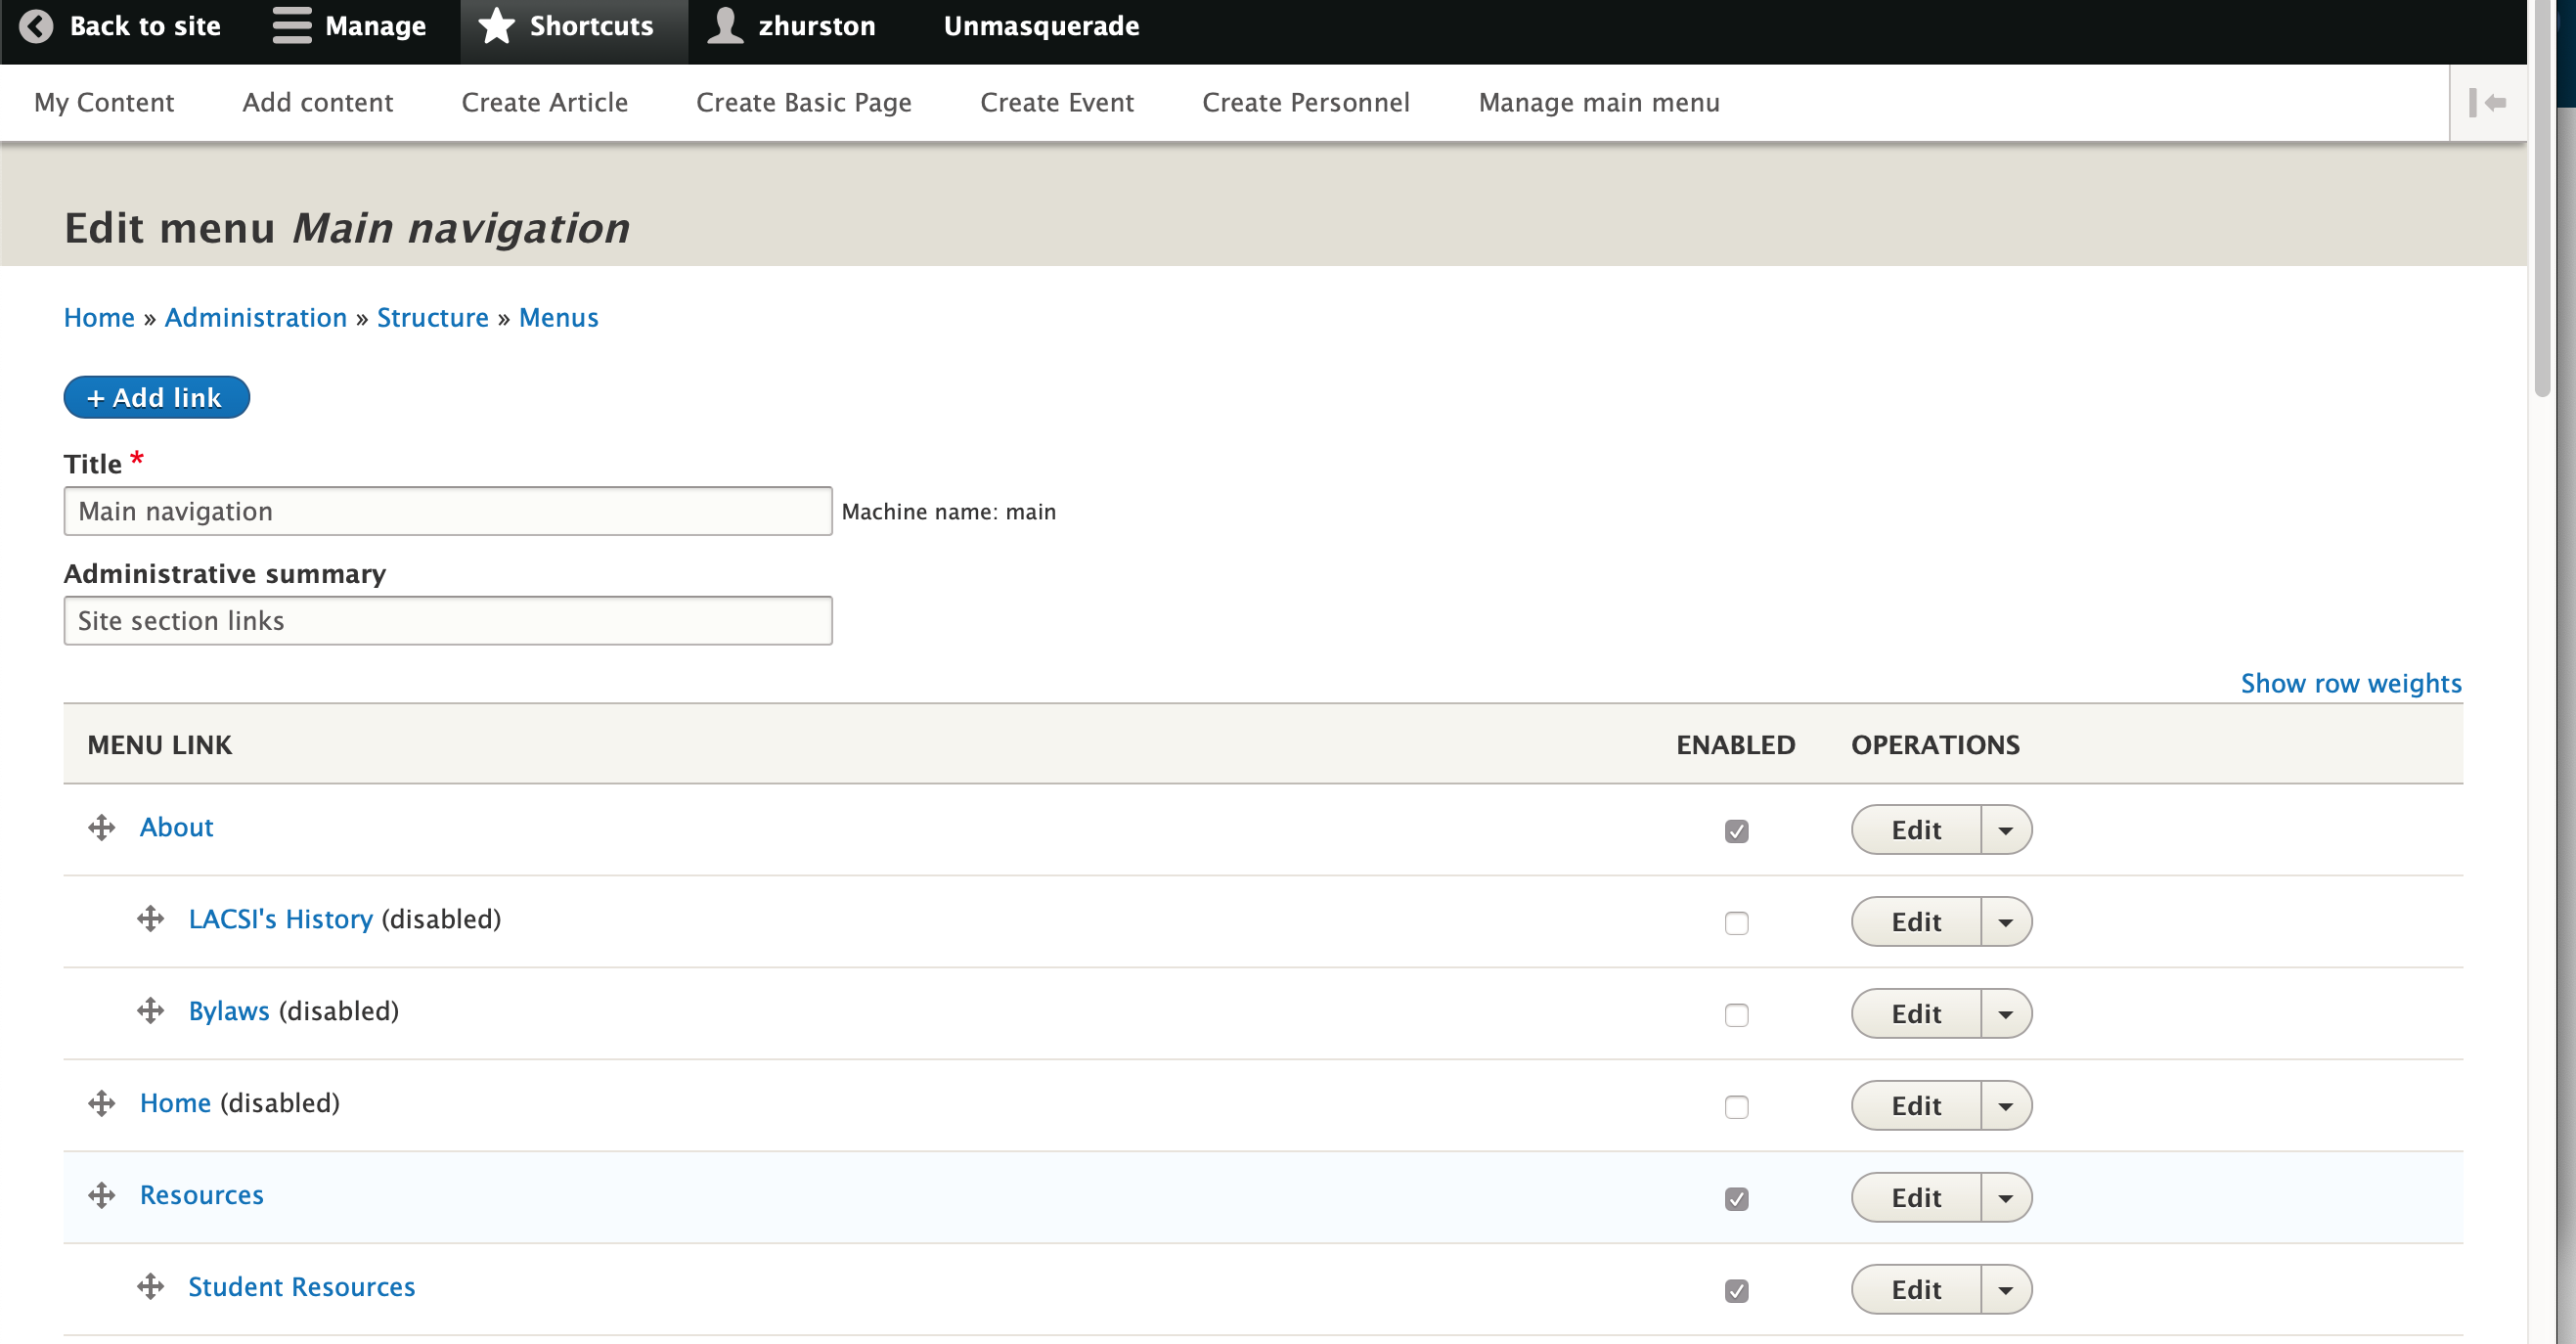
7) Scroll down and look for the link you added
I see the Academics page I added to the menu. It automatically got put at the end of the menu.
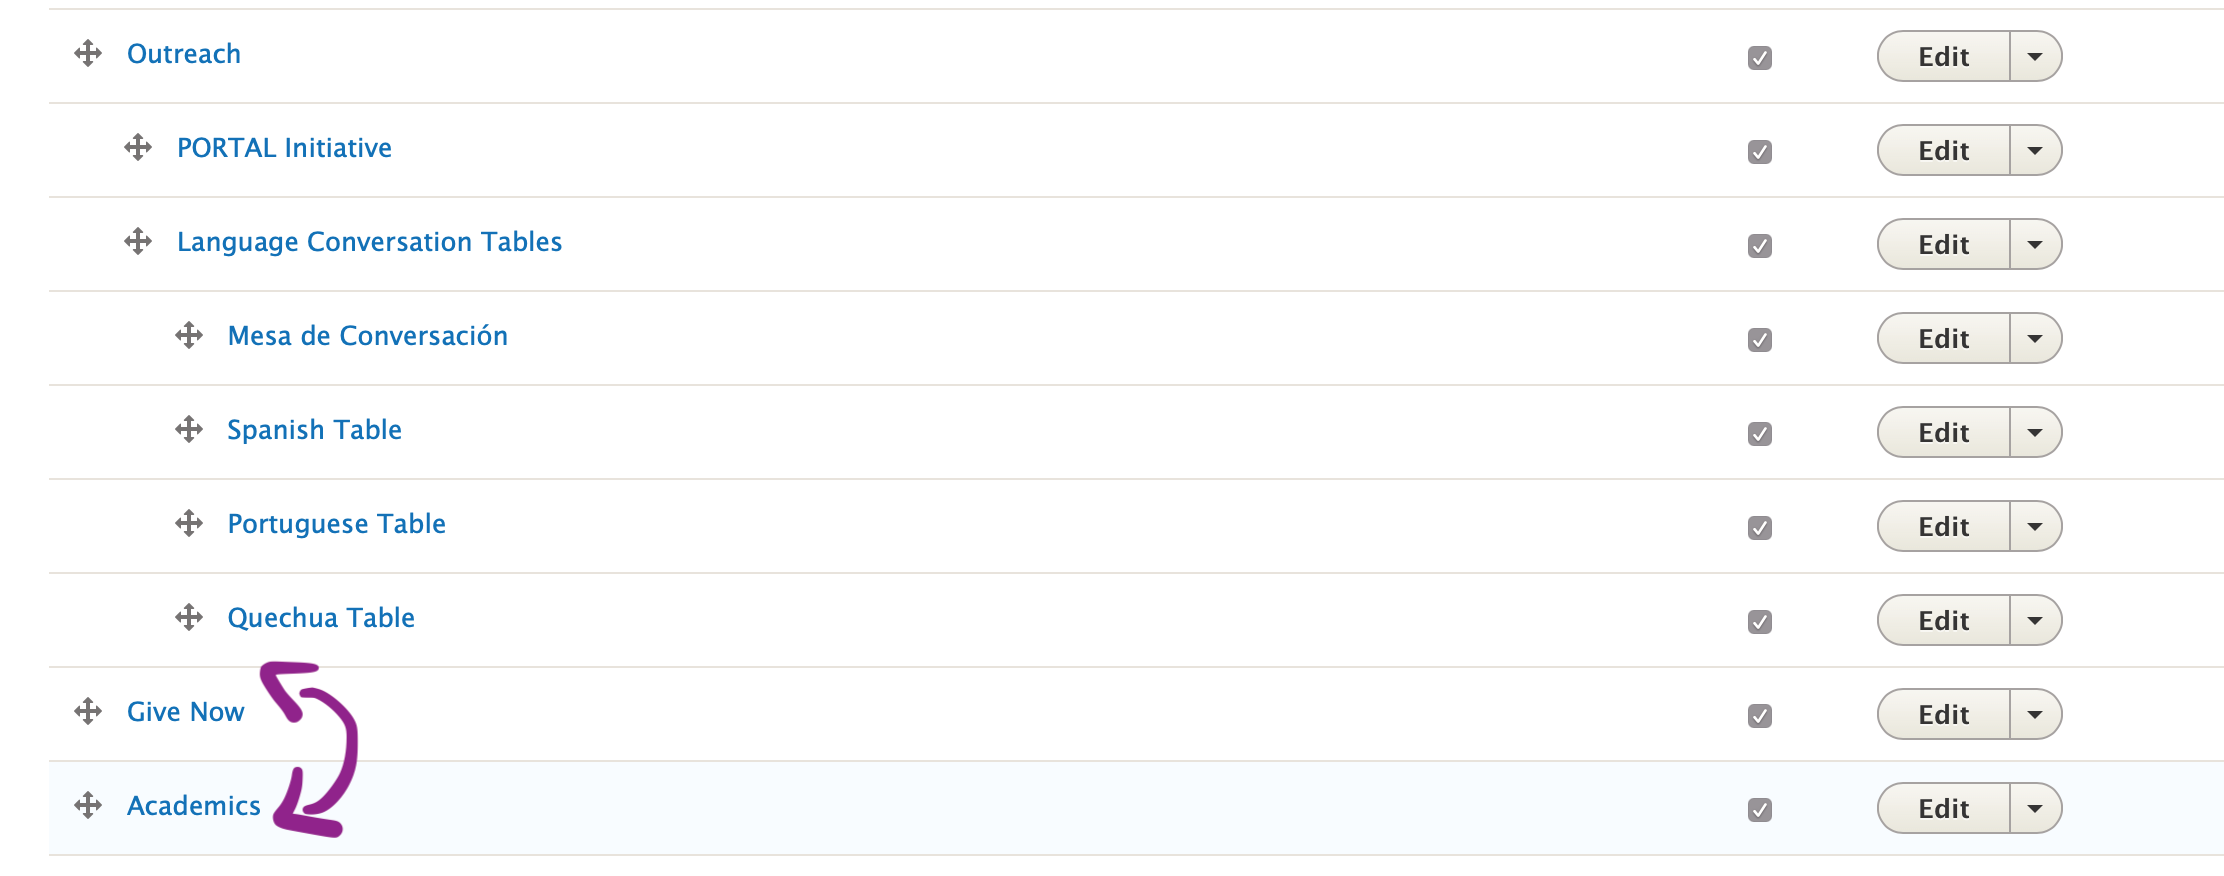
8) Drag to the links reorder the them.
Click on the plus sign next to "Academics" and drag to move it above the "Giving" link.
(It doesn't matter where you put your page in the menu, as long as the Giving link is last. Whatever link is last gets the red button treatment.)When you move a link around, it becomes yellow. This lets you know there has been a change that needs to be saved.In order for your change to take into effect, you must remember to hit "Save" at the bottom of your menu.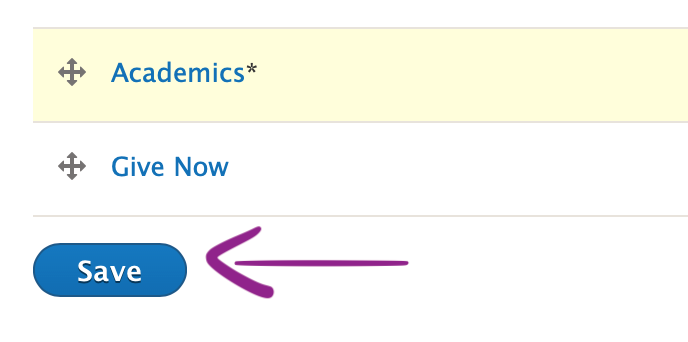
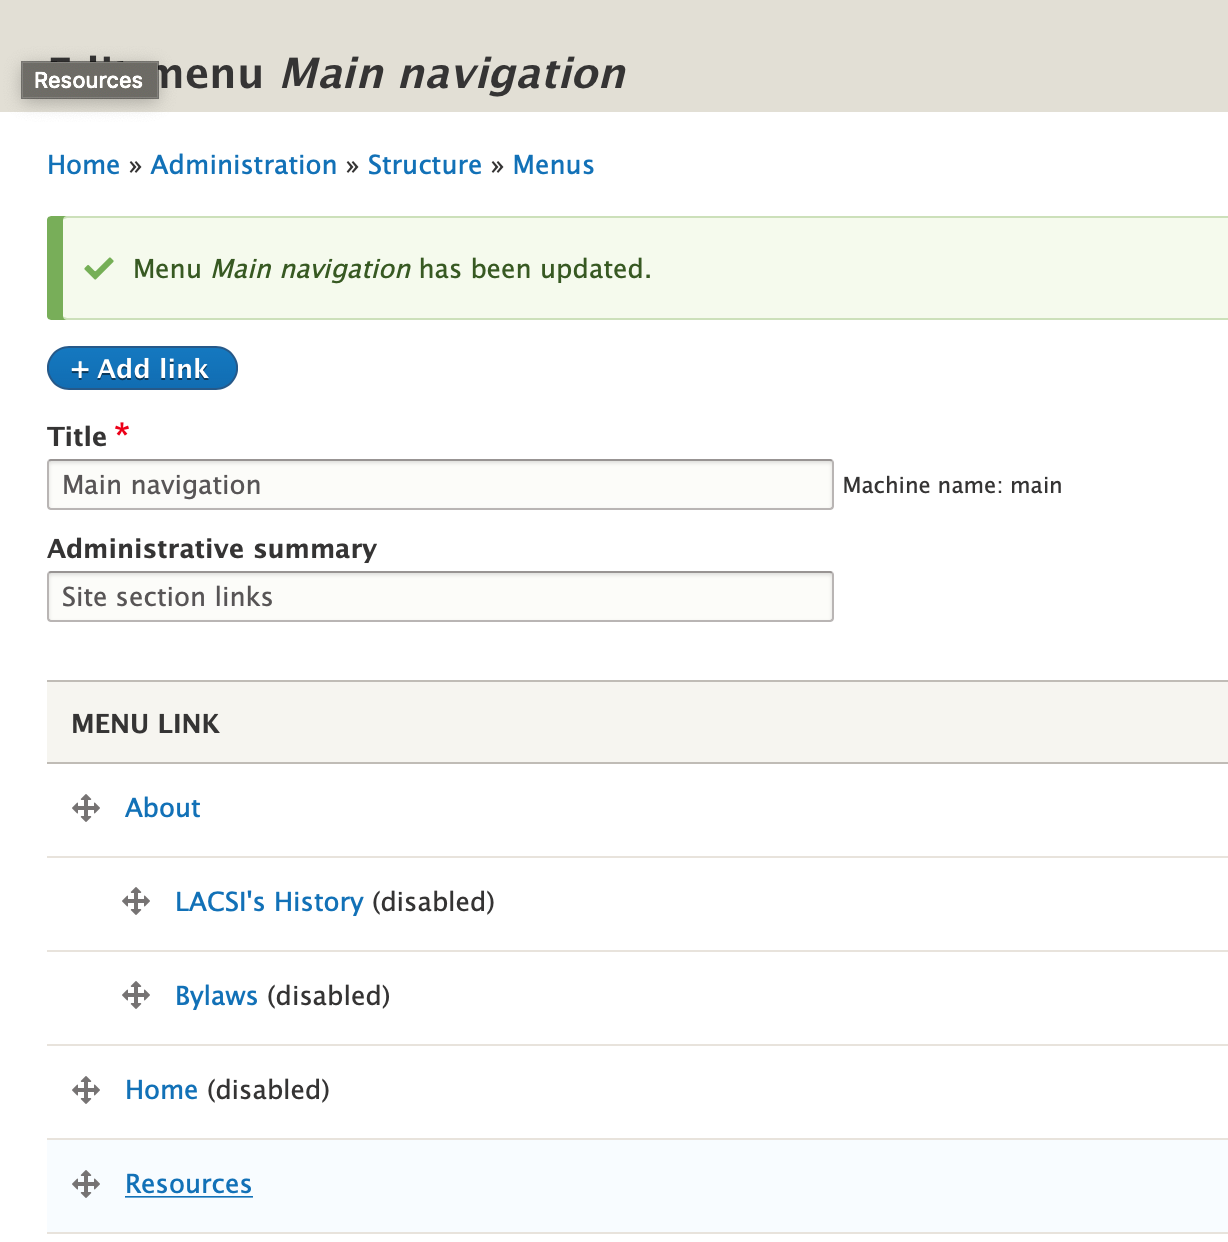
I have saved the menu.
9) In the black admin toolbar, Click on the "Back to site" button.

This takes me back to my page.
"Academics" is now in the black menu and "Giving" is back where it needs to be, as a red button.
Part Three (optional) - Repeat parts one and two to create a section on your site
What if you wanted to create a section with several pages?
For example, what if I wanted to add a section for Undergraduate and Graduate students under my Academics page?
If you are creating a section, you would repeat step one and create another basic page, and tell it to live under the first page you created.
In the below example, I created a new Basic page called "Info for undergraduate students."
I put in some placeholder text in the body field. I'll add more later.
Then I did part two, where I added the page to the menu and placed it under my new Academics page.
Because I placed it under an existing page, I won't have to rearrange the menu to fix the red button issue.
After all this, I saved the page.
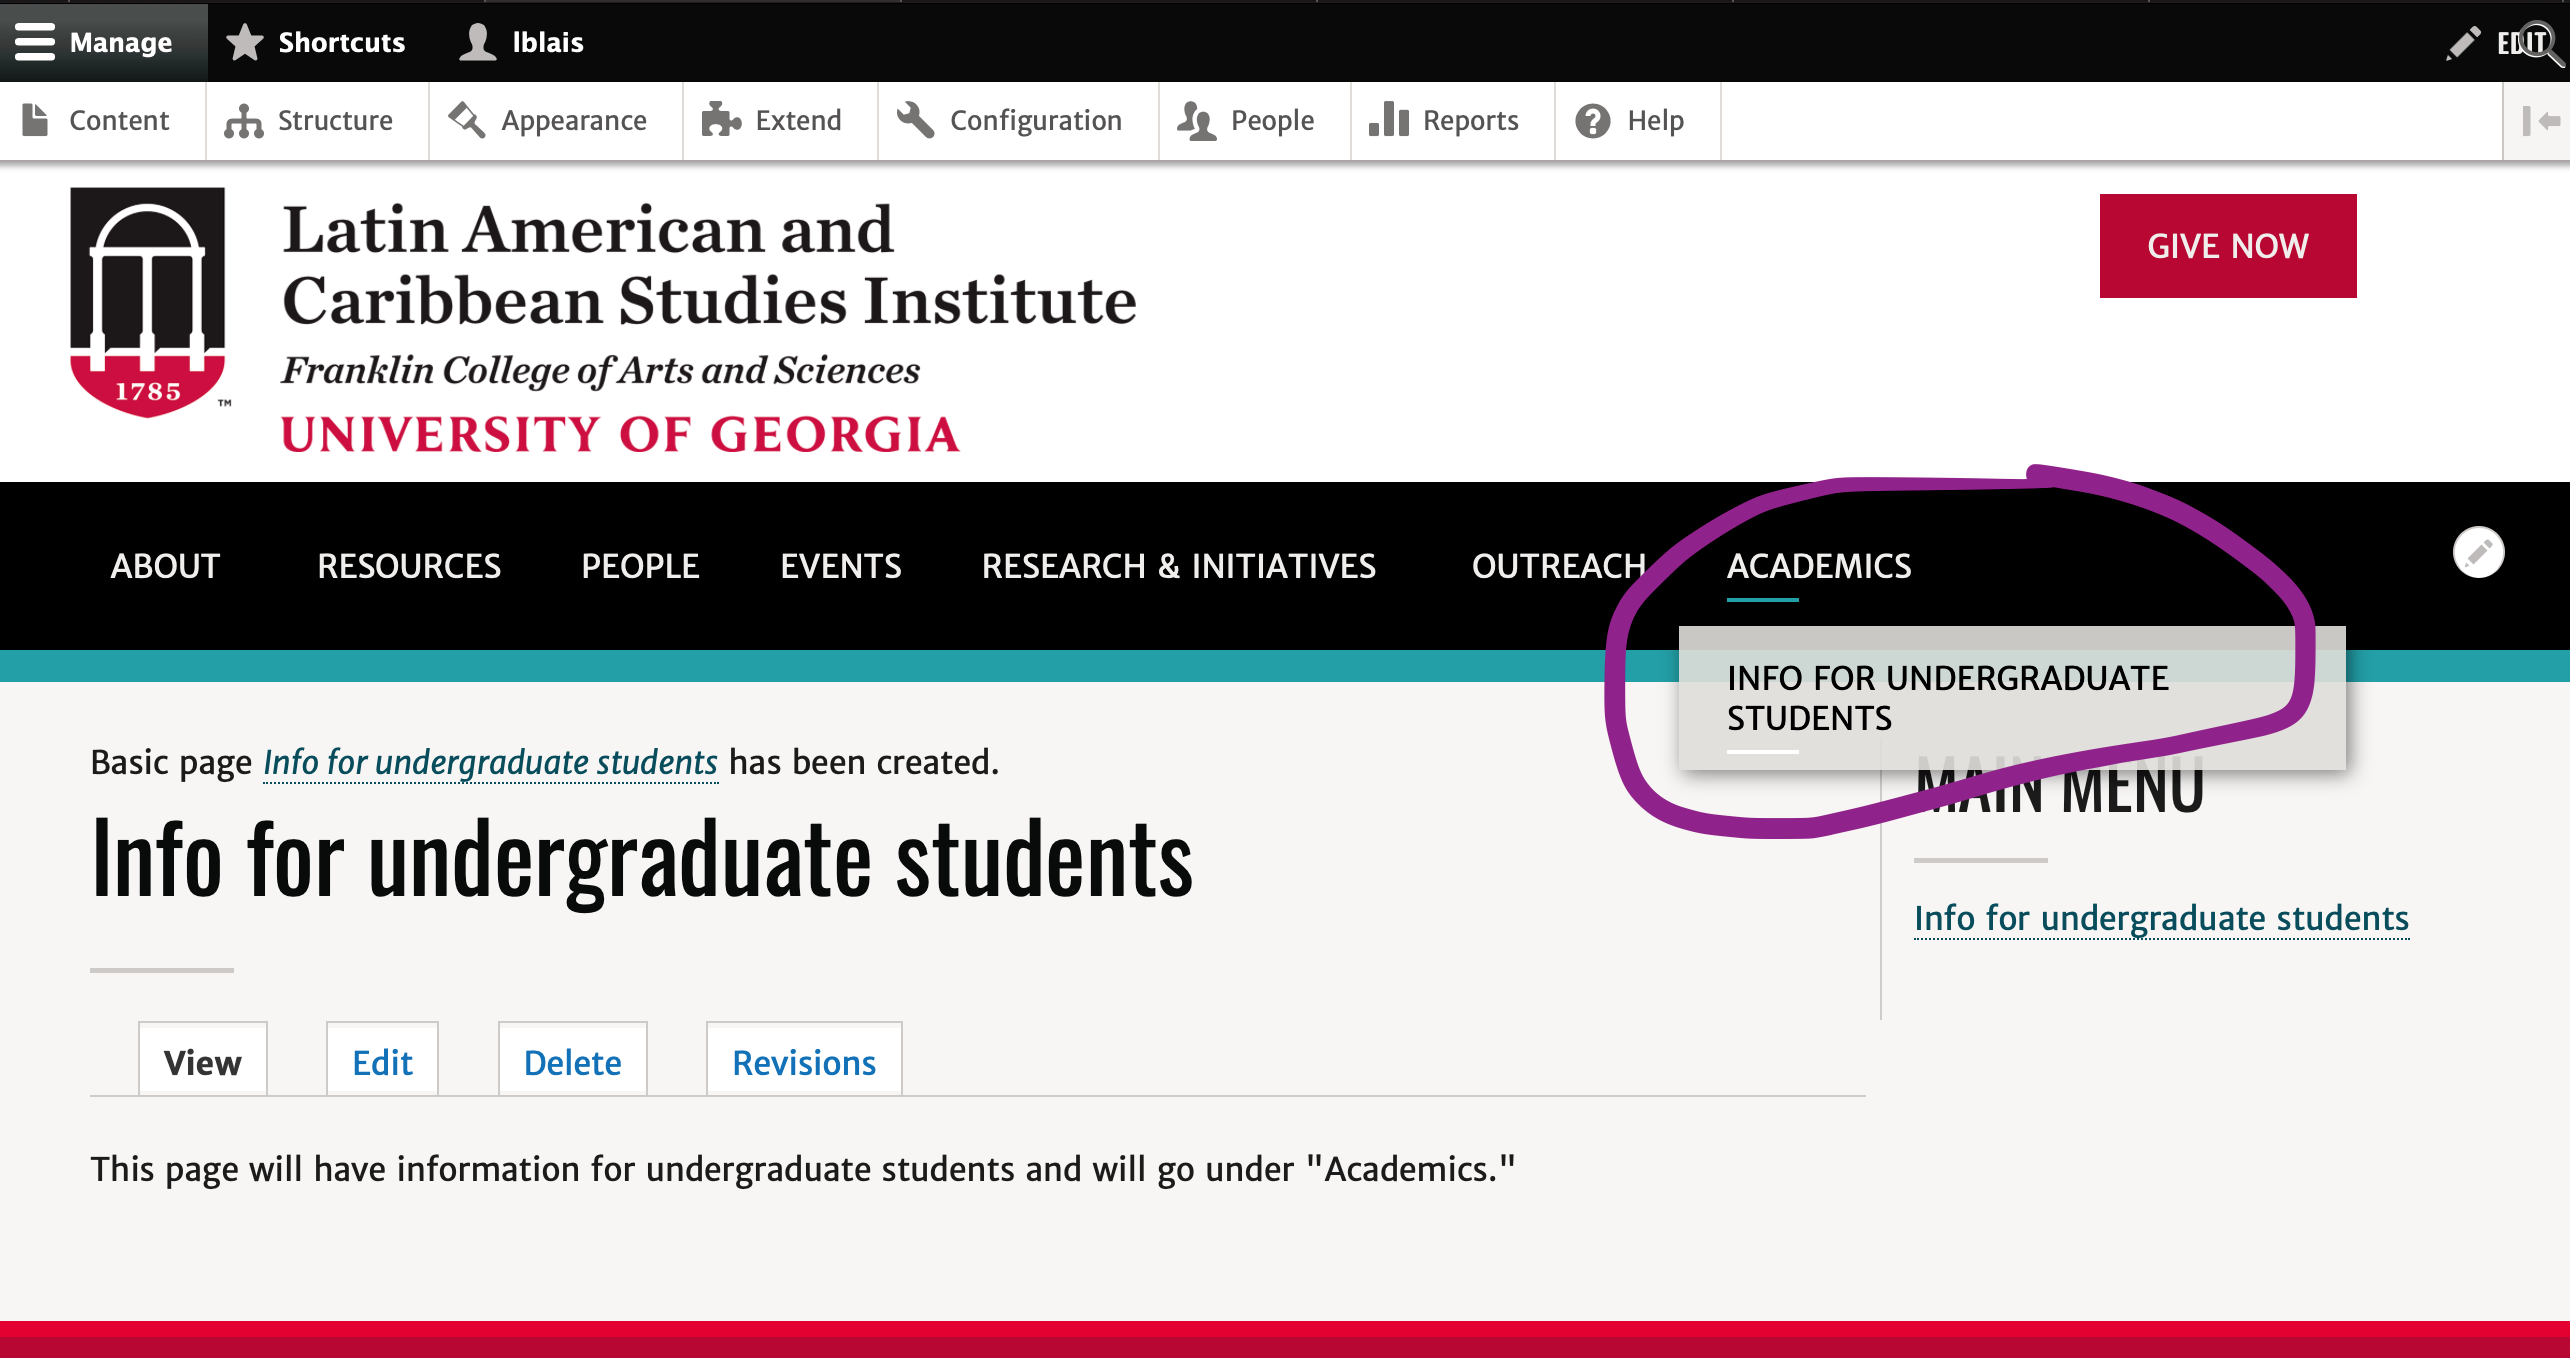
Here's what my Info page looks like:
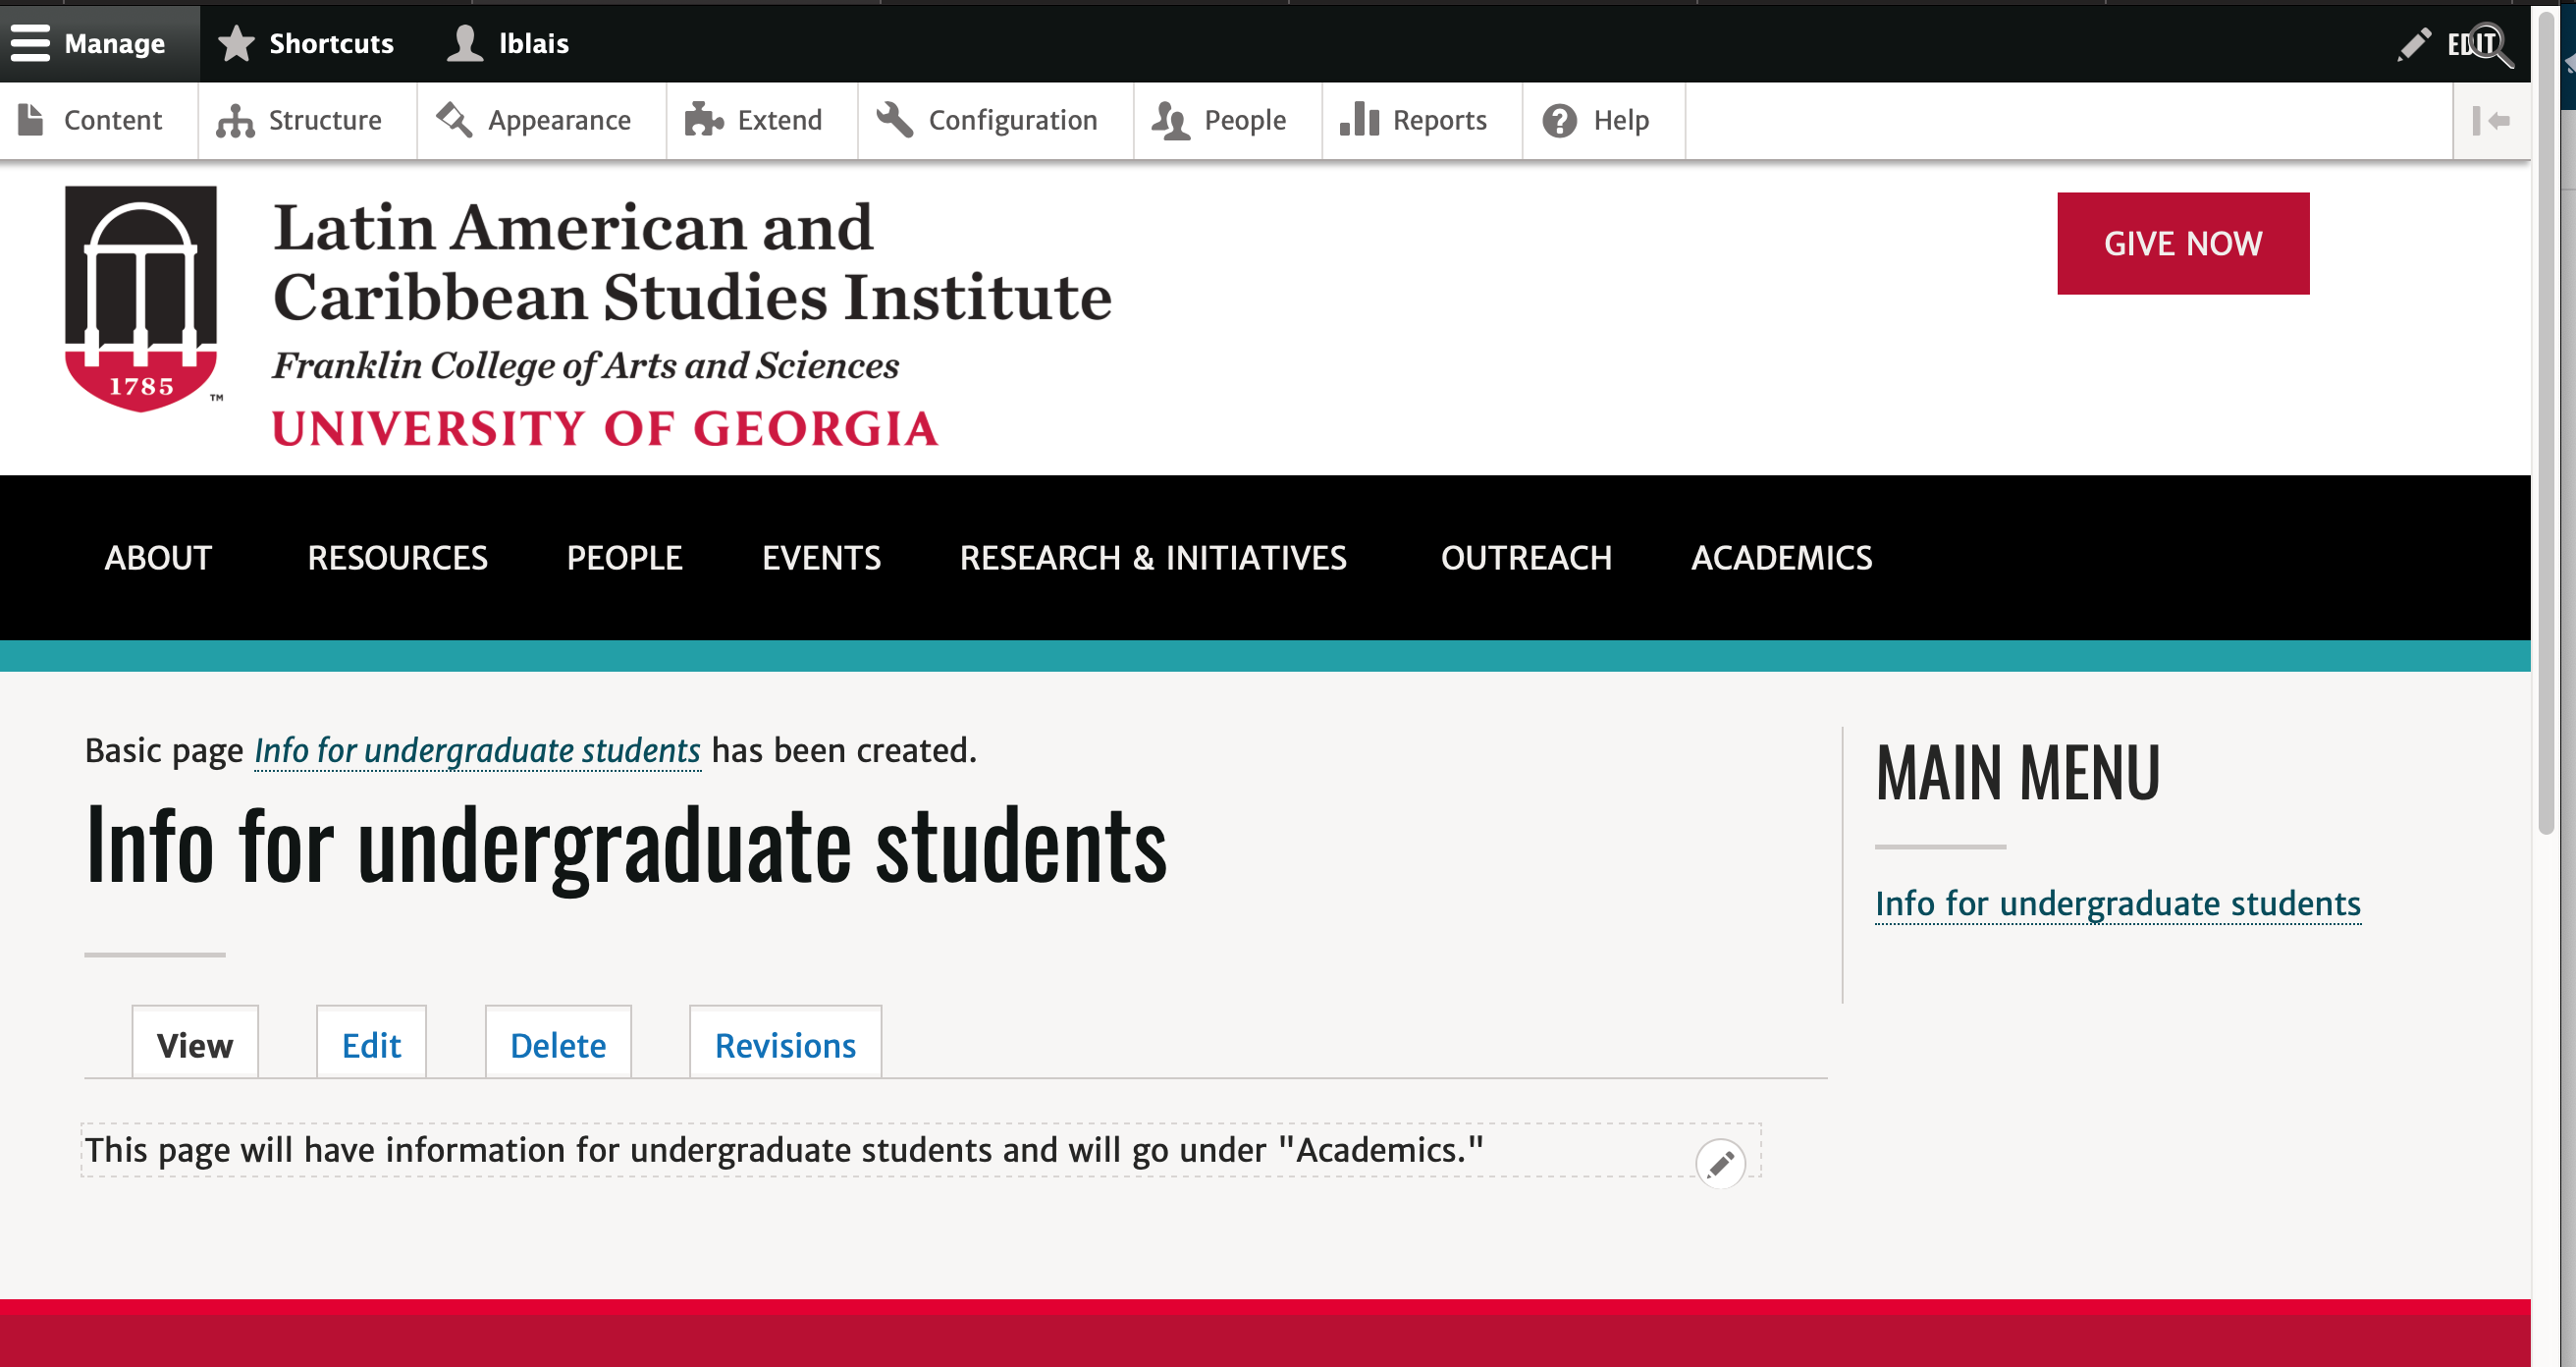
Notice a menu bar automatically appears to right?
Also, when I mouse over the "Academics" link in the main menu, my "Info for undergraduate students" page appears there.
Repeat for each page until you have all the pages in your section.
To manage any part of your web site, you will have to be logged into the Drupal CMS. If you need help logging in, please review this login help document.
Monday - Friday 8:00 a.m. - 5:00 p.m. Homepage Directory Service Offerings Franklin OIT Status http://status.franklin.uga.edu/ Receive or Discontinue Status and Service Updates from Franklin OIT UGA/EITS Systems Status Pages https://www.facebook.com/uga.eits USG Systems Status PageContact the Franklin OIT Help Desk
Hours of Operation
Website Information
Systems Status Information
