
Shortcomings of Automatic Image Cropping on Sites
If you are looking for help with optimizing your images because the file size is too big, please read this document about Photoshop: Resizing and Optimizing Large Images
With images, your site does a lot of automatic cropping and sizing to create consistency throughout.

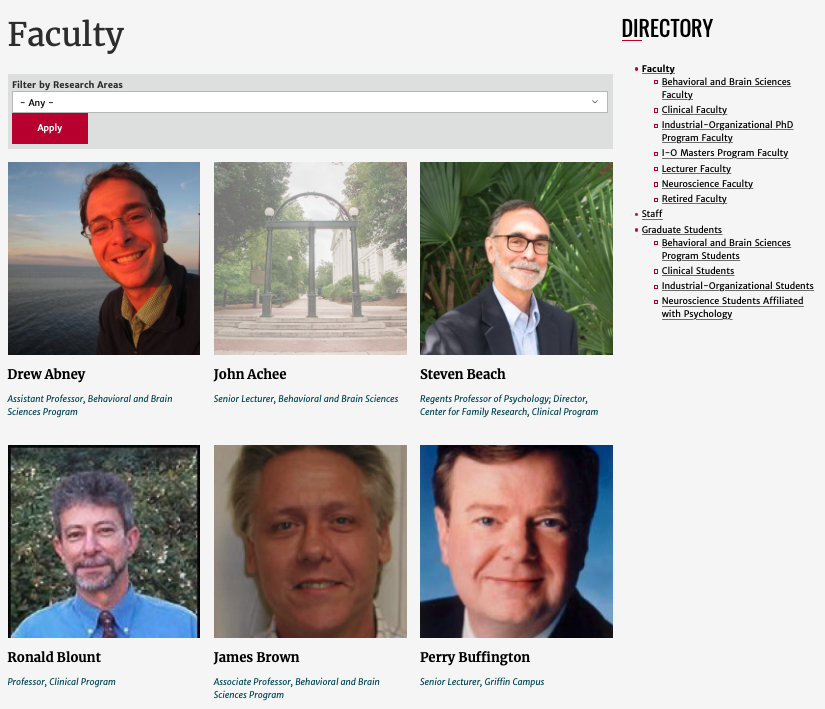
The problem is, some of this auto cropping doesn't do a good job. An image that looks good in the directory as a square shape, may not look so great when it appears in a spotlight with a 3:2 ratio.

We've installed some functionality which will give you more control (if you want it) of how images appear throughout your site: in directories, in spotlights, and with regular content.
Table of Contents
How to Make Use of the New Cropping Functionality
Here's an example on the Chemistry website.
There's a guest speaker coming to campus soon, but the site's automatic cropping has cut off his chin and part of his mouth.

Visually, it is better to trim the head than the chin, so we're going to fix this image.
Step 1: Click on the Content Where the Image is Coming From
Notice how the image appears differently when it is not in a list?
Again, this is because we employ different image styles and automatic cropping throughout the site, and it doesn't always work well.
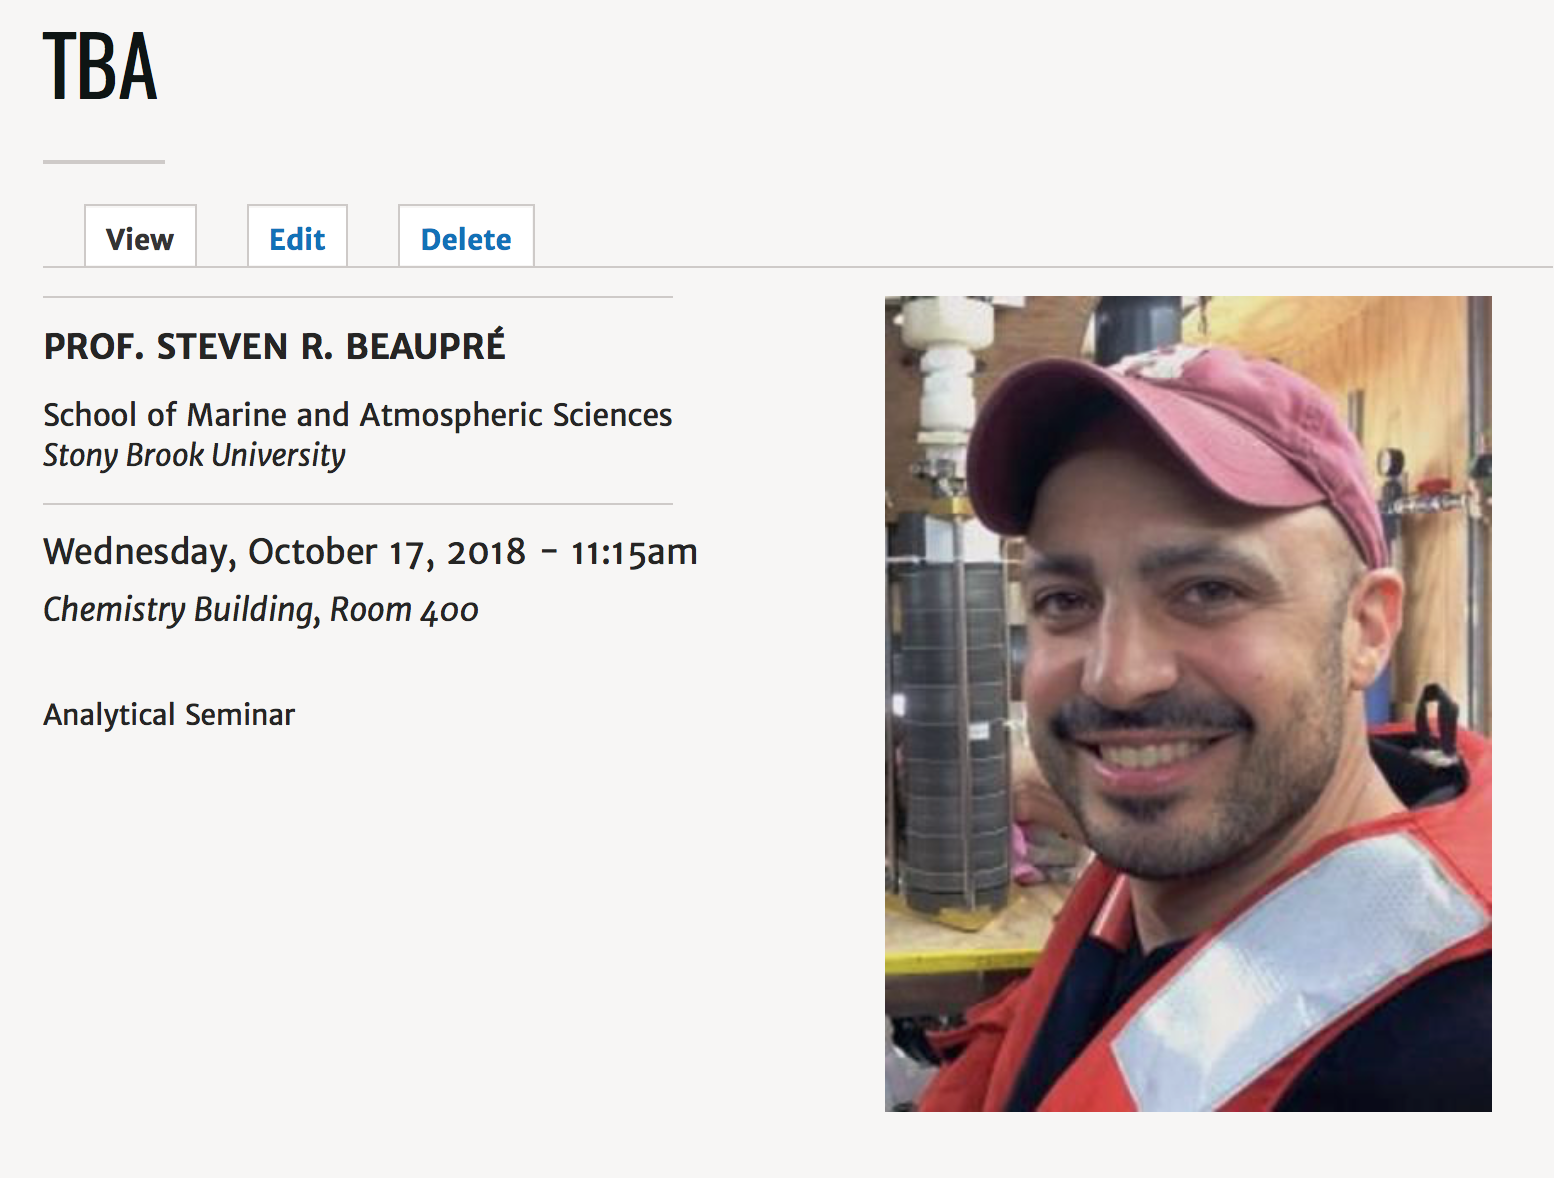
Step 2: Click on 'Edit'
We'll check out this new cropping functionality.
Notice the "Crop Image (Cropping applied)" dropdown. This is new.
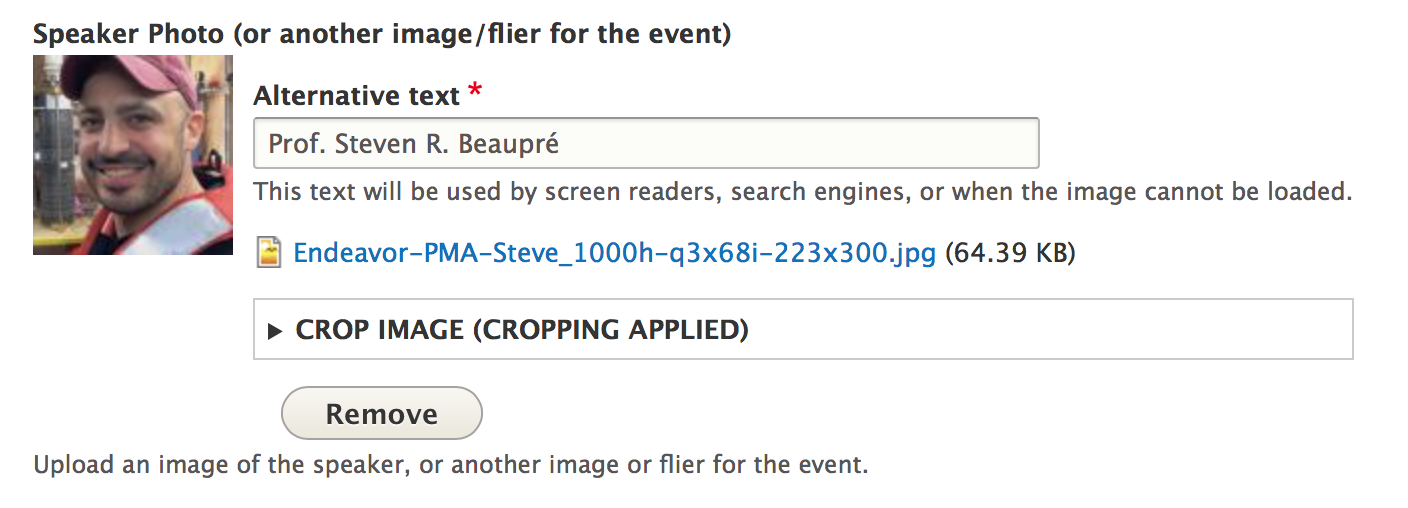
Click the "Crop Image (Cropping applied)" dropdown.
Step 3: Crop Image
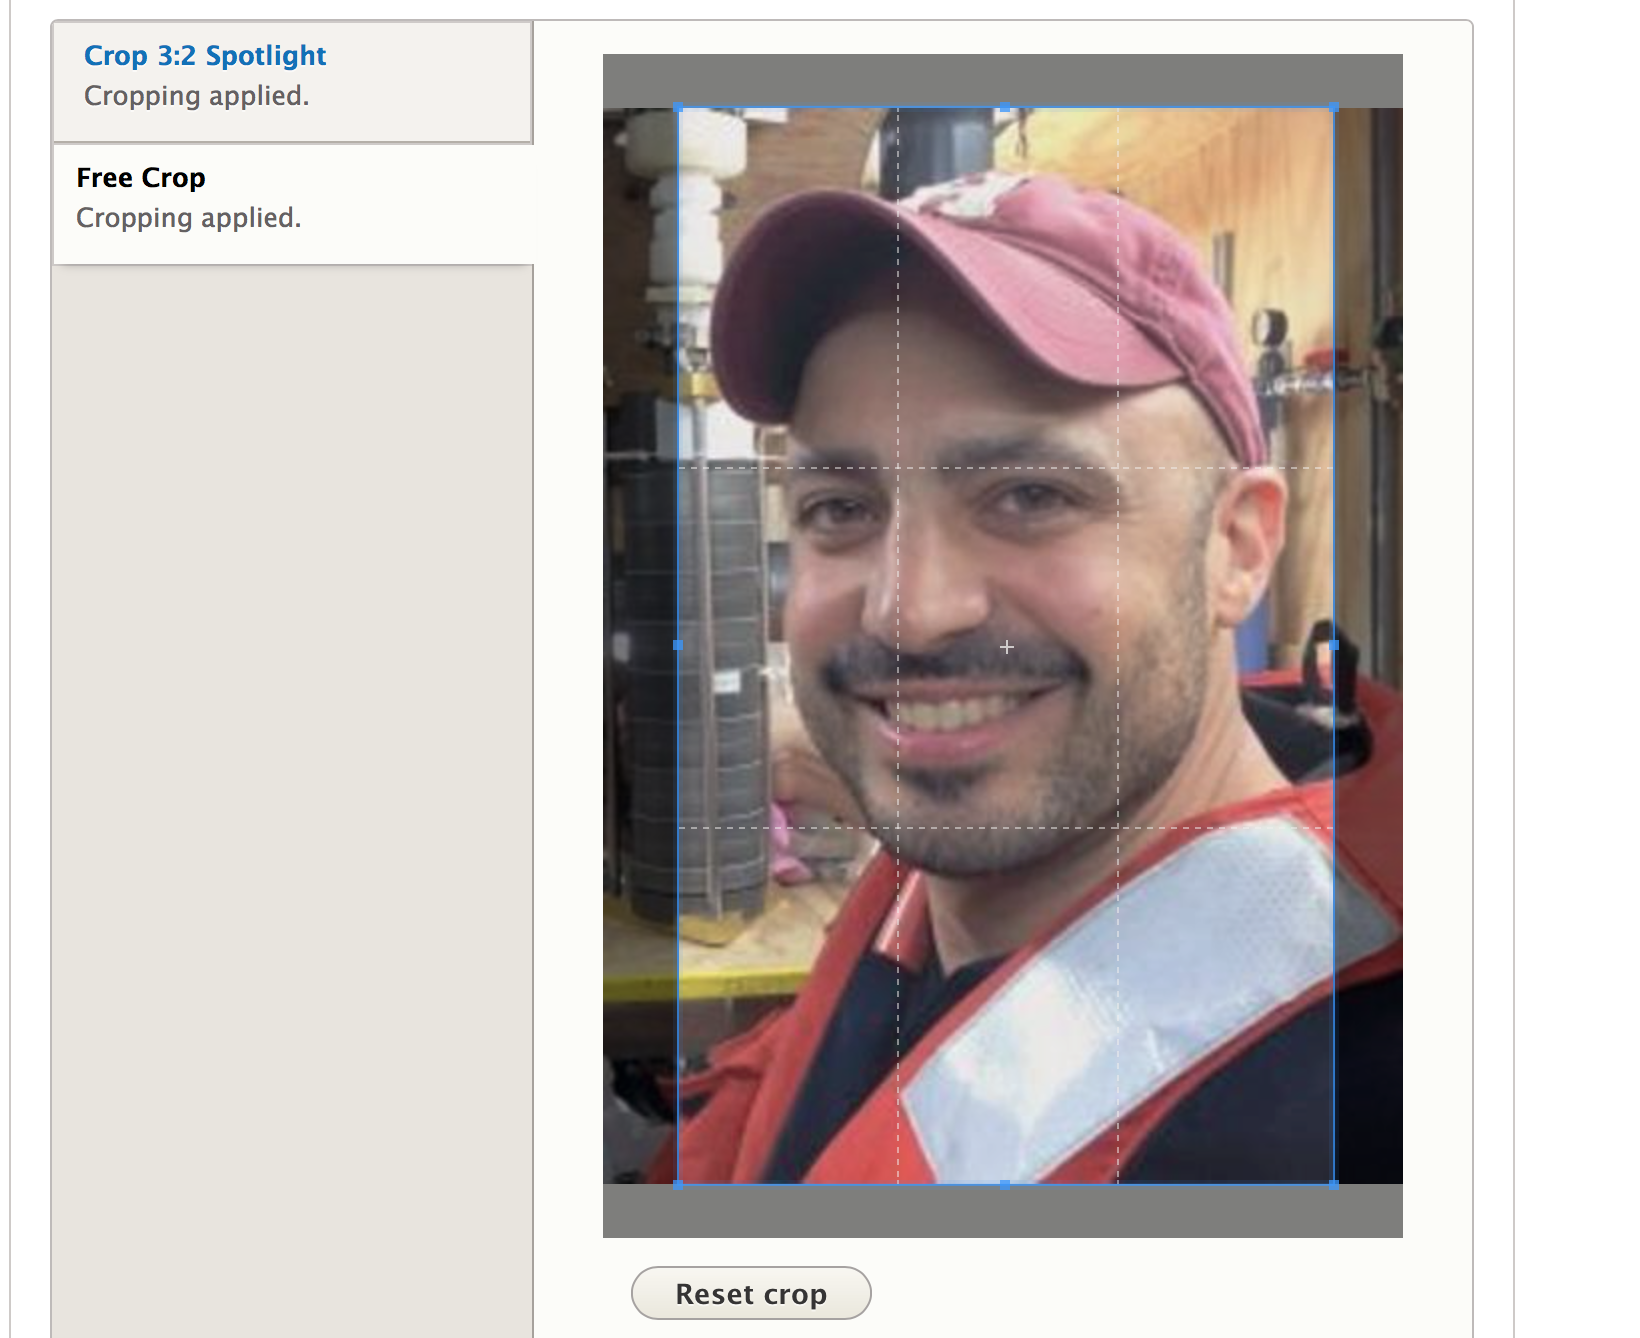
Adjust the blue box to change the cropping for option.
For this image field, there are two options: "Crop 3:2 Spotlight" and "Free Crop."
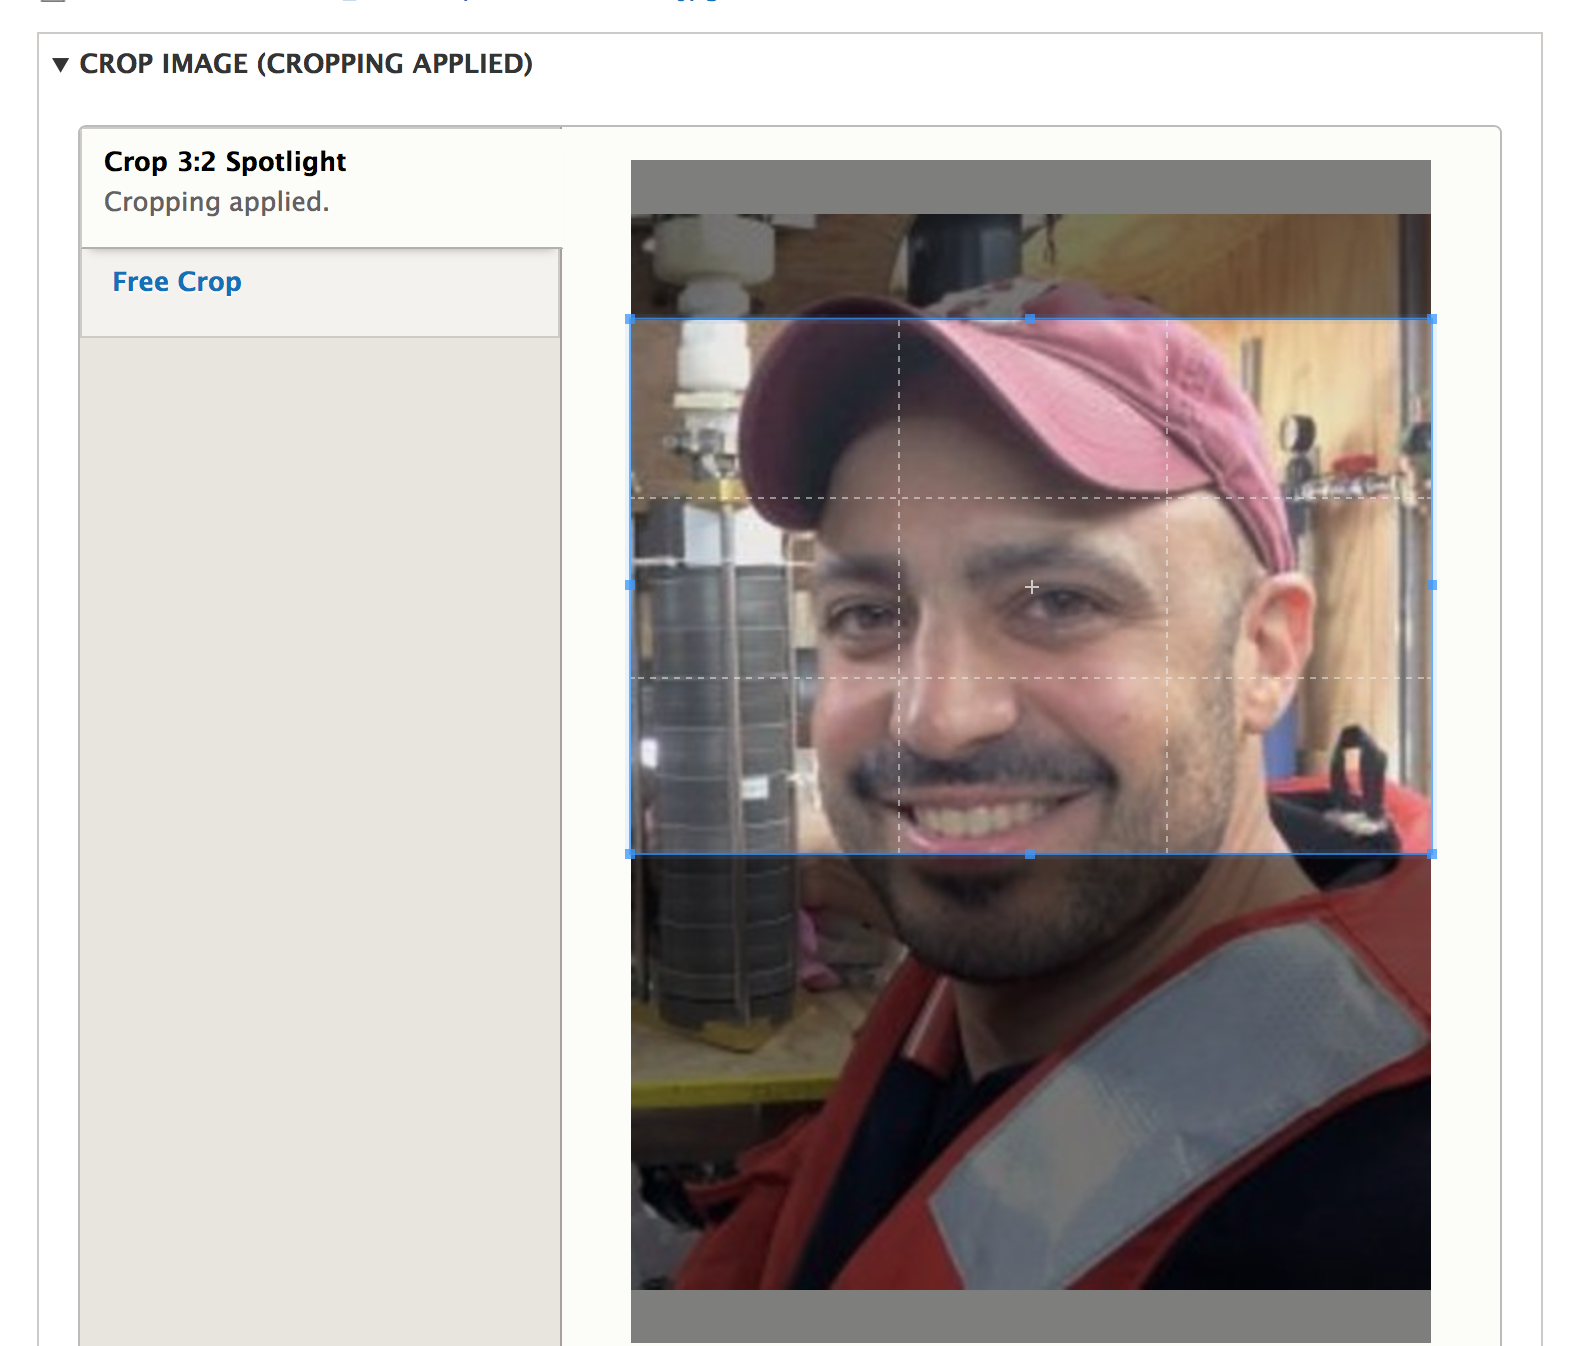
The "Crop 3:2 Spotlight" will determine how this image will appear in spotlights and lists-- like the list of upcoming events-- throughout the site.
It is set to an aspect ratio of 3:2 but you can decide what is the focus.
Notice the blue box. This determines what part of the image will show. Notice how his chin is cut off. Visually it is always preferable to trim heads than chins.
I'm going to drag the blue box down a little.
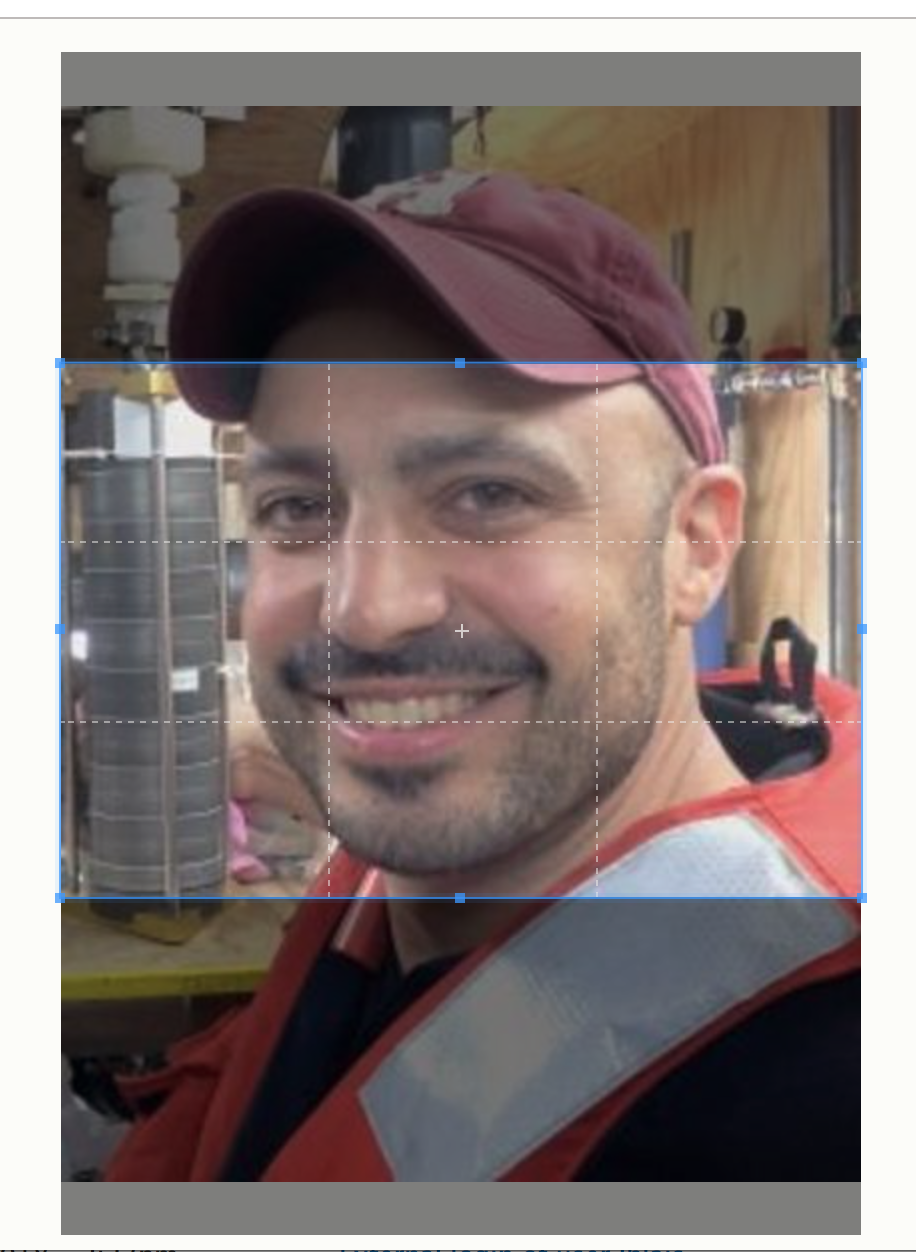
Notice that if you shrink the image, the blue box eventually turns pink. This is the "soft limit." It's letting you know that your image will be less than the preferred size, so it may appear slightly blurry or pixelated (but Drupal 8 will still try and make it work).
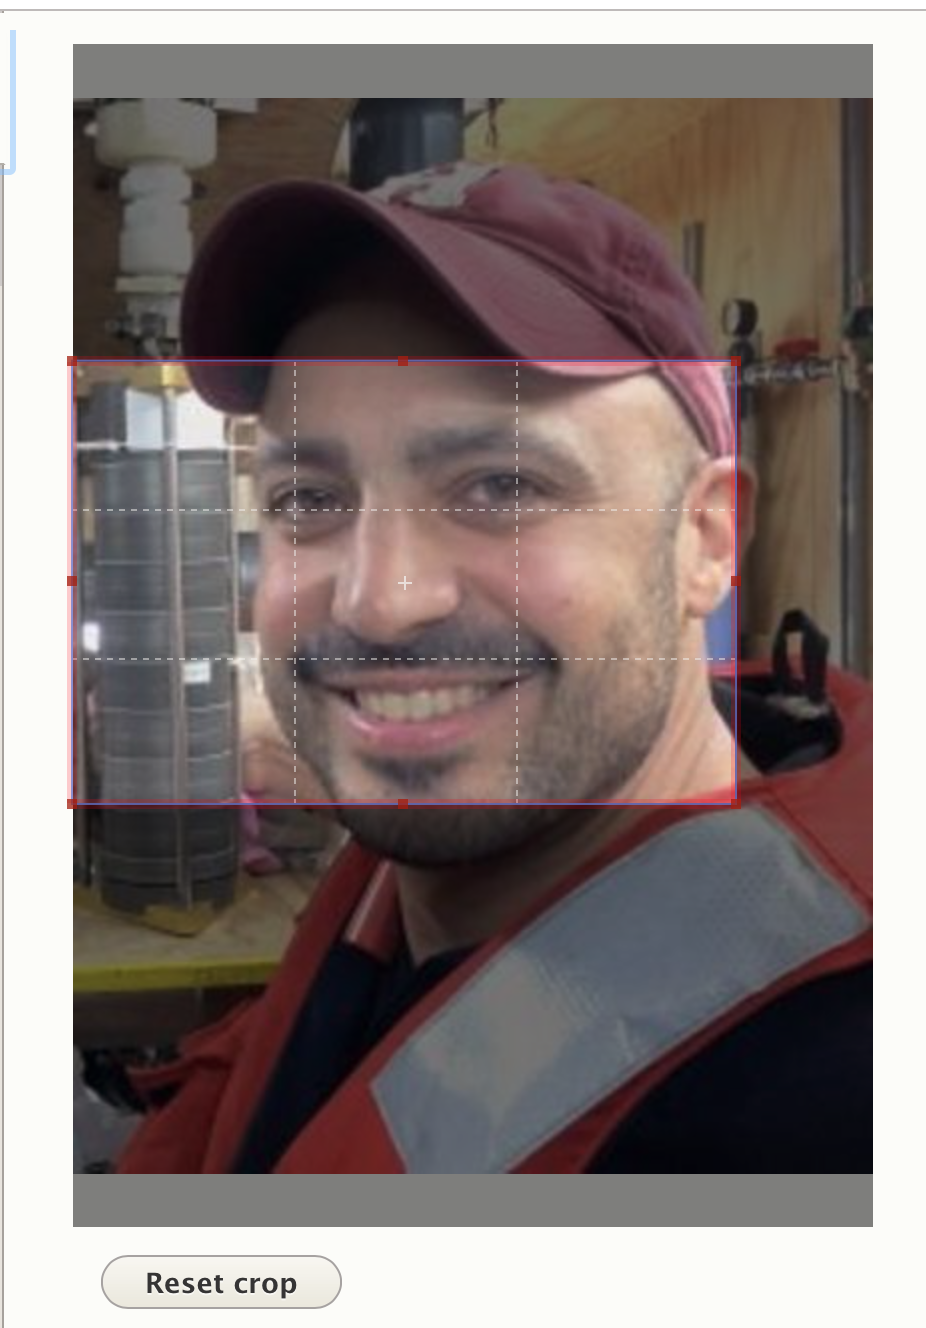
If you shrink it further, it will eventually become red and you won't be able to shrink the image any more. This is the "hard limit." You can't have an image smaller than this.
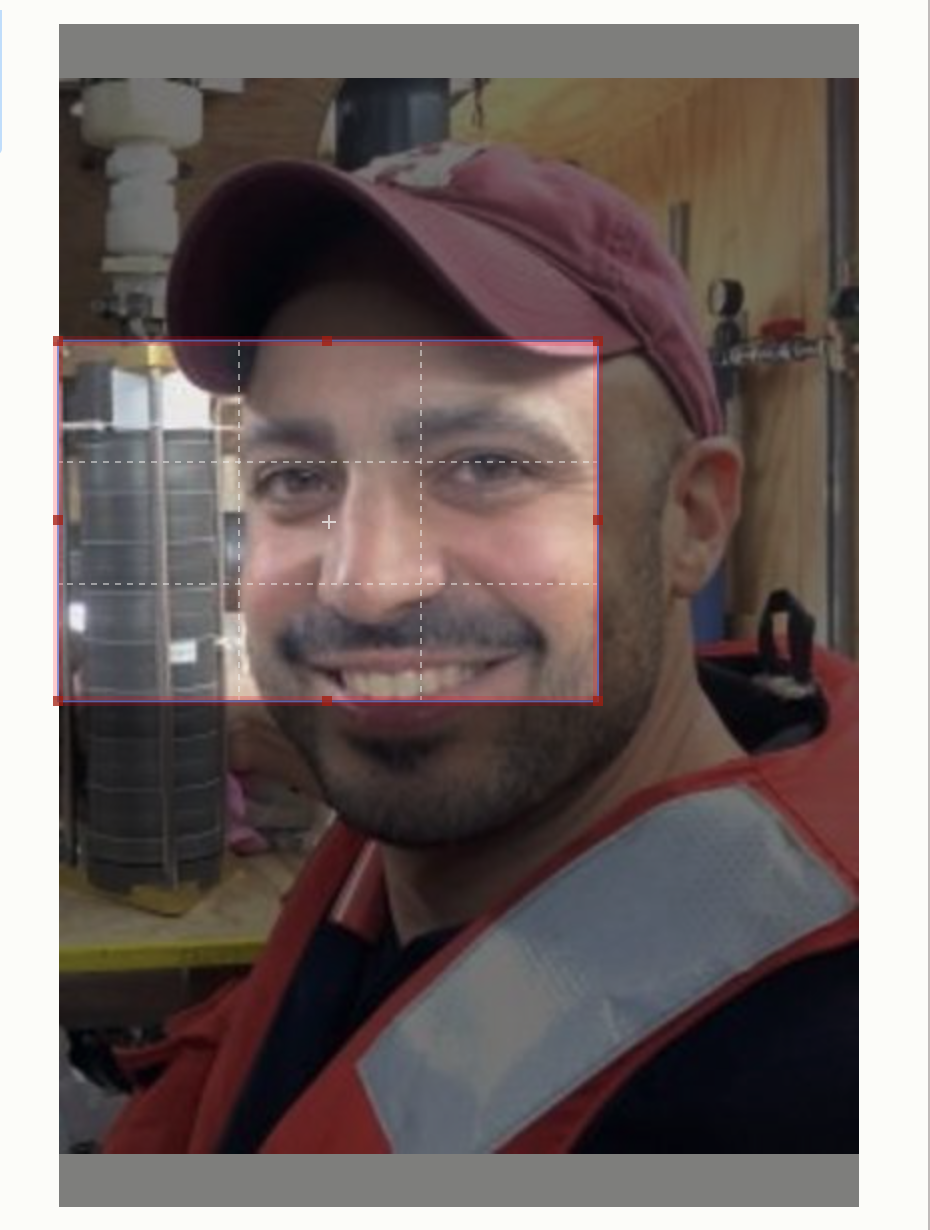
This image also has "Free Cropping" available. The cropping you do here will determine how the image appears next to the text on this page.
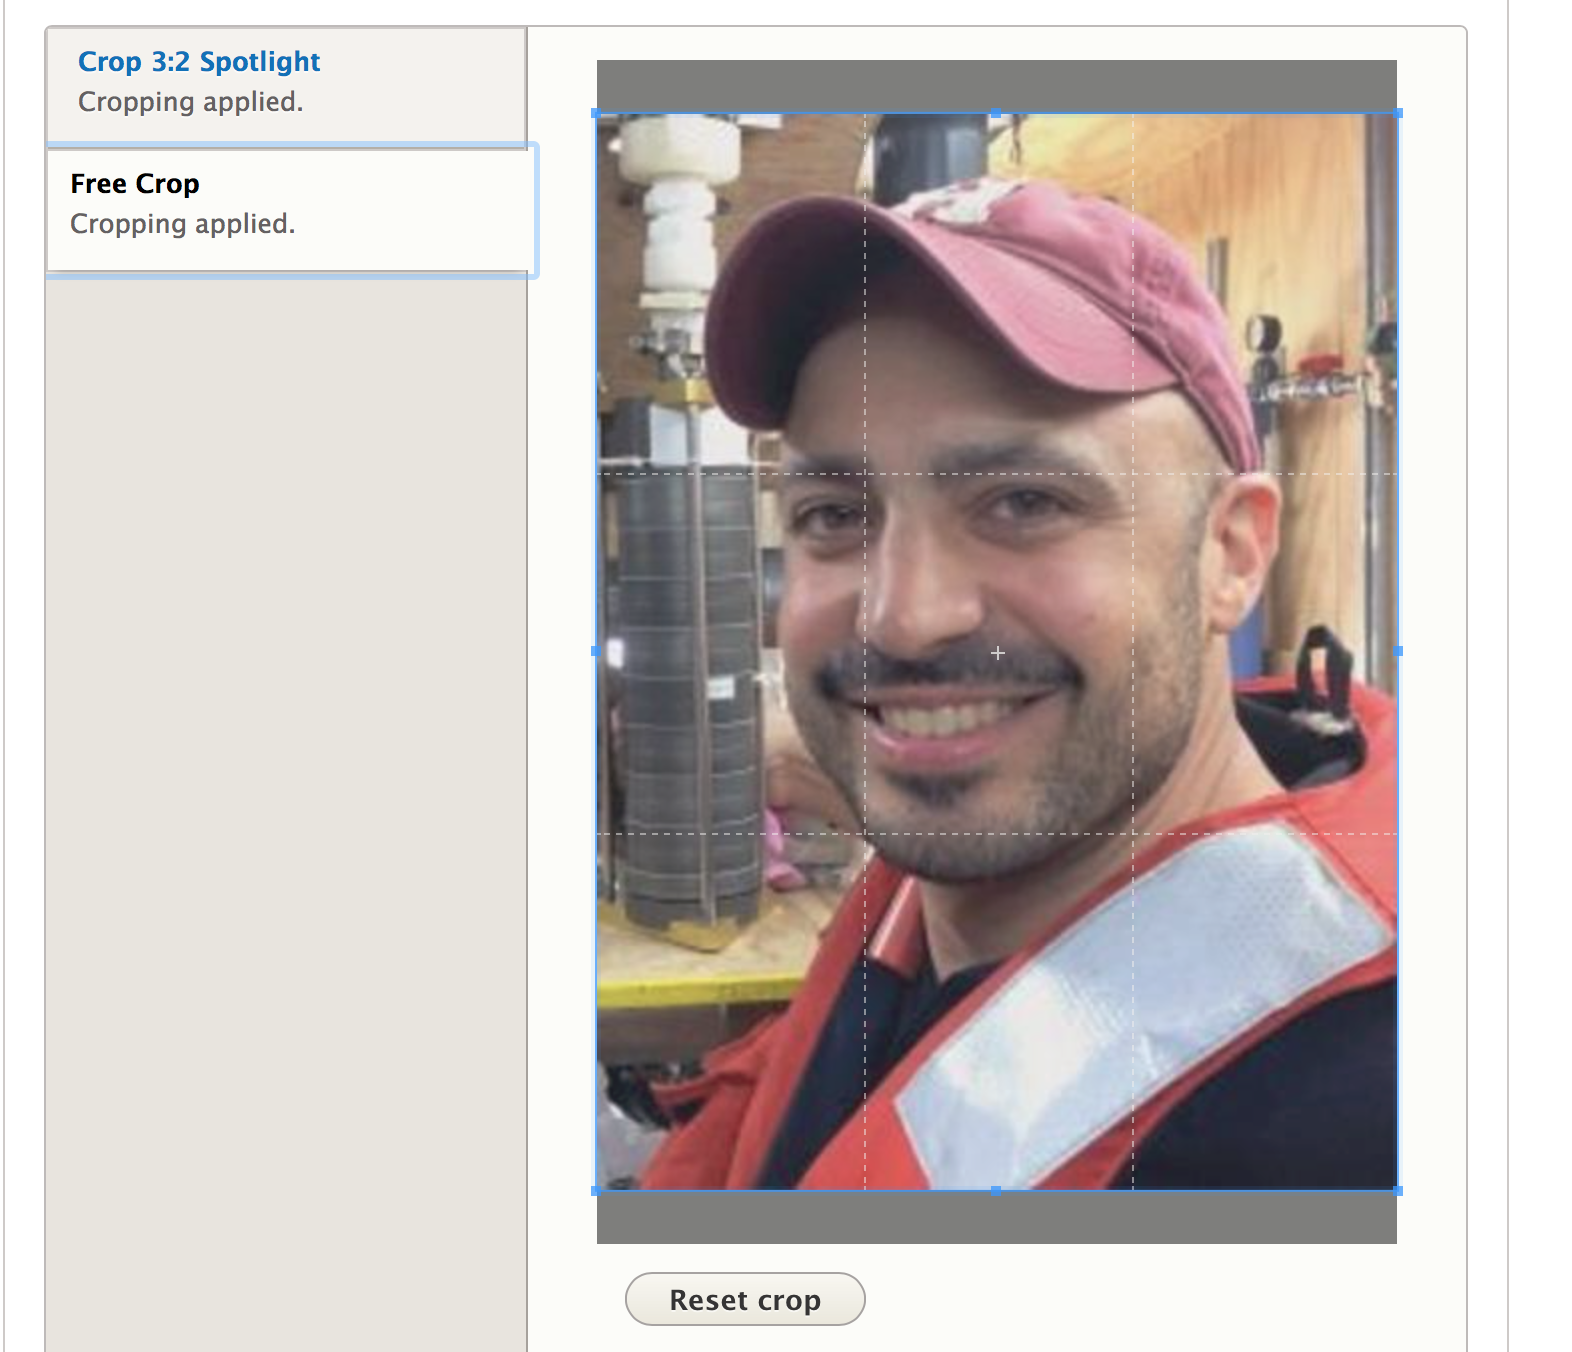
This image looks fine as-is, but to show this functionality in action, I'm going to trim the sides.
Step 5: Save
To see your cropping changes in action, hit the save button at bottom of the edit page.

Step 6: View Your Changes
View the content by itself, in lists and spotlights to see your crop changes in action.
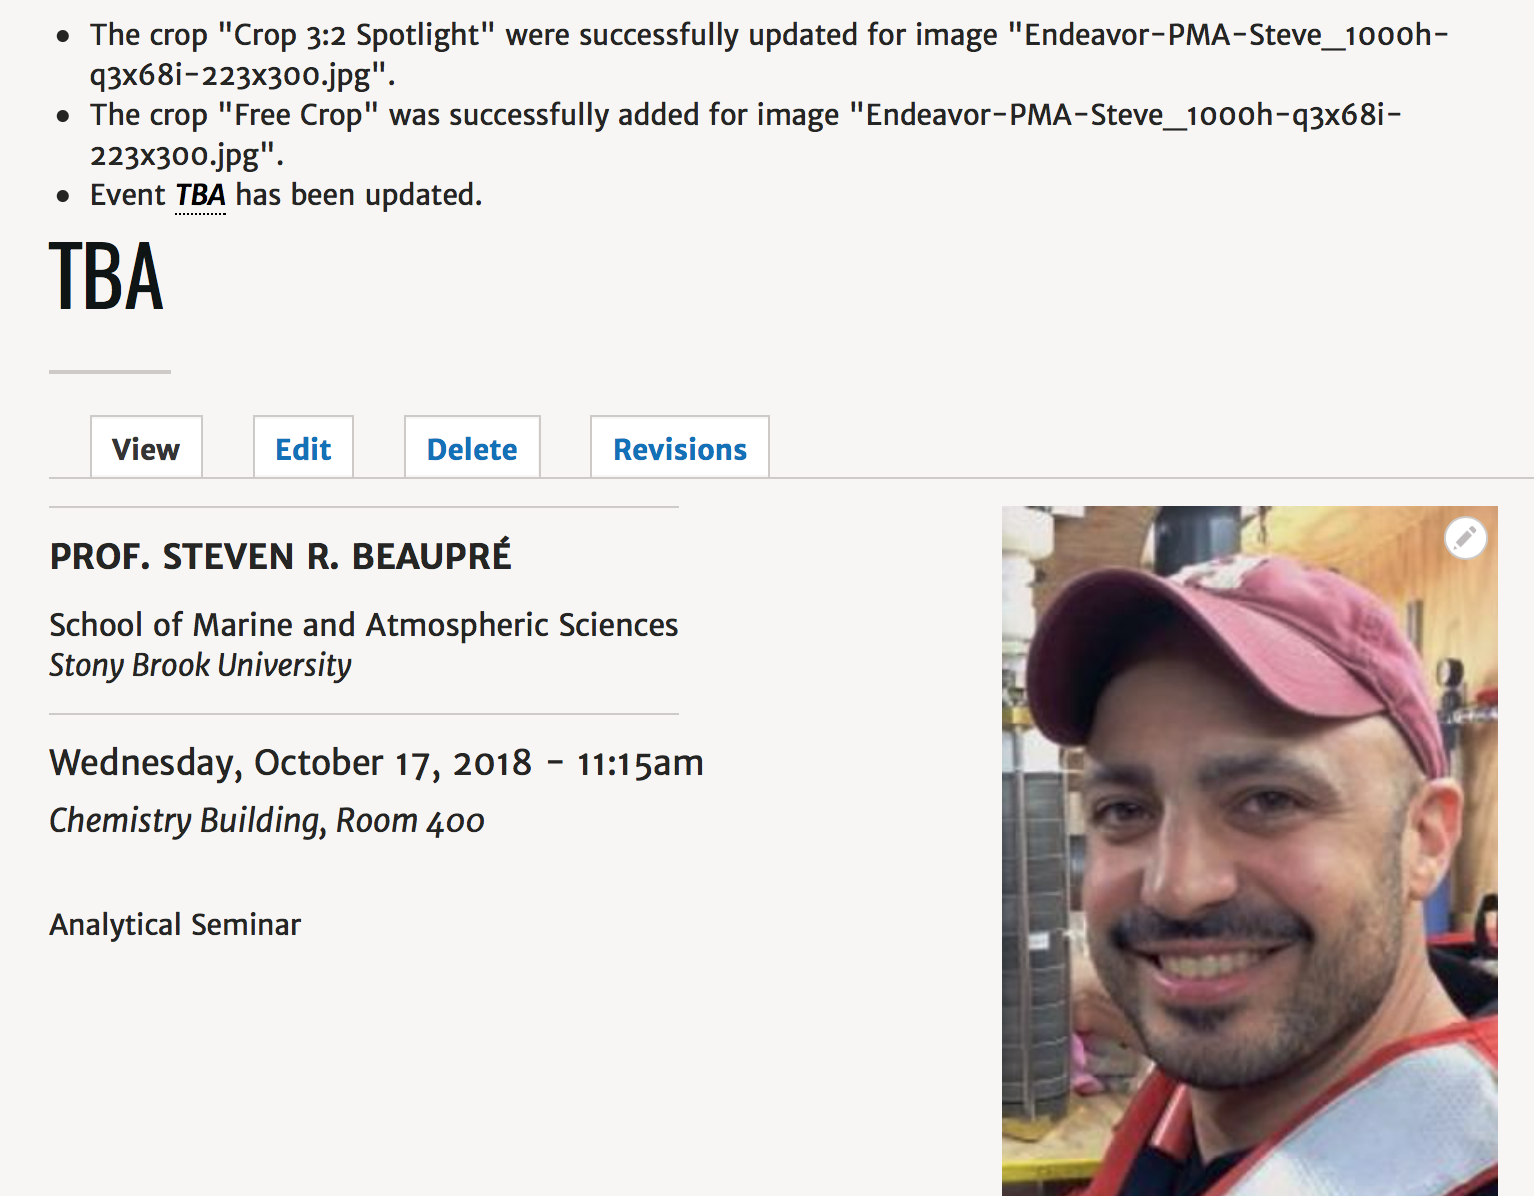
Here's what the image looks like next to content.
The screenshot on the left is with cropping, and the screenshot on the right is before we cropped it. Notice it is thinner.
So what about that 3:2 cropping we did?
Going back to the list of upcoming events, I see that Dr. Beaupré's chin is no longer cut off.
Much better!

If you don't like the way you cropped an image, you can go back and change it as many time as it takes for you to be satisfied.
Conversely, if you are content with the site's automatic cropping of an image, there's no need to change anything.
Images that Can Be Cropped
This functionality is available for all image fields (except galleries and images inserted via the text editor).
If you have trouble using this functionality, or it doesn't appear to be working as it should, please put in a ticket to helpdesk.franklin.uga.edu.